Sign in

Get started with AI agents in React Flow using Liveblocks and Next.js

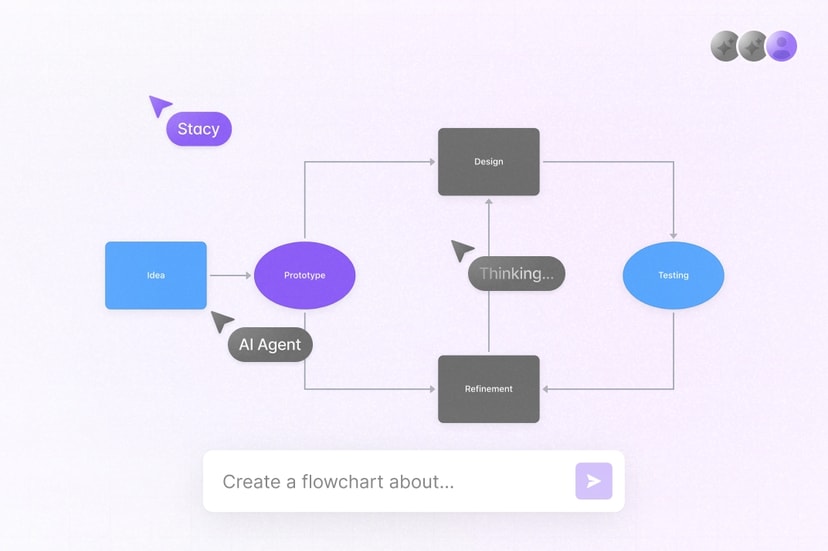
Liveblocks is a realtime collaboration infrastructure for building performant collaborative experiences. Follow the following steps to add an AI agent that can read and edit a collaborative React Flow diagram from your Next.js /app directory application using mutateFlow from @liveblocks/react-flow, the Vercel AI SDK, and OpenAI.

Quickstart

  1. Have a React Flow app ready

    To let an AI edit your diagram, you first need a Liveblocks React Flow app set up with secret key authentication. Open up your app, or set up React Flow if you haven’t already.

    Get started with React Flow

  2. Install dependencies

    Install @liveblocks/node and the Node-side @liveblocks/react-flow entry point, along with the Vercel AI SDK, the OpenAI provider, and zod to validate tool inputs.

    Terminal
    npm install @liveblocks/node @liveblocks/react-flow ai @ai-sdk/openai zod
  3. Add your environment variables

    Create a .env.local file and add your Liveblocks secret key from the dashboard, and your OpenAI API key from the OpenAI dashboard.

    .env.local
    LIVEBLOCKS_SECRET_KEY=""OPENAI_API_KEY="sk-..."
  4. Create the AI agent

    Create a server action that uses mutateFlow to open the room’s flow on the server and let the AI add and update nodes and edges. Each Vercel AI SDK tool maps to one of the MutableFlow methods like flow.addNode, flow.updateNodeData, or flow.addEdge.

    app/run-flow-agent.ts
    "use server";
    import { Liveblocks } from "@liveblocks/node";import { mutateFlow } from "@liveblocks/react-flow/node";import { generateText, stepCountIs, tool } from "ai";import { openai } from "@ai-sdk/openai";import { nanoid } from "nanoid";import { z } from "zod";
    const liveblocks = new Liveblocks({ secret: process.env.LIVEBLOCKS_SECRET_KEY!,});
    export async function runFlowAgent(formData: FormData) { const roomId = String(formData.get("roomId") ?? "").trim(); const prompt = String(formData.get("prompt") ?? "").trim(); if (!roomId || !prompt) return;
    await mutateFlow({ client: liveblocks, roomId }, async (flow) => { await generateText({ model: openai("gpt-4.1-mini"), system: `You edit a live collaborative React Flow diagram.- Each node has: { id, position: { x, y }, data: { label } }.- Each edge has: { id, source, target }.- Make small, deliberate changes that are easy to follow.- Use 150px horizontal and 100px vertical spacing between nodes.`, prompt: `<diagram>${JSON.stringify(flow.toJSON(), null, 2)}</diagram><user-message>${prompt}</user-message>`, tools: { addNode: tool({ description: "Add a node to the diagram.", inputSchema: z.object({ label: z.string(), position: z.object({ x: z.number(), y: z.number() }), }), execute: ({ label, position }) => { const id = `node-${nanoid(6)}`; flow.addNode({ id, position, data: { label } }); return { ok: true, id }; }, }), updateNodeData: tool({ description: "Update one node’s label.", inputSchema: z.object({ id: z.string(), label: z.string(), }), execute: ({ id, label }) => { if (!flow.getNode(id)) return { ok: false, missing: true }; flow.updateNodeData(id, { label }); return { ok: true, id }; }, }), addEdge: tool({ description: "Connect two existing nodes with an edge.", inputSchema: z.object({ source: z.string(), target: z.string(), }), execute: ({ source, target }) => { if (!flow.getNode(source) || !flow.getNode(target)) { return { ok: false, missing: true }; } const id = `e-${source}-${target}-${nanoid(4)}`; flow.addEdge({ id, source, target }); return { ok: true, id }; }, }), }, stopWhen: stepCountIs(20), }); });}

    mutateFlow opens the room’s flow for reading and mutating. Any changes made through the flow object are intelligently synced to all connected clients via Liveblocks Storage, so the diagram updates in realtime as the AI works.

  5. Add a prompt form to the page

    Now add a small form that lets users describe what the agent should do. It uses useRoom to get the current room ID and passes it to the server action.

    app/FlowAgentForm.tsx
    "use client";
    import { useRoom } from "@liveblocks/react/suspense";import { useState } from "react";import { runFlowAgent } from "./run-flow-agent";
    export function FlowAgentForm() { const roomId = useRoom().id; const [prompt, setPrompt] = useState("");
    return ( <form action={runFlowAgent} onSubmit={() => setPrompt("")}> <input type="hidden" name="roomId" value={roomId} /> <textarea name="prompt" placeholder="Create a flowchart about…" value={prompt} onChange={(event) => setPrompt(event.target.value)} /> <button type="submit" disabled={prompt.trim() === ""}> Apply </button> </form> );}

    Then render it next to your existing Flow component:

    app/page.tsx
    import { Room } from "./Room";import { Flow } from "./Flow";import { FlowAgentForm } from "./FlowAgentForm";
    export default function Page() { return ( <Room> <FlowAgentForm /> <Flow /> </Room> );}
  6. Next: show the agent in the room

    Your AI agent now reads and writes to your React Flow diagram in realtime. Next, give the agent a face—show its avatar in the avatar stack and highlight the nodes it’s editing using Liveblocks Presence.

    Add AI Presence

What to read next

Congratulations! You’ve set up the foundation for an AI agent that can edit your collaborative React Flow diagrams.

Examples using React Flow and AI