Get started with AI presence using Liveblocks and Next.js
Liveblocks is a realtime collaboration infrastructure for building performant
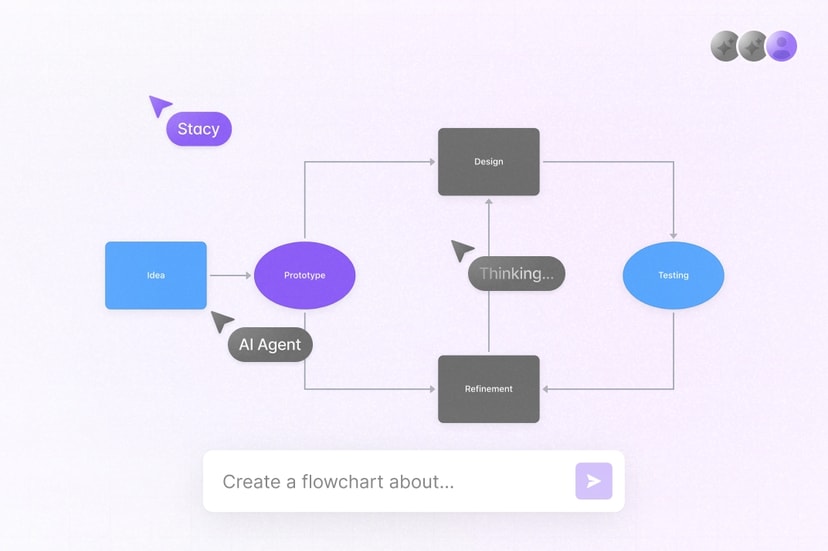
collaborative experiences. Follow the following steps to show an AI agent as a
real user inside your Next.js /app directory application: in the avatar stack,
and as a highlighted box around the form field or cell it’s currently editing,
using
setPresence
from @liveblocks/node and the
useOthers hook from
@liveblocks/react.
Quickstart
Have a presence app ready
To add AI presence on top of your existing app, you first need a Liveblocks presence setup with
AvatarStackand authenticated users. Open up your app, or set up presence if you haven’t already.Get started with presence
Install
@liveblocks/nodeWe’ll set the AI agent’s presence from the server, so install
@liveblocks/node.TerminalAdd your secret key
Create a
.env.localfile and add your Liveblocks secret key from the dashboard..env.localAdd an AI user to your database
The AI agent appears in the room like any other user, so it needs an ID, name, and avatar. Add a dedicated user for your agent alongside your real users, and return it from
resolveUsersso it can be rendered inAvatarStack.Find where you fetch data in your resolver functions……and modify the return values to include an AI userShow the AI in your avatar stack
To make the AI appear in
AvatarStackanduseOthersfrom the server, callsetPresence. Use this to signify your agent is running a task in the room.app/agent-presence.tsThe agent will now appear in presence alongside real users.
Show AI presence in custom UI
With
useOthersyou can create custom AI presence within any UI. An example of this is showing a highlighted box around the part of the interface that the AI is editing.To set this up, first set presence types in your app. An
editingIdstring can represent an element that the AI is currently editing, such as a form field, and a valuenullcan signify that the AI is not editing anything.liveblocks.config.tsNext, when using
setPresenceon the server, set theeditingIdproperty to the ID of the element that the AI is currently editing.app/agent-presence.tsOn the client, use
useOthersto create a small component that draws a highlighted box around the targeted element when the AI is editing it.app/AiPresenceEditFrame.tsxYou can then wrap any part of your your UI with
AiPresenceEditFrame, give each one a uniqueeditingId, and if the AI is editing that ID, a highlighted box will appear around it.app/Form.tsxHide the AI when it’s done
You can optionally choose to hide the AI's presence when it's completed editing. To do this, set the minimum
ttlvalue to 2 seconds.You have AI presence set up! In some apps, it may be useful to use multiple different IDs for AI, as this way you can individually control when each AI appears and disappears.
What to read next
Congratulations! You’ve set up the foundation for AI presence in your Next.js application.
- @liveblocks/node API Reference
- @liveblocks/react API Reference
- Add AI agents to React Flow
- Notify users when an AI agent finishes