Dev server
The Liveblocks dev server is a local server that lets you develop and test
multiplayer features without connecting to Liveblocks production servers. It is
built on our open-source
@liveblocks/server
package internally.
Features
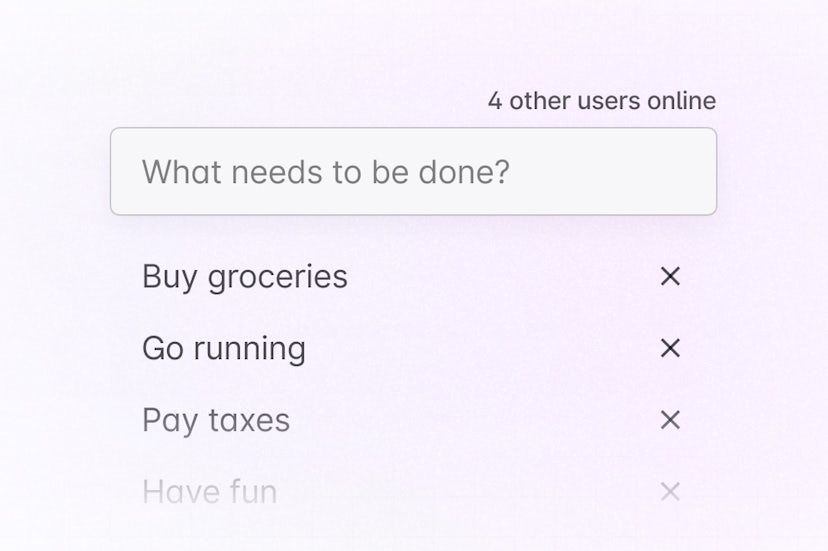
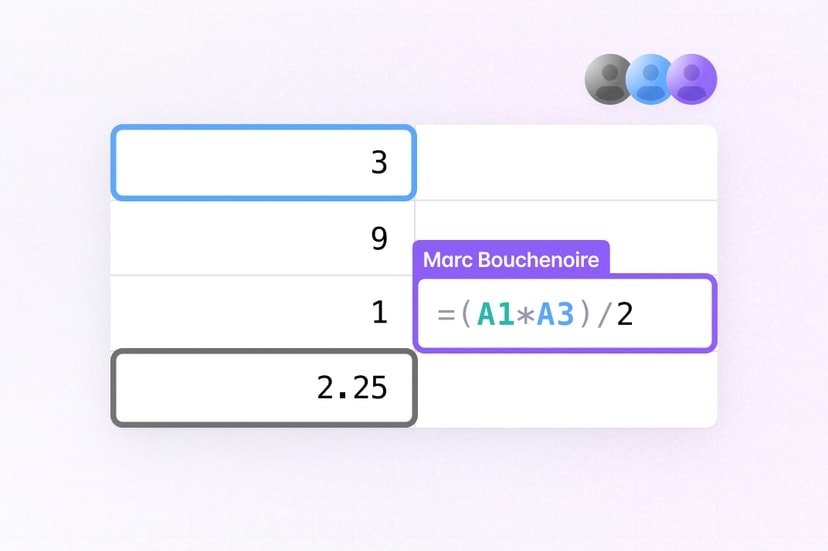
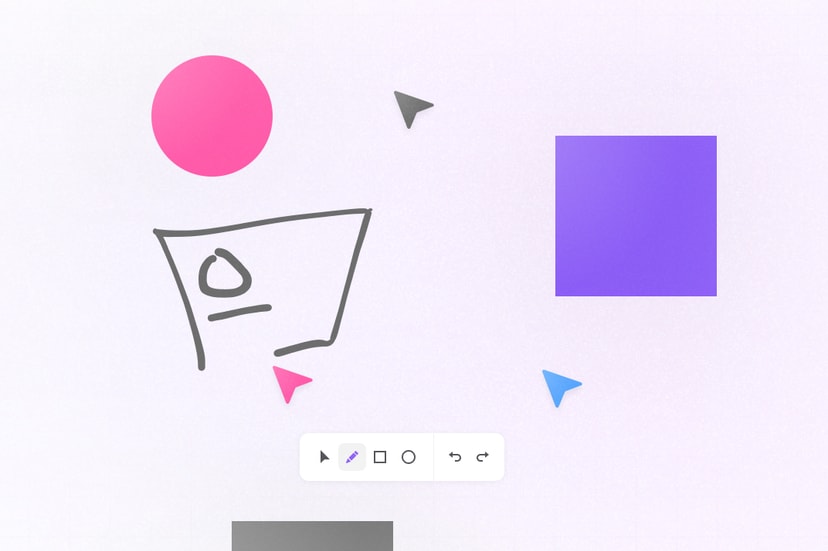
The dev server fully supports all Multiplayer features, and partially supports other APIs. Learn more.
| Feature | Support |
|---|---|
| Liveblocks Storage (LiveObject, Presence, Broadcast, etc.) | ✅ |
| Liveblocks Yjs | ✅ |
| Text editors (Tiptap, BlockNote, Lexical) | ✅ ¹ |
| Public key authentication | ✅ |
| Access token authentication | ✅ |
| ID token authentication | ✅ |
| Room Node.js methods | ✅ |
| Room REST APIs | ✅ |
| Comments | ❌ ² |
| Notifications | ❌ ² |
| AI Agents | ❌ |
| Other APIs | ❌ |
¹ Excluding features related to Comments and Notifications.
² Basic APIs will return dummy data, so you can still use the Liveblocks
dev server to test other features in your app.
Set up the dev server
The development server currently only supports connecting with public key or access token authentication. ID token authentication will be supported in future.
Install Bun
The Liveblocks dev server requires Bun to be installed.
TerminalRun the dev server
Start the dev server from your project directory—it runs on
http://localhost:1153.TerminalConnect to the dev server
Point your client and auth endpoint to the dev server, and update your API keys. You must use
"sk_localdev"instead of your secret key and"pk_localdev"instead of your public key.The easiest way to do this is to run the dev server and press
p. It copies a prompt you can paste into your AI code editor, which will intelligently make the changes for you.If you don’t use the prompt, you can manually add
baseUrland change your API key:Complete
You're all set up, open your app and start building collaborative features using the local dev server, or set up CI testing with your application.
Partially supported features
A number of unsupported features are partially implemented so you can run your
app without seeing errors. For example, useThreads is not supported yet, but
it will always return an empty array so you can still view your application.
In future, we plan to support more features in the dev server.
REST API
The REST API supports the same set of features as the Node.js package. To use
it, point your requests to the dev server URL and use sk_localdev as the
secret key.
Quick local testing
When your unit tests need the Liveblocks dev server to be running, you can use
--cmd "vitest run" (or whichever test command you use) to run your tests in a
temporary, ephemeral, dev server instance.
This mode will:
- Start a fresh, empty, dev server instance.
- Run your unit tests.
- Stop the dev server.
Example output:
You can also pass extra arguments after the command. They will be appended to the end of the command string:
If you need precise control over where the extra arguments are inserted, use
{} as a placeholder:
Use -- before any extra arguments that start with -:
We recommend:
npx liveblocks devfor manual testing and development, which retains data between runs in the.liveblocks/folder.npx liveblocks dev --cmd "vitest run"for locally running your unit tests against a fresh instance (your local data in.liveblocks/won't be affected by your unit tests).
Continuous Integration (CI) testing
You can use the dev server in CI environments by setting up a test environment file and running the dev server as a service container. Learn how do this in our step-by-step guide.
How to set up Continuous Integration (CI) testing
End-to-End (E2E) testing
You can use the dev server to run end-to-end tests with tools such as Playwright. Learn how to do this in our step-by-step guide.
How to set up End-to-End (E2E) testing with Playwright
Docker
You can run the dev server as a Docker container, which is useful for CI environments where you may not have Bun installed.
To persist data between container restarts, mount a volume:
Source code
The source code is available in our GitHub repository.
Examples
The following examples fully support the dev server.