How to notify users about unread custom notifications outside of your app
Liveblocks Notifications allows you
to build a notification inbox, and send custom notifications to your users. With
our webhooks and REST API, it’s possible to fetch unread
custom notifications
and send external notifications via email, in Slack, in Microsoft Teams, or in
any other service with an API, using webhooks. Notifications can also be
displayed in your app using
useInboxNotifications
and the
InboxNotification
component.
What we’re building
In this guide we’ll be learning how to notify users about unread custom notifications outside of your app, and more specifically, we’ll be looking at how to:
- Trigger events based on unread custom notifications using the
NotificationEventwebhook event. - Fetch unread notifications using the
@liveblocks/nodepackage.
This guide assumes you already have a Liveblocks Notifications project set up. If you don’t have one yet, you can get started with Notifications, and come back after you’re set up.
What are inbox notifications?
Liveblocks uses the concept of inbox notifications, which differ to external notifications. Inbox notifications are displayed within in-app inboxes, group multiple activities together, and can change over time. These activities are useful for sending status updates, for example seeing “Pending…” or “Complete…” statuses in a file upload notification.
External notifications, such as Slack, and Microsoft Teams, are different, and Liveblocks is set up to send them in a way that won’t overload your users with notifications. This means that Liveblocks will wait to trigger these notifications until a certain amount of time has passed, and will only trigger them if your users has not read the notification on the front-end, which we automatically keep track of.
Learn more about Notifications in the concepts page.
Using webhooks
Liveblocks provides a number of webhooks that can
send requests to your API endpoint when certain events occurs. One webhook we
provide is the NotificationEvent
webhook, which is triggered for each participating user in a thread, and can be
used to send external notifications to your users.
The information it returns allows you to retrieve the data attached to the custom notification. Let’s take a look at how to set this up.
Notification channels
You can send notifications via different channels, such as email, Slack,
Microsoft Teams, and Web Push. In our dashboard, you can enable notifications on
certain channels, and in this guide, we’ll be enabling a custom $fileUploaded
notification kind
on the Slack channel. You must always enable the correct channel to ensure your
NotificationEvent webhook events
are triggered, and this guide will take you through setting it up.
All channels currently work the same way, apart from in-app, but we suggest selecting the service you’re setting up, such as Slack or Microsoft Teams, so it’s easy to tell which you’ve implemented.
Create an endpoint in your project
When a webhook event is triggered, it can send a POST request to the back end in your project. In this guide, we’ll be using a Next.js route handler (API endpoint) as an example, but other frameworks work similarly.
In order to use webhooks, we’ll need to retrieve the headers and body from
the request. Here’s the basic endpoint we’ll be starting from:
Create this endpoint in your project, and make it available on localhost at
the following URL:
Make a note of this endpoint URL, as you’ll be using it later.
Testing webhooks locally
Running webhooks locally can be difficult, but one way to do this is to use a
tool such as localtunnel or
ngrok which allow you to temporarily
put your localhost server online.
If your project is running on localhost:3000, you can run the following
command to generate a temporary URL that’s available while your localhost server
is running:
localtunnel generates a base URL that can be placed into the Liveblocks
webhooks dashboard for quick testing. To use this, take the full address of your
webhook endpoint, and replace the domain in your localhost address with the
generated URL.
You now have a URL that can be used in the webhooks dashboard.
Set up webhooks on the Liveblocks dashboard
To use webhooks, you need to pass your endpoint URL to the webhooks dashboard inside your Liveblocks project, and tell the webhook to trigger when a comment has been created.
Set up sending a custom notification
If your app, make sure you’re sending a custom notification with
triggerInboxNotification. In our example, we’re sending a$fileUploadednotification.Select your project
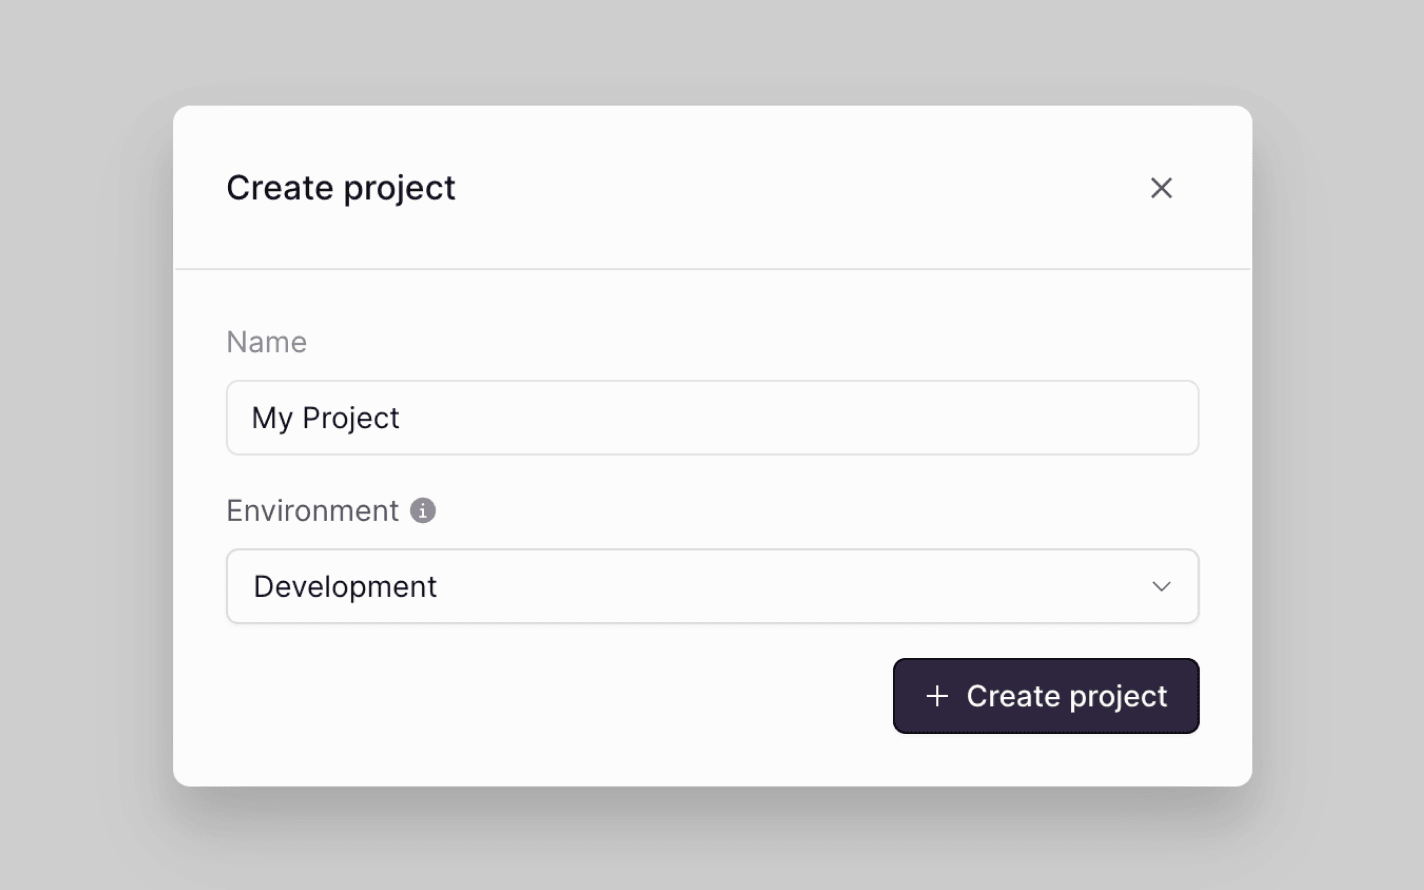
From the Liveblocks dashboard, navigate to the project you’d like to use with webhooks, or create a new project.
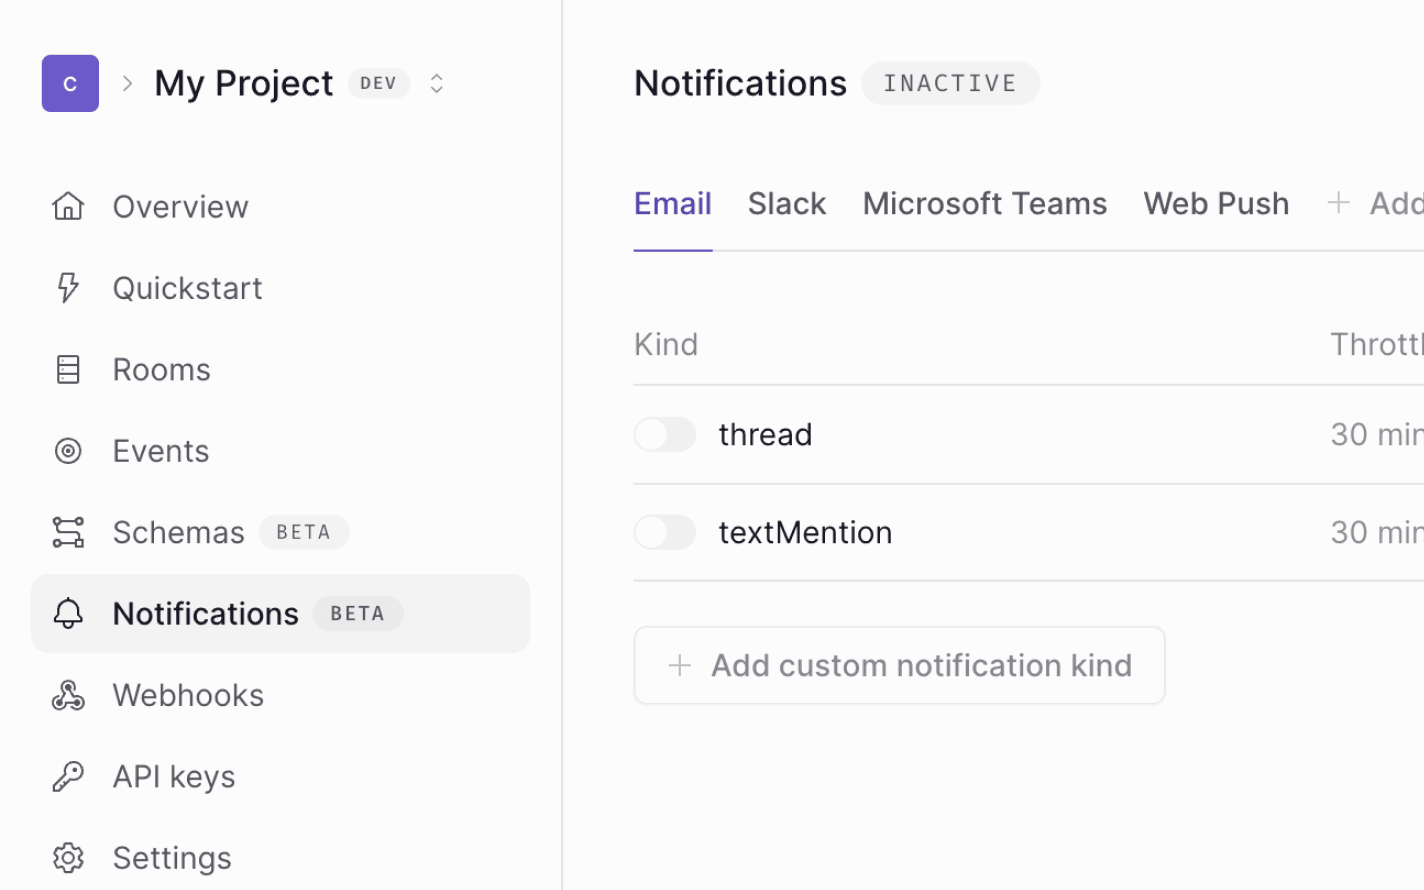
Go to the notifications dashboard
Click on the “Notifications” tab on the menu at the left.
Enable your custom notification kind
Click on the “Edit” at the top right,, switch to the “Kinds” tab, and enable your custom notification kind. In our example we’re adding the
$fileUploadedkind.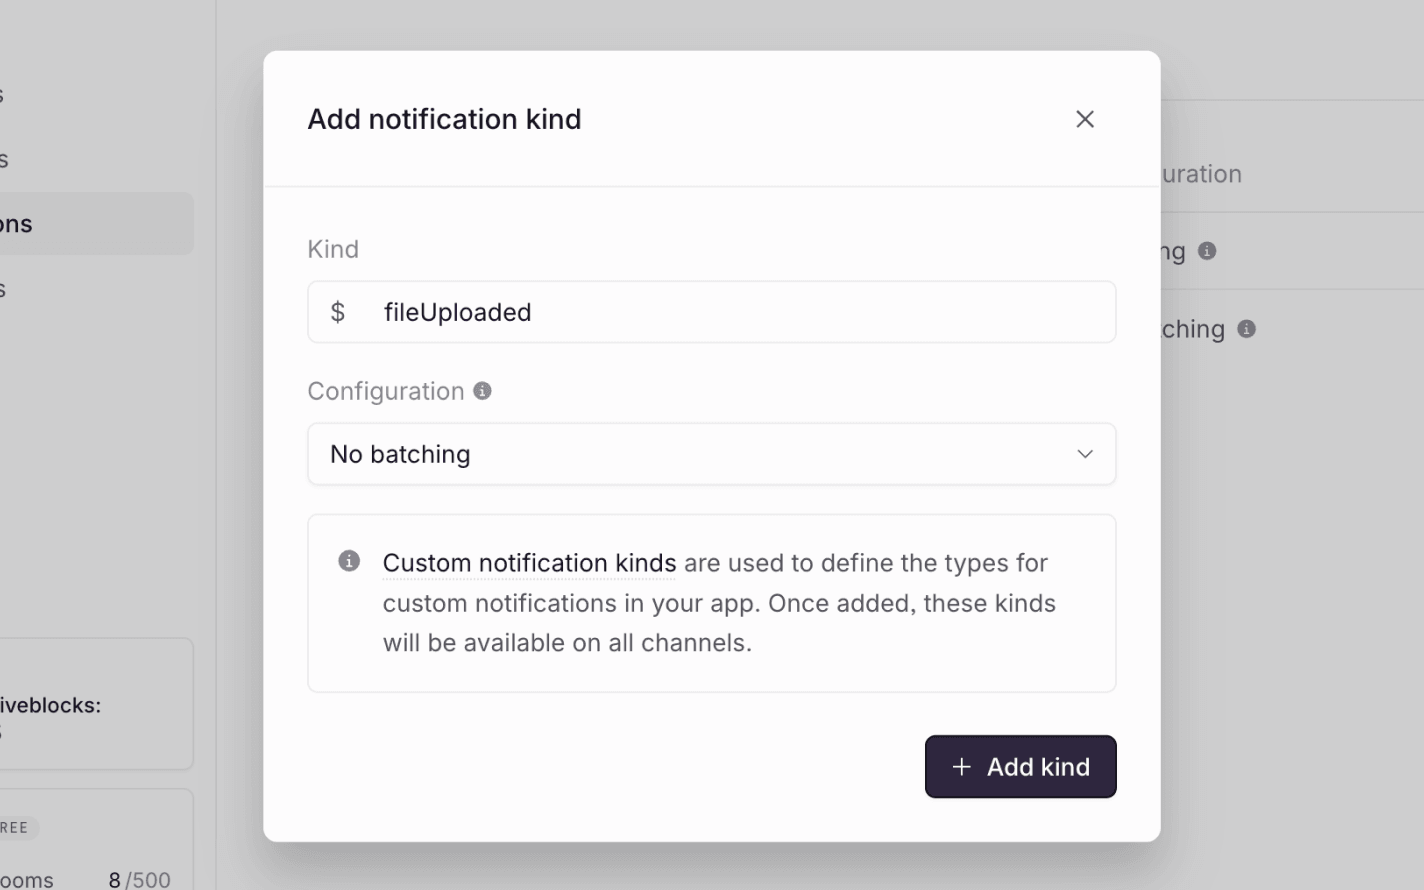
Enable the thread notification type
Click on “Edit” at the top right, enable
$fileUploadednotifications on the Slack channel, and publish your changes.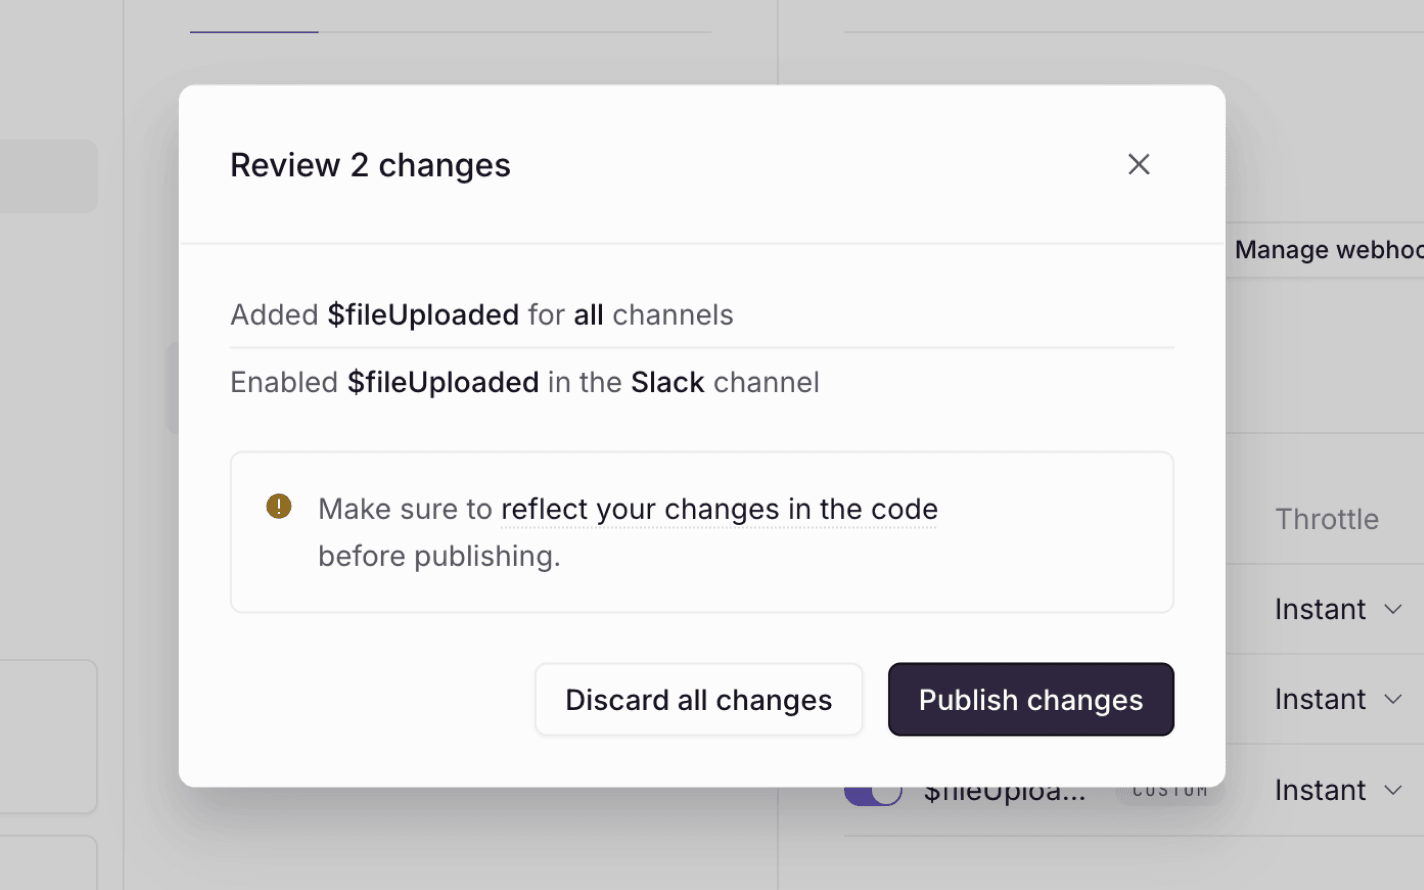
Go to the webhooks dashboard
Click on the “Webhooks” tab on the menu at the left.
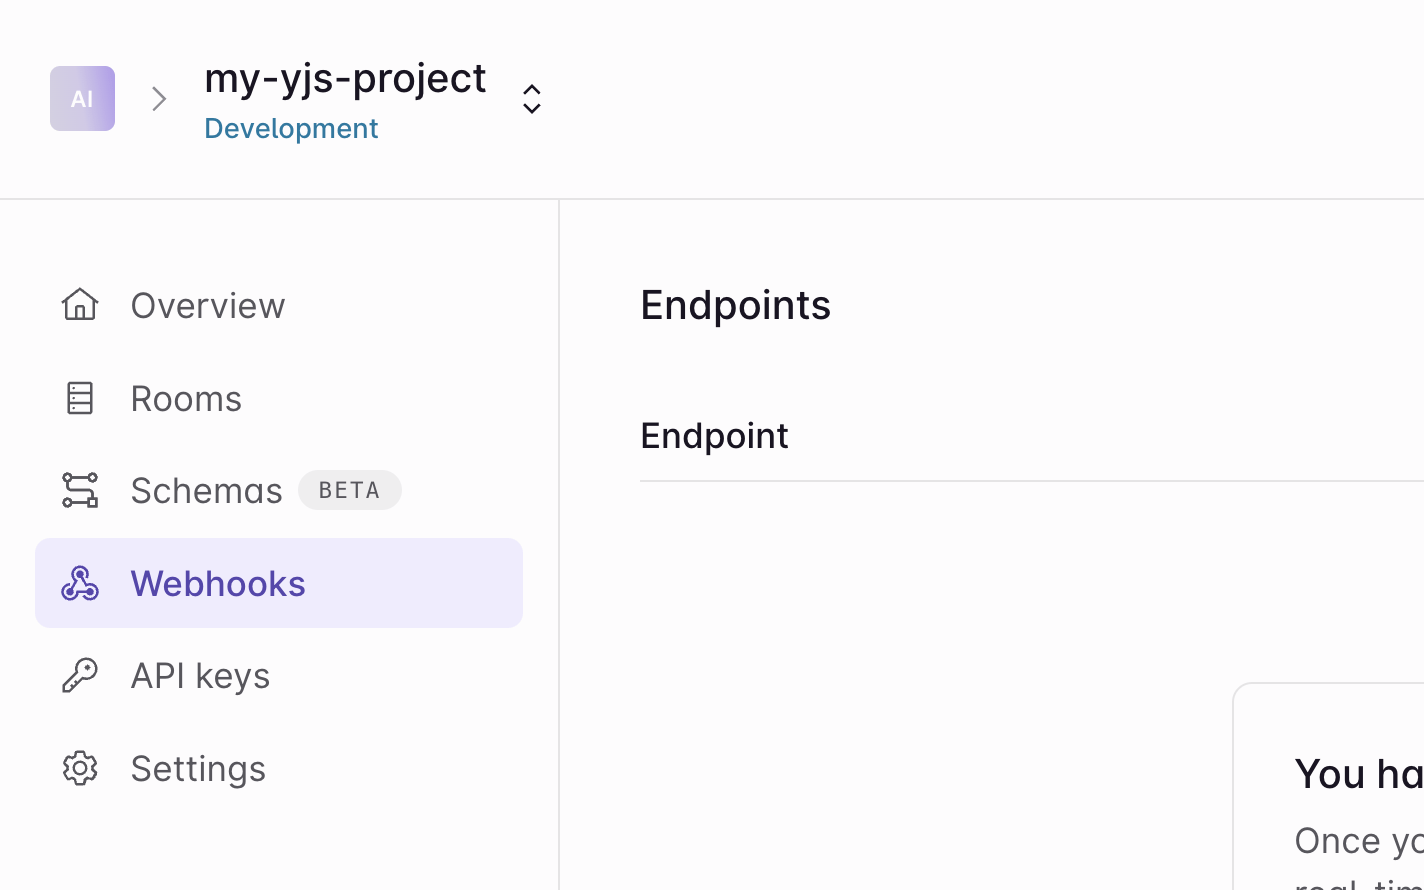
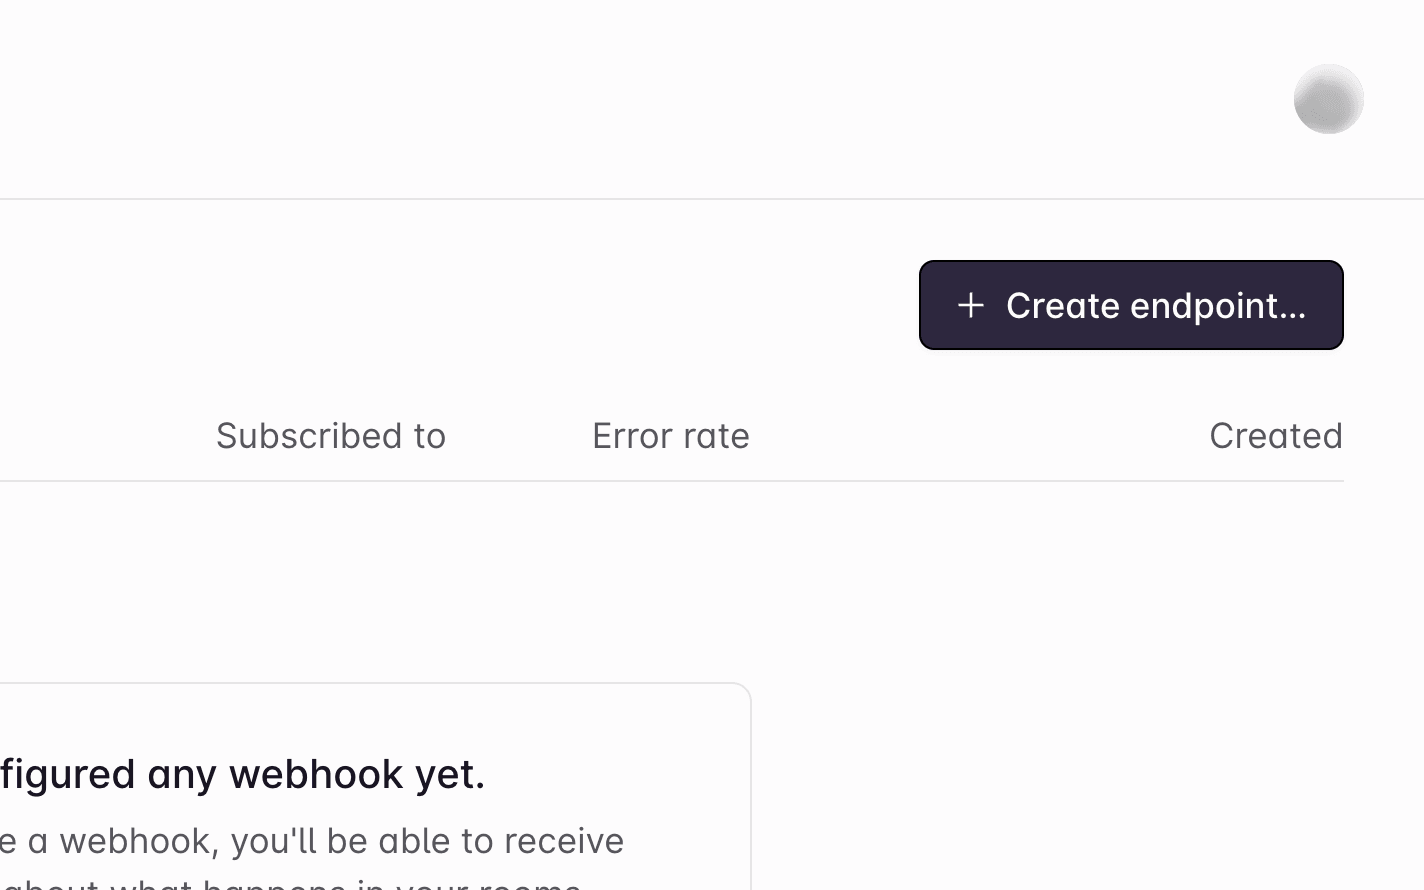
Create an endpoint
Click the “Create endpoint…” button on the webhooks dashboard to start setting up your webhook.
Add your endpoint URL
Enter the URL of the endpoint. In a production app this will be the real endpoint, but for now enter your
localtunnelURL from earlier.
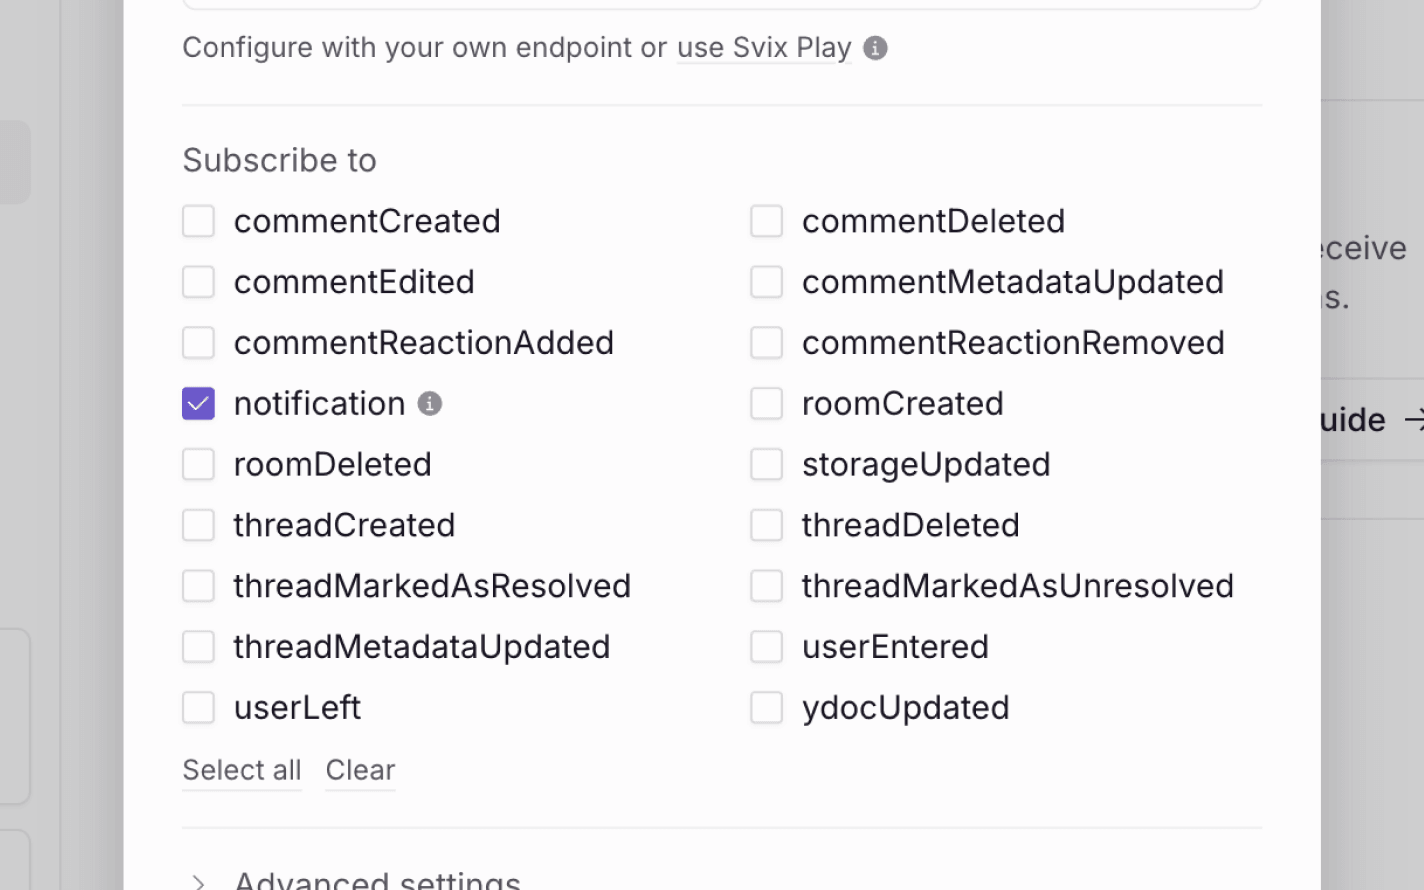
Enable notification webhook events
Check the “notification” event in the dialog to enable the correct webhooks events.
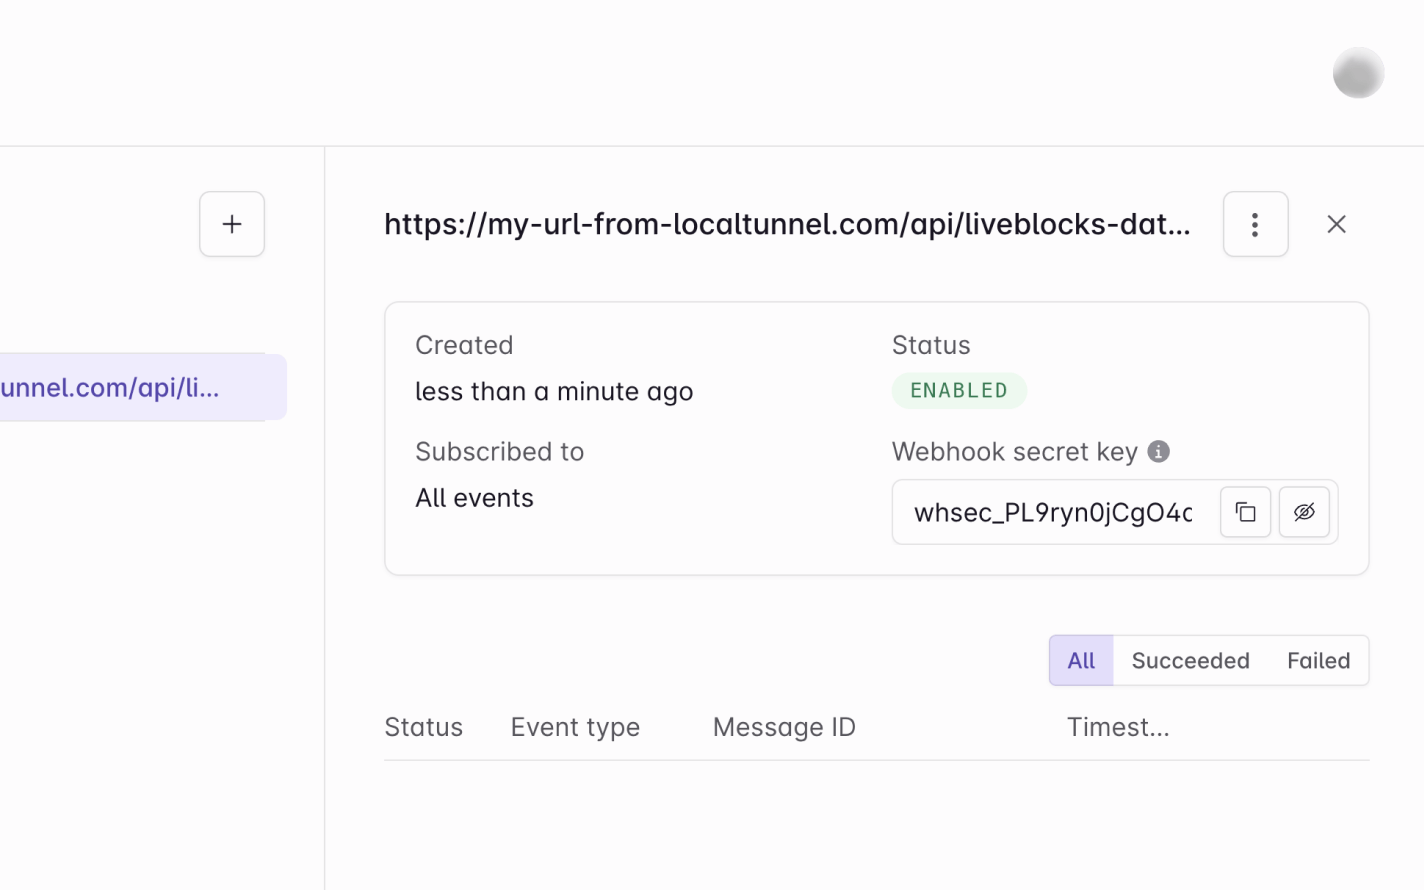
Get your webhook secret key
Click Add endpoint” at the bottom, then find your “Secret key” on the next page, and copy it.
Webhooks dashboard is set up!
Notification webhooks are set up! Let’s go back to the code.
Verify the webhook request
The @liveblocks/node package provides
you with a function that verifies whether the current request is a real webhook
request from Liveblocks. You can set this up by setting up a
WebhookHandler and
running verifyRequest.
Make sure to add your webhook secret key from earlier—in a real project we’d recommend using an environment variable for this.
Check the event and notification permissions
After verifying the request, we can then check we’re receiving the correct type
of event, on the correct channel. There are different notification events, and
in this case we’d like to check for a
custom notification with the
$fileUploaded kind, as we’re specifically listening for this. We can do this
with event.data.kind, also making sure to check for the slack channel.
Note that Liveblocks doesn’t have knowledge of your permissions system on the back end, so it’s your responsibility to check if this user should have access to the notification.
Get custom notification data
The next step is to use the
Liveblocks client from
@liveblocks/node to retrieve the inbox notification, and the corresponding
data set with
triggerInboxNotification.
To do this we’ll need to add our project’s secret key from
the dashboard to the Liveblocks client (not the webhook
secret key we used earlier), before awaiting the
getInboxNotification
fucntion.
Send external notifications
Now that the custom notification has been retrieved, we can send the external notifications. In this example, we’re sending a message to an incoming webhook in Slack.
We’ve now successfully sent an external notification to a user!
Allow users to toggle notifications
Using Liveblocks hooks and methods, it’s possible to create a notifications settings interface, allowing end users to choose which notifications they’d like to receive, and on which channels, saving their preferences.
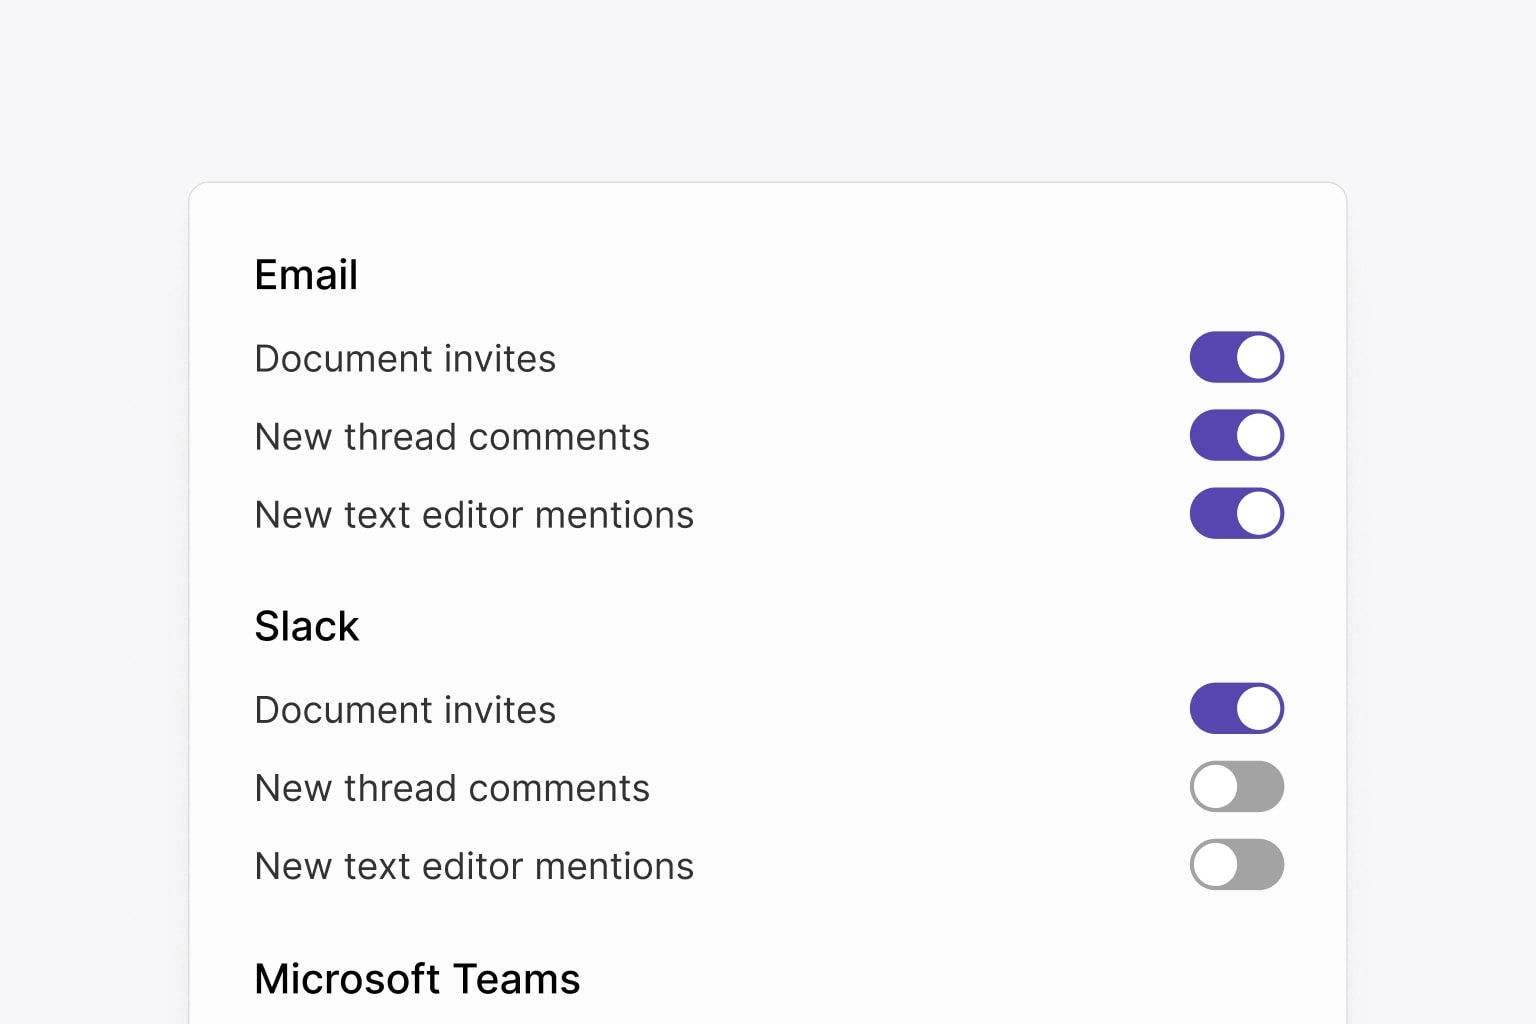
Learn more in our guide on creating a notification settings panel.
Recap
Great, we’re successfully sending external notifications to users when comments are left unread! In this guide we’ve learned:
- How to use webhooks and the
NotificationEvent. - How to use the
@liveblocks/nodepackage to fetch the custome notification data. - How to hook it up to an external service, such as Slack.