Migrating to Liveblocks Notifications
Notifications are a core driver of engagement in collaborative products. By using Liveblocks Notifications, you can unify how updates are delivered across your product suite, ensuring that users receive timely, relevant, and actionable updates instead of noisy alerts. This creates cross-product consistency, deeper engagement, and long-term retention, making collaboration a habit rather than a feature.
This guide walks you through how to migrate from your existing system to Liveblocks Notifications using a parallel running strategy. With this approach, both systems operate simultaneously, allowing you to gradually transition data and logic. Once all notifications have been successfully migrated and validated, you can switch to Liveblocks Notifications to power your end-to-end collaboration experience.
Understand Liveblocks notification concepts
Before starting the migration, it's important to understand the key concepts in Liveblocks Notifications. We suggest reviewing our notification concepts documentation for a comprehensive overview.
Custom vs. Collaboration notifications
Liveblocks provides two types of notifications: collaboration notifications and custom notifications.
Collaboration notifications are built-in and designed to cover the most common collaboration patterns out of the box. They automatically handle things like mentions, replies, and comment activity across your app. For example, when someone tags a teammate or replies in a thread, a collaboration notification is sent to keep that person in the loop without any extra setup.
Custom notifications give you flexibility to extend beyond those default patterns. You can create notifications for product-specific events like task assignments, workflow approvals, or new AI-generated updates. These are ideal when you want to connect collaboration moments that are unique to your product or when you are combining multiple systems into a unified notification experience. Take a look at our custom notification example to get an idea of what you can build.
Together, they let you balance speed and control. Use collaboration notifications to power your core collaboration flows and add custom ones wherever your product needs a more tailored experience.
Key terminology
-
An inbox notification refers to an in-app message or icon shown to a user to indicate they’ve received a notification (similar to a notifications tray).
-
A notification refers to a channel-based message (e.g. Slack, Teams, email, web push) triggered if the inbox notification goes unread for a period of time, or immediately if the notification throttle is instantaneous.
-
The project notification settings refer to how channel notifications can be configured in the Liveblocks dashboard.

You can view what notification kinds are active for each channel.

View the configuration for each notification kind.

Update the configuration for each notification channel and kind.
-
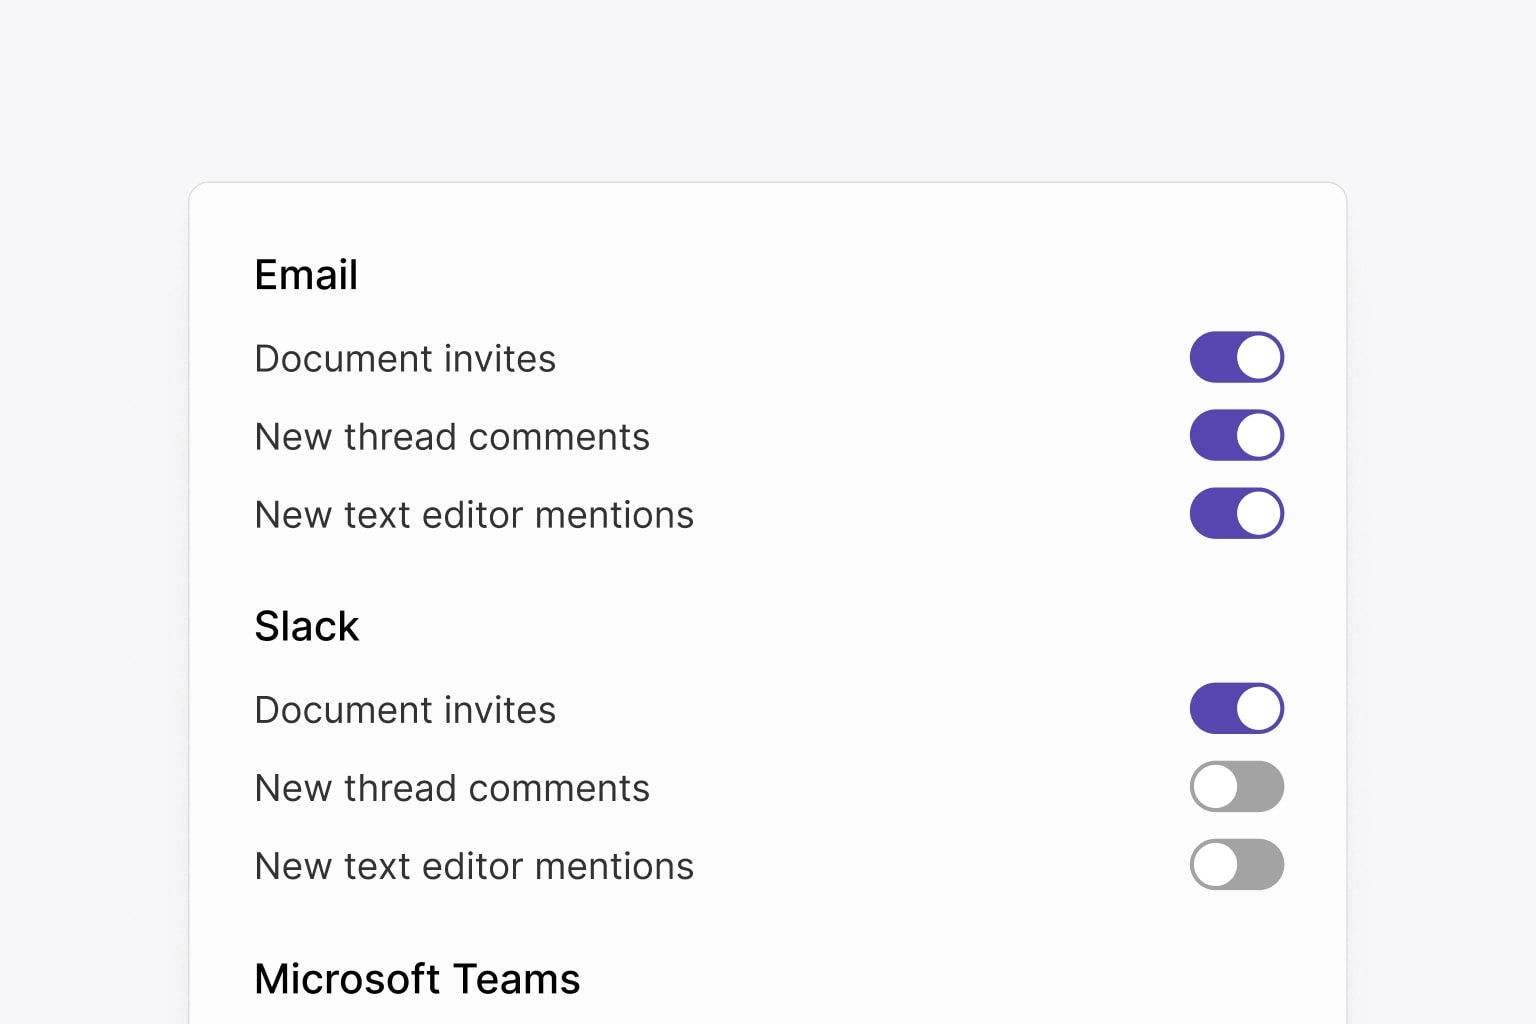
The user notification settings refer to how a user can choose which notifications to receive on which channel (email, Slack, Teams, and more).
Data flow
An unread inbox notification will trigger a notification based on the project notification settings and the user notification settings. Liveblocks evaluates both the project-level configuration and user preferences to determine whether to send a channel notification.

Prepare for the migration
Create data mappings from your system to Liveblocks
In-app notifications mappings
The most important step is to map your system’s in-app notifications to Liveblocks’s inbox notifications, as you will dual write to both your system and Liveblocks in a later step.
Inbox notifications are triggered by your backend using the
triggerInboxNotification API.
kind must start with a $, and represents the type of notification.
activityData is used to send custom data with the notification, and properties
can have string, number, or boolean values.
subjectId represents the custom ID the notification should be associated to.
It’s also possible to batch inbox notifications together by subjectId, rather
than creating a new one each time.
Batching custom notifications
Batching allows you to group multiple activities into a single notification. This is useful for reducing the number of notifications that are sent to the user, and can be enabled on custom notification kinds.
Within the “Notifications” page in the
dashboard, you can add a custom kind and
enable batching. When it’s enabled, triggering an inbox notification activity
for a specific subjectId, will update the existing inbox notification instead
of creating a new one.
Notification batching example
A common use case is file upload notifications as a file usually goes through an upload process.
With this information, go through each of your notification types and map them to Liveblocks.
For each type of notification, decide its kind, the subjectId, and whether it
will be batched. Use the activityData to pass in the content that would be
relevant to display to the user.
Model for a custom inbox notification
Setup notification settings in the Liveblocks dashboard
Now that you have identified all mappings, you’ll want to define how channel notifications will behave. This can be done through Liveblocks’s notification dashboard.
There are four settings per kind:
- Enabled: whether the channel is enabled
- User default: the default setting for the user
- If true, the notifications will be sent to the channel unless the user disabled them
- If false, the notifications won’t be sent unless the user enabled them
- Throttle: The throttle period (e.g., the 30 minutes delay) can be configured in your project settings on the Liveblocks dashboard. During this throttle time, if multiple events happen, they can be combined or managed so as not to overwhelm the user with too many notifications at once.
- Batching: When it’s enabled, triggering an inbox notification activity for
a specific
subjectId, will update the existing inbox notification instead of creating a new one.
Example
A batched file upload notification could trigger a Slack message on each update instantly and an email thirty minutes later.
Setup your webhook endpoint to receive notifications
Use a feature flag to either send notifications from your legacy system or from the webhook endpoint.
You’ve setup notifications! Now the only thing left before starting the migration is to setup the webhook endpoint to consume the notifications. This will allow proper monitoring of the migration.
Follow our webhooks documentation to setup your endpoint:
Follow this guide to setup email notifications for comments:
Follow this guide to setup a new notification kind:
Dual write
During this phase, you’ll write to both your legacy notification system and Liveblocks simultaneously. This ensures data consistency while allowing you to validate that Liveblocks is working correctly before fully switching over. You’ll dual write both in-app notifications and user notification settings.
In-app notifications
Store Liveblocks IDs alongside your legacy IDs to keep states aligned. Create the Liveblocks notification, then add the corresponding Liveblocks ID to the created legacy notification.
Now whenever the user marks a notification as read you can also mark it as read in Liveblocks.
User notification settings
Each time users change their channel notification settings preference, the
changes must be reflected in Liveblocks. You will use the
updateNotificationSettings API to do that.
Backfill
Once dual writing is in place, you’ll need to backfill existing data from your legacy system into Liveblocks. This will ensure user settings are available in Liveblocks before you complete the migration.
User notification settings
Go through all your users’ settings and update the notification settings in Liveblocks.
Setup the inbox notification UI
Use a feature flag to either display notifications from your legacy system or Liveblocks.
Follow our documentation on notifications to setup the inbox notification UI in your application.
Setup user notification settings UI
Use a feature flag to display user notifications settings from your legacy system or from the Liveblocks.
Follow our guide on creating a notification settings panel:
How to create a notification settings panel
Release
You have setup dual writing, backfilled the data, prepared the webhook endpoint to send channel notifications and setup the UIs for inbox notifications and user notification settings. The only thing left to do to release is to toggle the feature flag to switch from your legacy notification system to Liveblocks’s.
Clean-up
You can now stop writing to the legacy system and only write to Liveblocks notifications and user notification settings. You can also remove the feature flag from your webhook endpoint and from your application.