This tutorial aims to guide you on how you can create and add a live avatar
stack to your product using React, Firebase, and Liveblocks. By the end of this
tutorial, you should have a solid understanding of:
What a live avatar stack is
What Liveblocks is
How to install and connect to Liveblocks
How to use Firebase in Liveblocks for authentication
A few Liveblocks React hooks such as useOthers() and useSelf()
A live avatar is a pictorial representation of a collaborator working in a
virtual space. Applications like Figma and Dropbox use live avatars to represent
active users. When the user enters the virtual space, an avatar is created to
indicate the user’s presence, and also when the user leaves, the avatar is
removed or dimmed to indicate the user’s absence. This helps collaborators to
work as though they were in a physical room and can see who is present or not.
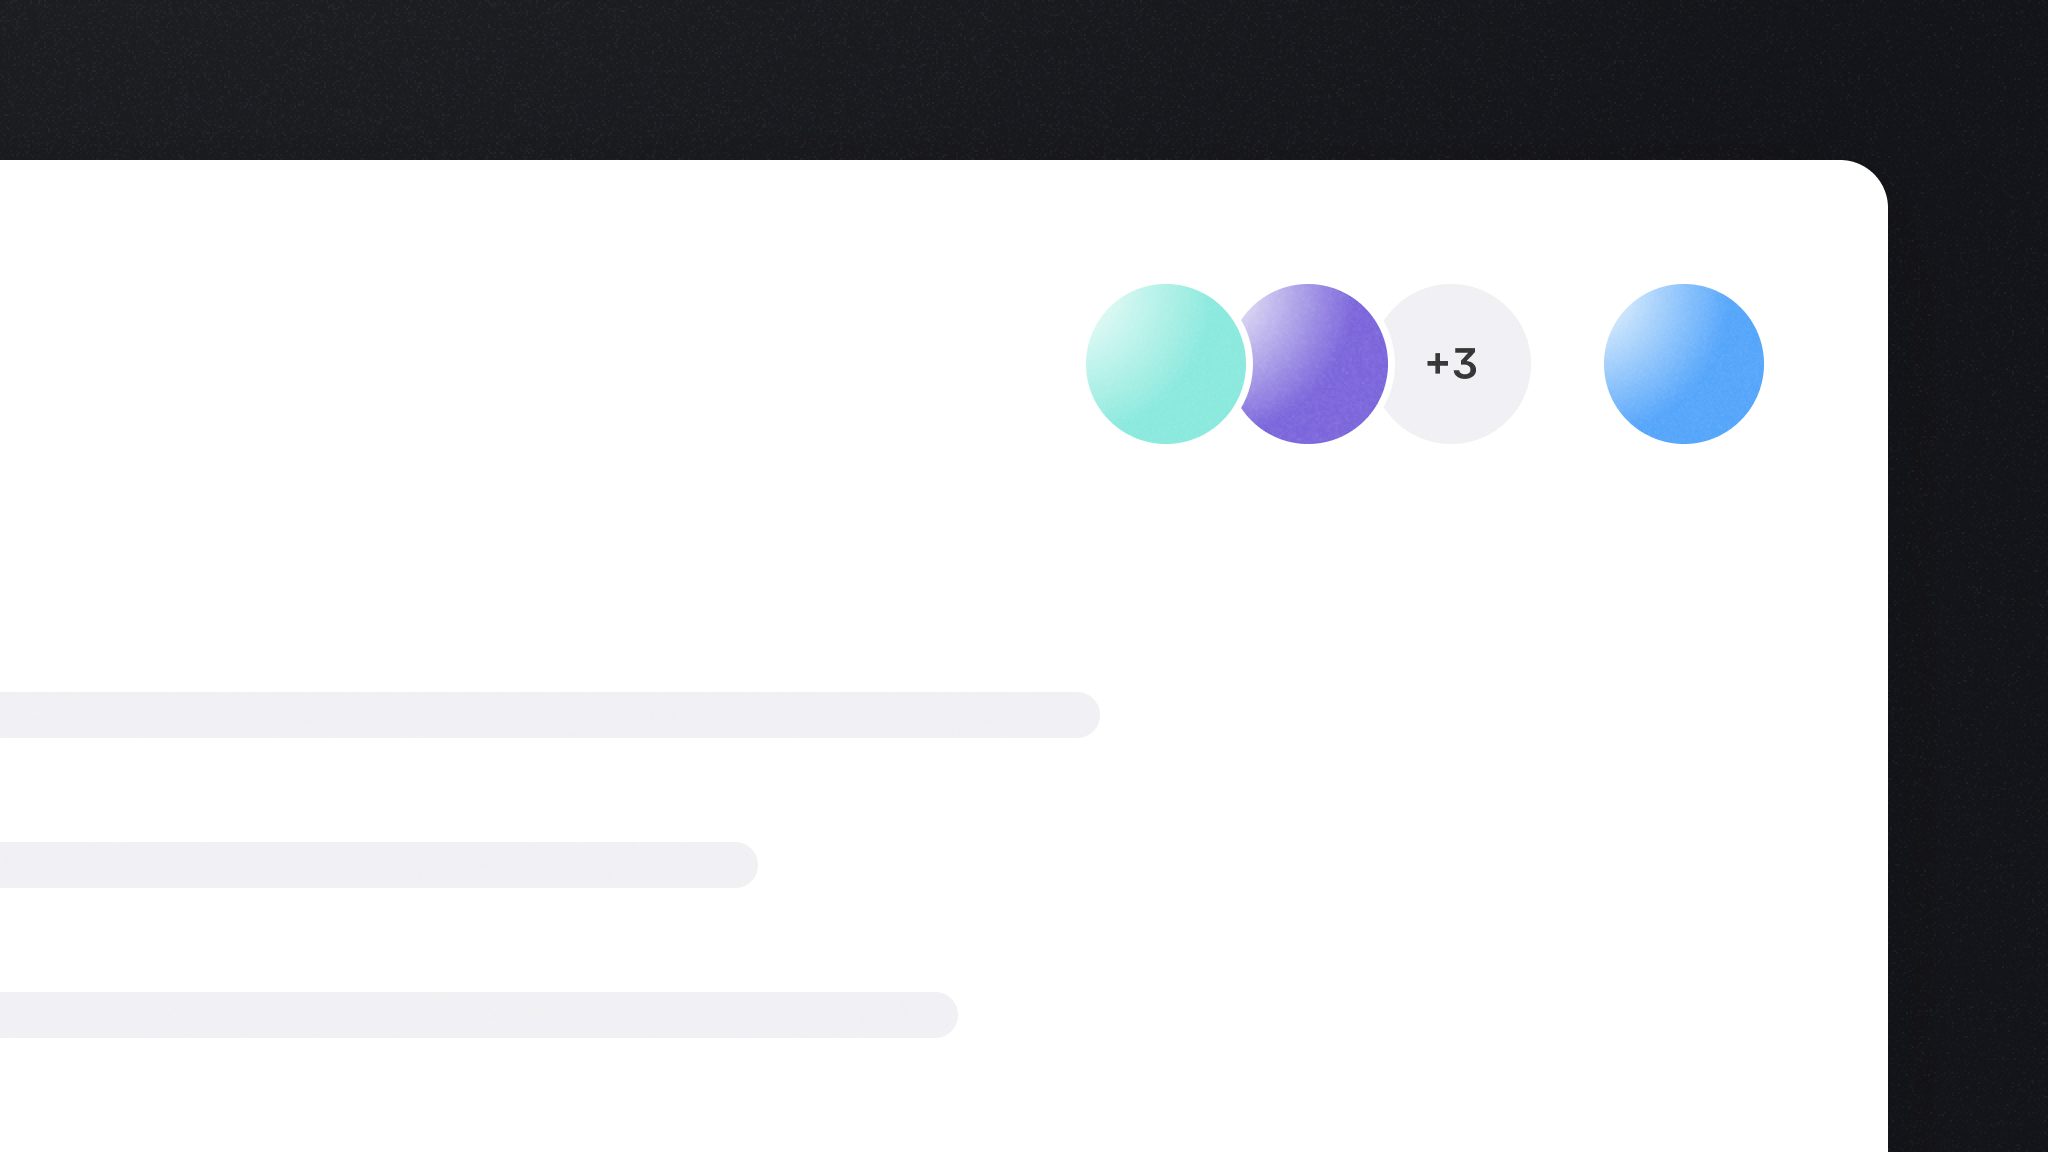
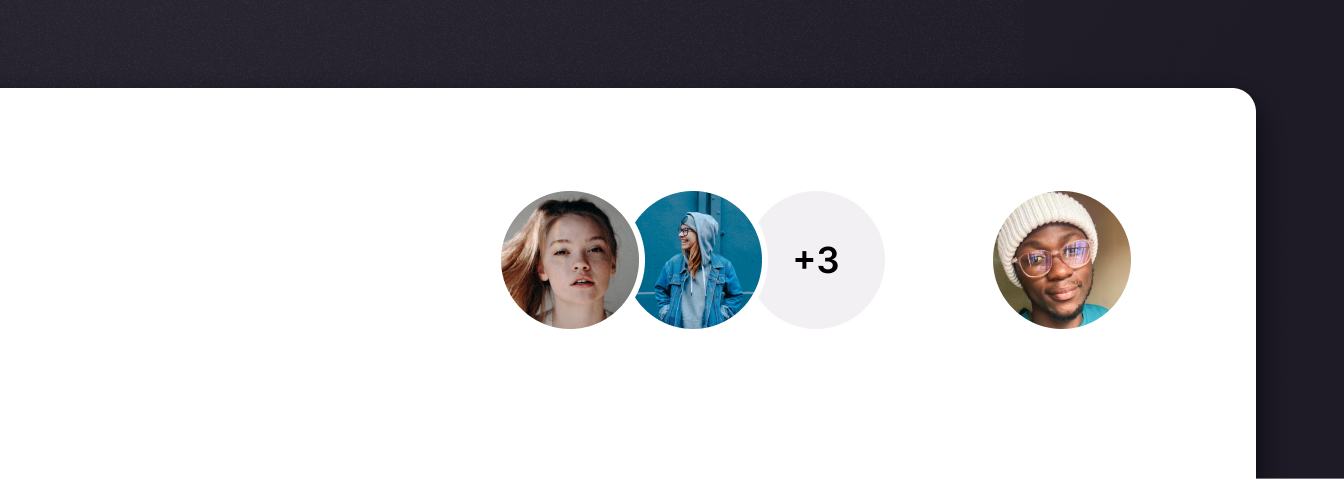
An avatar stack is a group of avatars and here’s an image of what a typical
avatar stack looks like:
Next, you need to connect to Liveblocks server using the LiveblocksProvider
component in the root of your project (let’s say index.js file) and pass in
client as a prop to this component. Remember this makes Liveblocks hooks
available to all of your components wrapped in the LiveblocksProvider
component. This is a typical example of what your root file (say index.js
file) should look like:
importReactfrom"react";importReactDOMfrom"react-dom";import"./index.css";importAppfrom"./App"; import{ createClient }from"@liveblocks/client";import{LiveblocksProvider}from"@liveblocks/react"; importfirebasefrom"firebase";import"firebase/functions"; firebase.initializeApp({/* Firebase config */}); // We will be creating this auth endpoint function later in the tutorialconst auth = firebase.functions().httpsCallable("auth"); // Create a Liveblocks clientconst client =createClient({authEndpoint:async(room)=>(awaitauth({ room })).data,}); ReactDOM.render(<React.StrictMode><LiveblocksProvider client={client}><App/></LiveblocksProvider></React.StrictMode>,document.getElementById("root"));
Remember a room (the virtual space) where users collaborate? The next step is to
connect to this room and to do this, we use the RoomProvider in our App.js
component and set a "live-avatars" ID like so:
importReactfrom"react";import{RoomProvider}from"@liveblocks/react";importAvatarStackfrom"./AvatarStack.js"; exportdefaultfunctionApp(){return(<RoomProvider id="live-avatars">{/* We'll be creating this AvatarStack component later in the tutorial */}<AvatarStack/></RoomProvider>);}
Remember you can make use of your Liveblocks public key or an authentication
endpoint to create a client using the createClient function. We will be
creating an authEndpoint using Firebase. We assume that you have set up your
Firebase config and added Firebase to your project. Users can only interact with
rooms they have access to. You can control permission access from an http
endpoint by creating a
Firebase function. To
do that, let’s first install @liveblocks/node package in your Firebase
functions project.
$npminstall @liveblocks/node
Next, create a new Firebase
callable function (let’s
say auth) as described below. This is where you have to implement your
security and define if the current user has access to a specific room. Don’t
forget to replace sk_prod_xxxxxxxxxxxxxxxxxxxx with
your API key.
const functions =require("firebase-functions");const{ authorize }=require("@liveblocks/node"); exports.auth= functions.https.onCall((data, context)=>{/* * Implement your own security here, use the conditional checks below as a guide. * * It's your responsibility to ensure that the caller of this endpoint * is a valid user by validating the cookies or authentication headers * and that it has access to the requested room. */ //check if user is authenticatedif(!context.auth){// Throwing an HttpsError so that the client gets the error details.thrownewfunctions.https.HttpsError('The function must be called while authenticated.');} //check if user has access to the roomif(room ==="live-avatars"){// Authentication/user information is automatically added to the request.const name = context.auth.token.name||null;const picture = context.auth.token.picture||null; returnauthorize({room: data.room,secret:"sk_prod_xxxxxxxxxxxxxxxxxxxxxxxx"//pass in your Liveblocks secret hereuser:{name, picture}//this is where we get the name and picture of users for our avatars}).then((authResult)=>{if(authResult.status!==200){thrownewfunctions.https.HttpsError(authResult.status, authResult.body);}returnJSON.parse(authResult.body);});}});
We’ve successfully set up our Firebase authentication endpoint!
This is what our AvatarStack.js component should look like:
import{ useOthers, useSelf }from"@liveblocks/react";importReactfrom"react";importAvatarfrom"./Avatar.js";importstylesfrom"./AvatarStack.module.css"; exportdefaultfunctionAvatarStack(){const users =useOthers().toArray();//returns all users in the roomconst currentUser =useSelf();//returns current user in the roomconst hasMoreUsers = users.length>3; return(<div className={styles.avatar_stack}><div className={styles.avatar_stack__others}>{users.slice(0,3).map(({ connectionId, user })=>{return(<Avatar key={connectionId} picture={user.picture} name={user.name}/>);})}{hasMoreUsers &&(<div className={styles.avatar_more}>+{users.length-3}</div>)}</div> {currentUser &&<Avatar picture={currentUser.user.picture} name="You"/>}</div>);}
And here is the AvatarStack.module.css file to go alongside with it:
And there you have it! Your AvatarStack component is available to be imported
and used however and wherever you wish to use it in your product.
Liveblocks makes it easy to implement online/virtual presence to improve
collaboration between team members. However, a live avatar stack isn’t the only
presence UI pattern you can build with Liveblocks, you can also build things
like live cursors, live selection, and more. Thank you for your time!