Get started - Get started with React

In this guide, we’ll be learning how to add collaboration to React using the Liveblocks custom hooks. The hooks are part of @liveblocks/react, a package enabling multiplayer experiences in a matter of minutes.

This guide uses TypeScript. Liveblocks can definitely be used without TypeScript. We believe typings are helpful to make collaborative apps more robust, but if you’d prefer to skip the TypeScript syntax, feel free to write your code in JavaScript.

If you’re using a state-management library such as Redux or Zustand, we recommend reading one of our dedicated guides:

You can also follow our step-by-step tutorial to learn how to use Liveblocks.

Install Liveblocks into your project

Install Liveblocks packages

Run the following command to install the Liveblocks packages:

$npm install @liveblocks/client @liveblocks/react

@liveblocks/client lets you interact with Liveblocks servers.
@liveblocks/react contains React providers and hooks to make it easier to consume @liveblocks/client.

Connect to Liveblocks servers

In order to use Liveblocks, we’ll need to sign up and get an API key. Create an account, then navigate to the dashboard to find your public key (it starts with pk_).

Let’s now add a new file liveblocks.config.ts in our application to create a Liveblocks client using the public key as shown below.

import { createClient } from "@liveblocks/client";
const client = createClient({ publicApiKey: "pk_prod_xxxxxxxxxxxxxxxxxxxxxxxx",});

Connect to a Liveblocks room

Liveblocks uses the concept of rooms, separate virtual spaces where people can collaborate. To create a multiplayer experience, multiple users must be connected to the same room.

Instead of using the client directly, we’re going to use createRoomContext from @liveblocks/react to create a RoomProvider and hooks to make it easy to consume from our components.

import { createClient } from "@liveblocks/client";import { createRoomContext } from "@liveblocks/react";
const client = createClient({ publicApiKey: "pk_prod_xxxxxxxxxxxxxxxxxxxxxxxx",});
export const { RoomProvider } = createRoomContext(client);

You might be wondering why we’re creating our Providers and Hooks with createRoomContext instead of importing them directly from @liveblocks/client. This allows TypeScript users to define their Liveblocks types once in one unique location—allowing them to get a great autocompletion experience when using those hooks elsewhere.

We can now import the RoomProvider directly from our liveblocks.config.ts file. The RoomProvider takes a room id as a property, this being the unique reference for the room. For this tutorial we’ll use "my-room-id" as our id. When the RoomProvider renders, the current user enters the room "my-room-id" and leaves it when it unmounts.

import { RoomProvider } from "./liveblocks.config";
function Index() { return ( <RoomProvider id="my-room-id" initialPresence={{}}> {/* Components that are inside RoomProvider can use our hooks */} </RoomProvider> );}

You might have noticed that we’re setting initialPresence property with an empty object. Let’s ignore it for now, we’ll explain the concept presence a bit later.

Get other users in the room

Now that the provider is set up, we can start using the Liveblocks hooks. The first we’ll add is useOthers, a hook that provides us information about which other users are connected to the room.

We can re-export this from liveblocks.config.ts, exactly like we did for RoomProvider.

import { createClient } from "@liveblocks/client";import { createRoomContext } from "@liveblocks/react";
const client = createClient({ publicApiKey: "pk_prod_xxxxxxxxxxxxxxxxxxxxxxxx",});
export const { RoomProvider, useOthers, // 👈} = createRoomContext(client);

To show how many other users are in the room, import useOthers into a component and use it as below.

import { RoomProvider, useOthers } from "./liveblocks.config";
function App() { const others = useOthers();
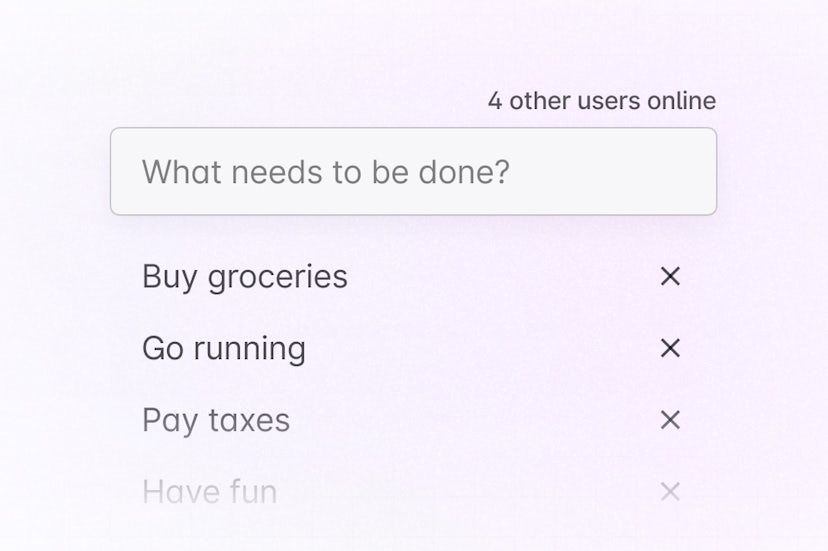
return <div>There are {others.length} other users with you in the room.</div>;}
function Index() { return ( <RoomProvider id="my-room-id" initialPresence={{}}> <App /> </RoomProvider> );}

Great! We’re connected, and we already have information about the other users currently online.

Define initial presence

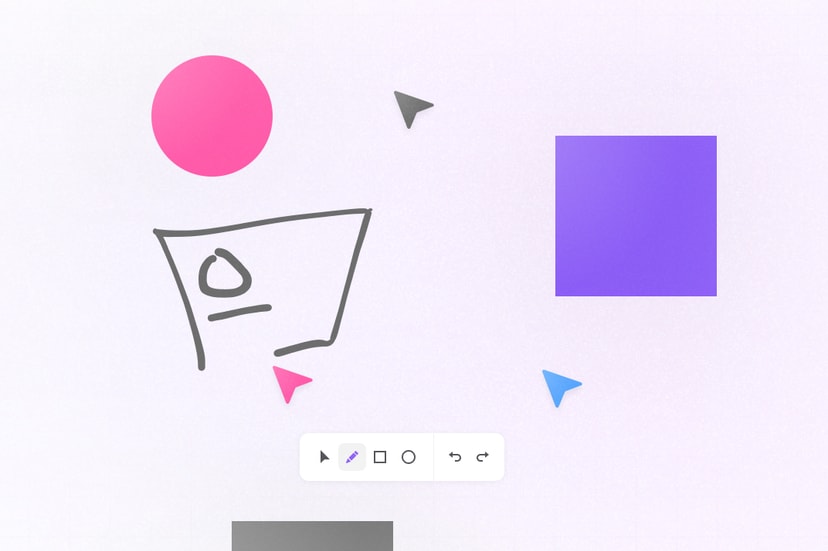
Most collaborative features rely on each user having their own temporary state, which is then shared with others. For example, in an app using multiplayer cursors, the location of each user’s cursor will be their state. In Liveblocks, we call this presence.

We can use presence to hold any object that we wish to share with others. An example would be the pixel coordinates of a user’s cursor:

cursor: { x: 256, y: 367 }

To start using presence, let’s define a type named Presence in liveblocks.config.ts and use it as a generic argument of createRoomContext. All of our presence hooks returned by createRoomContext will be typed correspondingly to the newly defined Presence type.

import { createClient } from "@liveblocks/client";import { createRoomContext } from "@liveblocks/react";
const client = createClient({ publicApiKey: "pk_prod_xxxxxxxxxxxxxxxxxxxxxxxx",});
type Presence = { cursor: { x: number; y: number } | null;};
export const { RoomProvider, useOthers } = createRoomContext<Presence>(client);

Then, define an initialPresence value on our RoomProvider. We’ll set the initial cursor to null to represent a user whose cursor is currently off-screen.

import { RoomProvider, useOthers } from "./liveblocks.config";
// App
function Index() { return ( <RoomProvider id="my-room-id" initialPresence={{ cursor: null }}> <App /> </RoomProvider> );}

Update user presence

We can add the useUpdateMyPresence hook to share this information in real-time, and in this case, update the current user cursor position when onPointerMove is called.

First, re-export useUpdateMyPresence like we did with useOthers.

// ...
export const { RoomProvider, useOthers, useUpdateMyPresence, // 👈} = createRoomContext<Presence>(client);

To keep this guide concise, we’ll assume that you now understand how to re-export your hooks for every new hook.

Next, import updateMyPresence and call it with the updated cursor coordinates whenever a pointer move event is detected.

import { useUpdateMyPresence } from "./liveblocks.config";
function App() { const updateMyPresence = useUpdateMyPresence();
return ( <div style={{ width: "100vw", height: "100vh" }} onPointerMove={(e) => updateMyPresence({ cursor: { x: e.clientX, y: e.clientY } }) } onPointerLeave={() => updateMyPresence({ cursor: null })} /> );}

We’re setting cursor to null when the user’s pointer leaves the element.

Get other users’ presence

To retrieve each user’s presence, and cursor locations, we can once again add useOthers. This time we’ll use a selector function to map through each user’s presence, and grab their cursor property. If a cursor is set to null, a user is off-screen, so we’ll skip rendering it.

import {  useOthers,  useUpdateMyPresence,  RoomProvider,} from "./liveblocks.config";
function App() { const others = useOthers(); const updateMyPresence = useUpdateMyPresence();
return ( <div style={{ width: "100vw", height: "100vh" }} onPointerMove={(e) => updateMyPresence({ cursor: { x: e.clientX, y: e.clientY } }) } onPointerLeave={() => updateMyPresence({ cursor: null })} > {others.map(({ connectionId, presence }) => presence.cursor ? ( <Cursor key={connectionId} x={presence.cursor.x} y={presence.cursor.y} /> ) : null )} </div> );}
// Basic cursor componentfunction Cursor({ x, y }) { return ( <img style={{ position: "absolute", transform: `translate(${x}px, ${y}px)`, }} src="https://liveblocks.io/images/cursor.svg" /> );}

Presence isn’t only for multiplayer cursors, and can be helpful for a number of other use cases such as live avatar stacks and real-time form presence.

Sync and persist the state across client

Some collaborative features require a single shared state between all users—an example of this would be a collaborative design tool, with each shape having its own state, or a form with shared inputs. In Liveblocks, this is where storage comes in. Room storage automatically updates for every user on changes, and unlike presence, persists after users disconnect.

Storage types

Our storage uses special data structures (inspired by CRDTs) to resolve all conflicts, meaning that state is always accurate. There are multiple storage types available:

  • LiveObject - Similar to a JavaScript object.
  • LiveList - An array-like ordered collection of items.
  • LiveMap - Similar to a JavaScript Map.

Defining initial storage

To use storage, first define a type named Storage in liveblocks.config.ts, like we did for Presence. In this example we’ll define a LiveObject called scientist, containing first and last name properties.

import { createClient, LiveObject } from "@liveblocks/client";// ...
type Storage = { scientist: LiveObject<{ firstName: string; lastName: string }>;};
export const { RoomProvider, /* exported hooks */} = createRoomContext<Presence, Storage>(client);

Then, define the initial structure within RoomProvider.

import { LiveObject } from "@liveblocks/client";import { RoomProvider } from "./liveblocks.config";
/* App */
function Index() { return ( <RoomProvider id="my-room-id" initialPresence={/* ... */} initialStorage={{ scientist: new LiveObject({ firstName: "Marie", lastName: "Curie", }), }} > <App /> </RoomProvider> );}

Using storage

Once the default structure is defined, we can then make use of our storage. The useStorage hook allows us to access an immutable version of our storage using a selector function.

import { useStorage } from "./liveblocks.config";
function App() { const scientist = useStorage((root) => root.scientist);
if (scientist == null) { return <div>Loading...</div>; }
return ( <> <input value={scientist.firstName} /> <input value={scientist.lastName} /> </> );}

The two input values will now automatically update in a real-time as firstName and lastName are modified by other users.

useStorage returns null during the initial loading because the storage is loaded from the server. It can quickly become cumbersome to handle null whenever we use useStorage, but we have some good new for you; @liveblocks/react contains a Suspense version of all of our hooks.

Using Suspense

If you’d like to use Suspense in your application, make sure to re-export our hooks from liveblocks.config.ts like so.

// ...
export const { suspense: { RoomProvider, useStorage, /* exported hooks */ },} = createRoomContext<Presence, Storage>(client);

And then put a Suspense component right below the RoomProvider. This version of useStorage never returns null, the loading fallback will be handled by Suspense fallback.

import { LiveObject } from "@liveblocks/client";import { Suspense } from "react";import { RoomProvider, useSelector } from "./liveblocks.config";
function App() { const scientist = useStorage((root) => root.scientist);
return ( <> <input value={scientist.firstName} /> <input value={scientist.lastName} /> </> );}
function Index() { return ( <RoomProvider id="my-room-id" initialPresence={/* ... */} initialStorage={{ scientist: new LiveObject({ firstName: "Marie", lastName: "Curie", }), }} > <Suspense fallback={<div>Loading</div>}> <App /> </Suspense> </RoomProvider> );}

If you’re using a framework that supports Server Side Rendering like Next.js, you cannot use Suspense directly like this. Liveblocks does not load the storage on the server by default, so the components using useStorage will never be able to render. To keep the benefits from Suspense, you should use ClientSideSuspense from @liveblocks/react instead of the normal Suspense from React like this:

import { ClientSideSuspense } from "@liveblocks/react";
// ...
function Index() { return ( <RoomProvider id="my-room-id" initialPresence={/* ... */} initialStorage={/* ... */} > <ClientSideSuspense fallback={<div>Loading...</div>}> {() => <App />} </Suspense> </RoomProvider> );}

Updating storage

The best way to update storage is through mutations. The useMutation hook allows you to create reusable callback functions that modify Liveblocks state. For example, let’s create a mutation that can modify the scientist’s name.

Inside this mutation we’re accessing the storage root, a LiveObject like scientist, and retrieving a mutable copy of scientist with LiveObject.get. From there, we can set the updated name using LiveObject.set.

// Define mutationconst updateName = useMutation(({ storage }, nameType, newName) => {  const mutableScientist = storage.get("scientist");  mutableScientist.set(nameType, newName);}, []);

We can then call this mutation, and pass nameType and newName arguments.

updateName("firstName", "Albert");

If we take a look at this in the context of a component, we can see how to combine useStorage to display the names, and useMutation to modify them. Note that useMutation takes a dependency array, and works similarly to useCallback.

import { useStorage, useMutation } from "./liveblocks.config";
function YourComponent() { const scientist = useStorage((root) => root.scientist);
const updateName = useMutation(({ storage }, nameType, newName) => { const mutableScientist = storage.get("scientist"); mutableScientist.set(nameType, newName); }, []);
return ( <> <input value={scientist.firstName} onChange={(e) => updateName("firstName", e.target.value)} /> <input value={scientist.lastName} onChange={(e) => updateName("lastName", e.target.value)} /> </> );}

All changes made within useMutation are automatically batched and sent to the Liveblocks together. useMutation can also be used to retrieve and modify presence too, giving you access to multiple parameters, not just storage.

useMutation({ storage, self, others, setMyPresence });

Find more information in the Mutations section of our documentation.

Nested data structures

With Liveblocks storage, it’s possible to nest data structures inside each other, for example scientist could hold a LiveList containing a list of pets.

initialStorage={{  scientist: new LiveObject({    pets: new LiveList(["🐶", "🐱", "🐷"]),    firstName: "Marie",    lastName: "Curie",  })}}

Because the useStorage selector converts your data structure into a normal immutable JavaScript structure (made from objects, arrays, maps), pets can be accessed directly with useStorage.

// ["🐶", "🐱", "🐷"]const pets = useStorage((root) => root.scientist.pets);

You can even reach into a LiveObject or LiveList and extract a property.

// "Marie"const firstName = useStorage((root) => root.scientist.firstName);
// "🐶"const firstPet = useStorage((root) => root.scientist.pets[0]);

Improving storage performance

useStorage is highly efficient and only triggers a rerender when the value returned from the selector changes. For example, the following selectors will only trigger rerenders when their respective values change, and are unaffected by any other storage updates.

// ✅ Rerenders only when root.scientist.firstName changesconst firstName = useStorage((root) => root.scientist.firstName);
// ✅ Rerenders only when root.scientist changesconst scientist = useStorage((root) => root.scientist);

However, selector functions must return a stable result to be efficient—if a new object is created within the selector function, it will rerender on every storage change.

// ❌ Rerenders on every change because `map` returns a new array every timeconst pets = useStorage((root) => root.scientist.pets.map((pet) => pet + pet));

To account for this, we can pass a shallow equality check function, provided by @liveblocks/react:

import { shallow } from "@liveblocks/react";
// ✅ Rerenders only when root.scientist.pets shallowly changesconst pets = useStorage( (root) => root.scientist.pets.map((pet) => pet + pet), shallow);

Find more information in the How selectors work section of our documentation.

Multiplayer undo/redo

Implementing undo/redo in a multiplayer environment is notoriously complex, but Liveblocks provides functions to handle it for you. useUndo and useRedo return functions that allow you to undo and redo the last changes made to your app.

import { useUndo, useRedo } from "./liveblocks.config";
function App() { const undo = useUndo(); const redo = useRedo();
return ( <> <button onClick={() => undo()}>Undo</button> <button onClick={() => redo()}>Redo</button> </> );}

An example of this in use would be a button that updates the current firstName of a scientist. Every time a Liveblocks storage change is detected, in this case .set being called, it’s stored. Pressing the undo button will change the name back to its previous value.

import { useState } from "react";import { useMutation, useUndo } from "./liveblocks.config";
function YourComponent() { const [text, setText] = useState(""); const undo = useUndo();
const updateName = useMutation(({ storage }, newName) => { storage.get("scientist").set("firstName", newName); });
return ( <> <input type="text" value={text} onChange={(e) => setText(e.target.value)} /> <button onClick={() => updateName(text)}>Update Name</button> <button onClick={() => undo()}></button> </> );}

Multiplayer undo/redo is much more complex that it sounds—if you’re interested in the technical details, you can find more information in our interactive article: How to build undo/redo in a multiplayer environment.

Pause and resume history

Sometimes it can be helpful to pause undo/redo history, so that multiple updates are reverted with a single call.

For example, let’s consider a design tool; when a user drags a rectangle, the intermediate rectangle positions should not be part of the undo/redo history, otherwise pressing undo may only move the rectangle one pixel backwards. However, these small pixel updates should still be transmitted to others, so that the transition is smooth.

useHistory is a hook that allows us to pause and resume history states as we please.

import { useHistory } from "./liveblocks.config";
function App() { const { resume, pause } = useHistory();
return <Rectangle onDragStart={() => pause()} onDragEnd={() => resume()} />;}

Presence history

By default, undo/redo only impacts the room storage—there’s generally no need to use it with presence, for example there’s no reason to undo the position of a user’s cursor. However, occasionally it can be useful.

If we explore the design tool scenario, the currently selected rectangle may be stored in a user’s presence. If undo is pressed, and the rectangle is moved back, it would make sense to remove the user’s selection on that rectangle.

To enable this, we can use the addToHistory option when updating the user’s presence.

import { useUpdateMyPresence } from "./liveblocks.config";
function App() { const updateMyPresence = useUpdateMyPresence();
return ( <Rectangle onClick={(rectangleId) => updateMyPresence({ selected: rectangleId }, { addToHistory: true }) } /> );}

This also works in mutations with setMyPresence.

import { useMutation } from "./liveblocks.config";
const updateSelected = useMutation(({ setMyPresence }, rectangleId) => { setMyPresence({ selected: rectangleId }, { addToHistory: true });});

Next steps

Congratulations! You’ve learned the basic building blocks behind real-time Liveblocks applications. What’s next?

© 2023 Liveblocks Inc.Edit this page