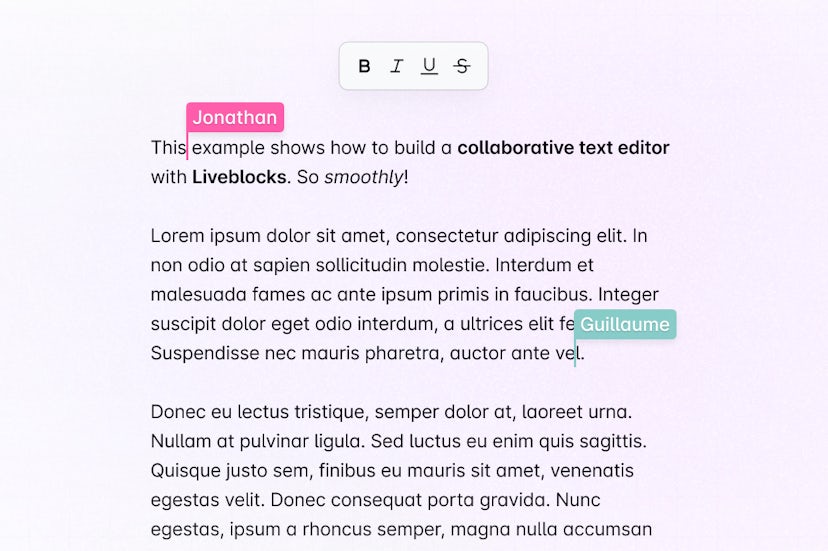
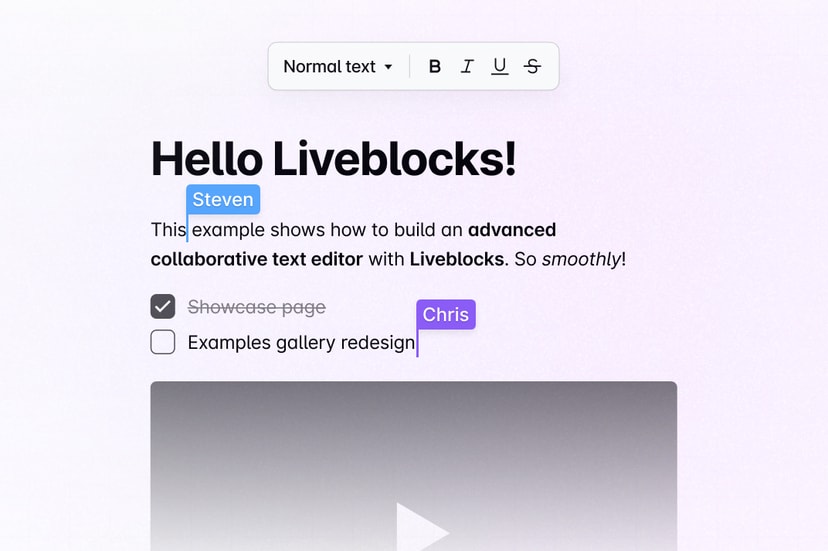
Quickstart - Get started with a Tiptap text editor using Liveblocks and React
Liveblocks is a realtime collaboration infrastructure for building performant
collaborative experiences. Follow the following steps to start adding
collaboration to your React application using the APIs from the
@liveblocks/react-tiptap
package.
Quickstart
Install Liveblocks and Tiptap
Every Liveblocks package should use the same version.
TerminalInitialize the
liveblocks.config.tsfileWe can use this file later to define types for our application.
TerminalSet up the Liveblocks client
Liveblocks uses the concept of rooms, separate virtual spaces where people collaborate, and to create a realtime experience, multiple users must be connected to the same room. Set up a Liveblocks client with
LiveblocksProvider, and join a room withRoomProvider.App.tsxJoin a Liveblocks room
After setting up the room, you can add collaborative components inside it, using
ClientSideSuspenseto add loading spinners to your app.App.tsxSet up the collaborative Tiptap text editor
Now that we set up Liveblocks, we can start integrating Tiptap and Liveblocks in the
Editor.tsxfile. To make the editor collaborative, we can adduseLiveblocksExtensionfrom@liveblocks/react-tiptap.FloatingToolbaradds a text selection toolbar.Editor.tsxRender threads and composer
To add Comments to your text editor, we need to import a thread composer and list each thread on the page. Create a
Threads.tsxfile that usesFloatingComposerfor creating new threads, alongsideAnchoredThreadsandFloatingThreadsfor displaying threads on desktop and mobile.Threads.tsxStyle your editor
Tiptap text editor is unstyled by default, so we can create some custom styles for it in a
globals.cssfile. Importglobals.css, alongside the default Liveblocks styles. You can import them into the root layout of your app or directly into a CSS file with@import.app/layout.tsxNext: authenticate and add your users
Text Editor is set up and working now, but each user is anonymous—the next step is to authenticate each user as they connect, and attach their name, color, and avatar, to their cursors and mentions.
Add your users to Text Editor
Optional: add more features
Tiptap is easy to extend, and a number of extensions are already available, making it possible to quickly create complex rich-text applications. For example you can enable features such as tables, text highlights, embedded images, and more. This is all supported using Liveblocks.
Find more extensions
What to read next
Congratulations! You now have set up the foundation for your collaborative Tiptap text editor inside your React application.

