How to synchronize your Liveblocks Yjs document data to a PlanetScale MySQL database
Liveblocks allows you to build collaborative applications with
Yjs, which is tightly integrated into our infrastructure.
Using our webhooks and the
@liveblocks/node package, you can then
retrieve the Yjs document data as it changes, and store it in your database.
What we’re building
In this guide we’ll be linking a Yjs application up to a PlanetScale MySQL database so that Yjs document data is automatically synchronized. This is enabled through the following:
- YDocUpdated webhook event
getYjsDocumentfrom@liveblocks/node
This guide assumes you already have a Liveblocks Yjs project set up. If you haven’t already got one, you can open our getting started page, select a text editor or code editor, both of which use Yjs, and come back after you’re set up.
This specific webhook is throttled
Note that the YDocUpdated webhook event is throttled at a rate of once every 60 seconds. This is because Yjs can update up to 60 times per second, and it would be impractical to run the webhook this frequently.
Create an endpoint in your project
When a webhook event is triggered, it can send a POST request to the back end in your project, and from within there we can update the database. In this guide, we’ll be using a Next.js route handler (API endpoint) as an example, but other frameworks work similarly.
In order to use webhooks, we’ll need to retrieve the headers and body from
the request. Here’s the basic endpoint we’ll be starting from:
Create this endpoint in your project, and make it available on localhost at
the following URL:
Testing webhooks locally
Running webhooks locally can be difficult, but one way to do this is to use a
tool such as localtunnel or
ngrok which allow you to temporarily
put your localhost server online.
If your project is running on localhost:3000, you can run the following
command to generate a temporary URL that’s available while your localhost server
is running:
localtunnel generates a base URL that can be placed into the Liveblocks
webhooks dashboard for quick testing. To use this, take the full address of your
webhook endpoint, and replace the domain in your localhost address with the
generated URL.
You now have a URL that can be used in the webhooks dashboard.
Set up webhooks on the Liveblocks dashboard
To use webhooks, you need to pass your endpoint URL to the webhooks dashboard inside your Liveblocks project, and tell the webhook to trigger when Yjs document data has changed.
Select your project
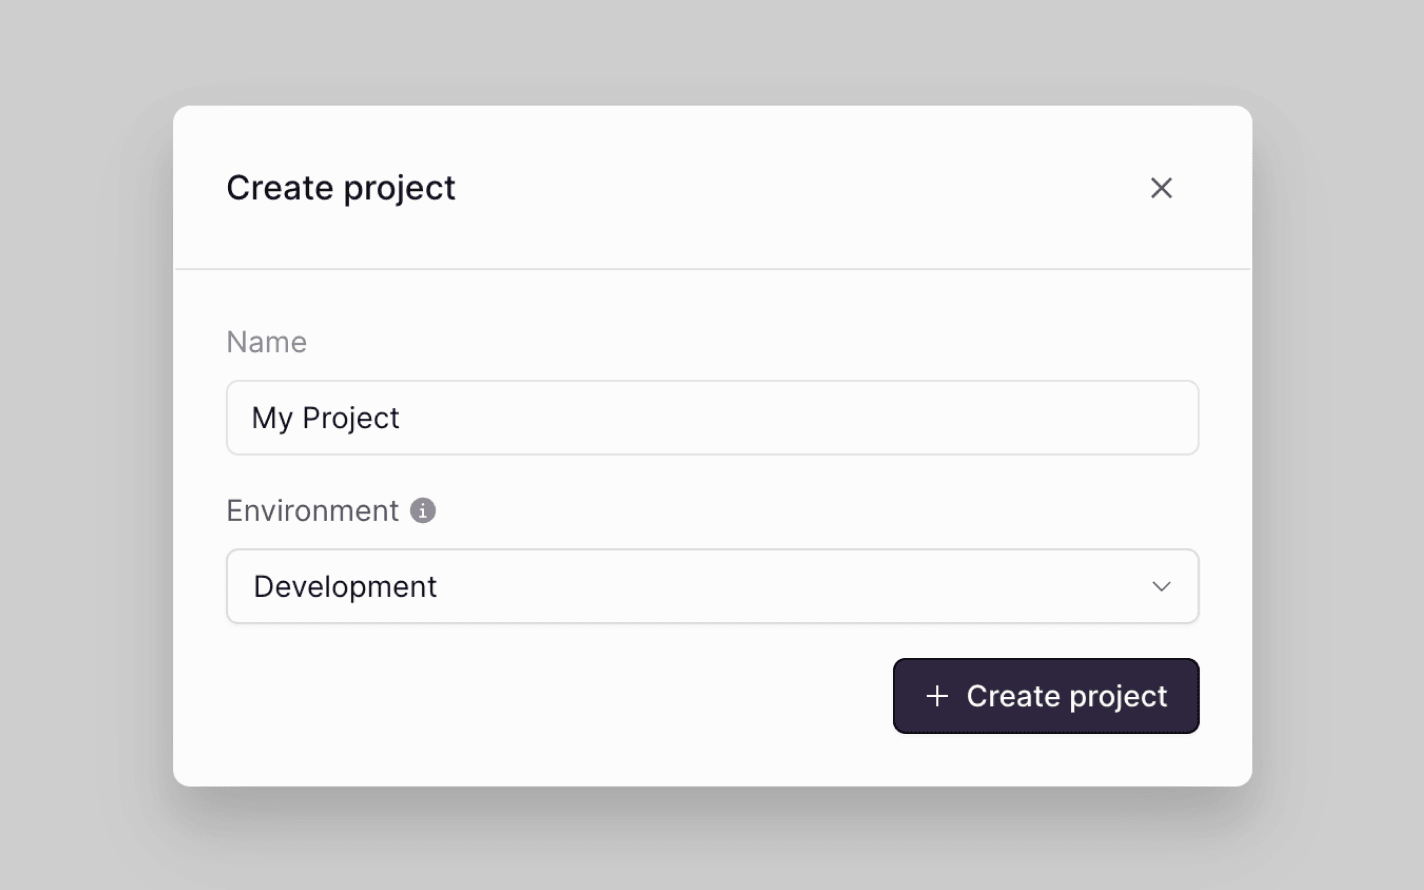
From the Liveblocks dashboard, navigate to the project you’d like to use with webhooks, or create a new project.
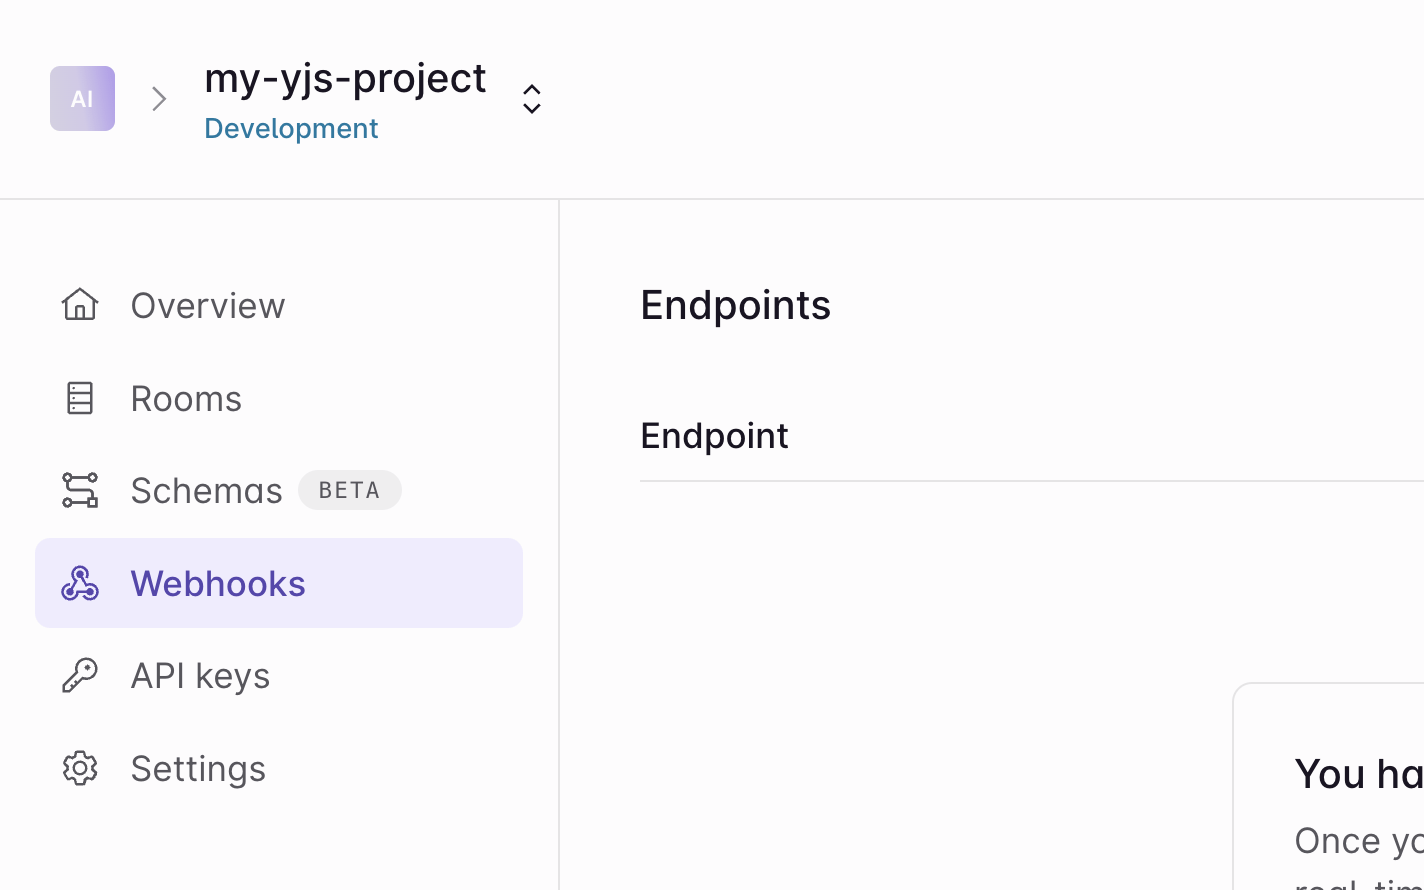
Go to the webhooks dashboard
Click on the “Webhooks” tab on the menu at the left.
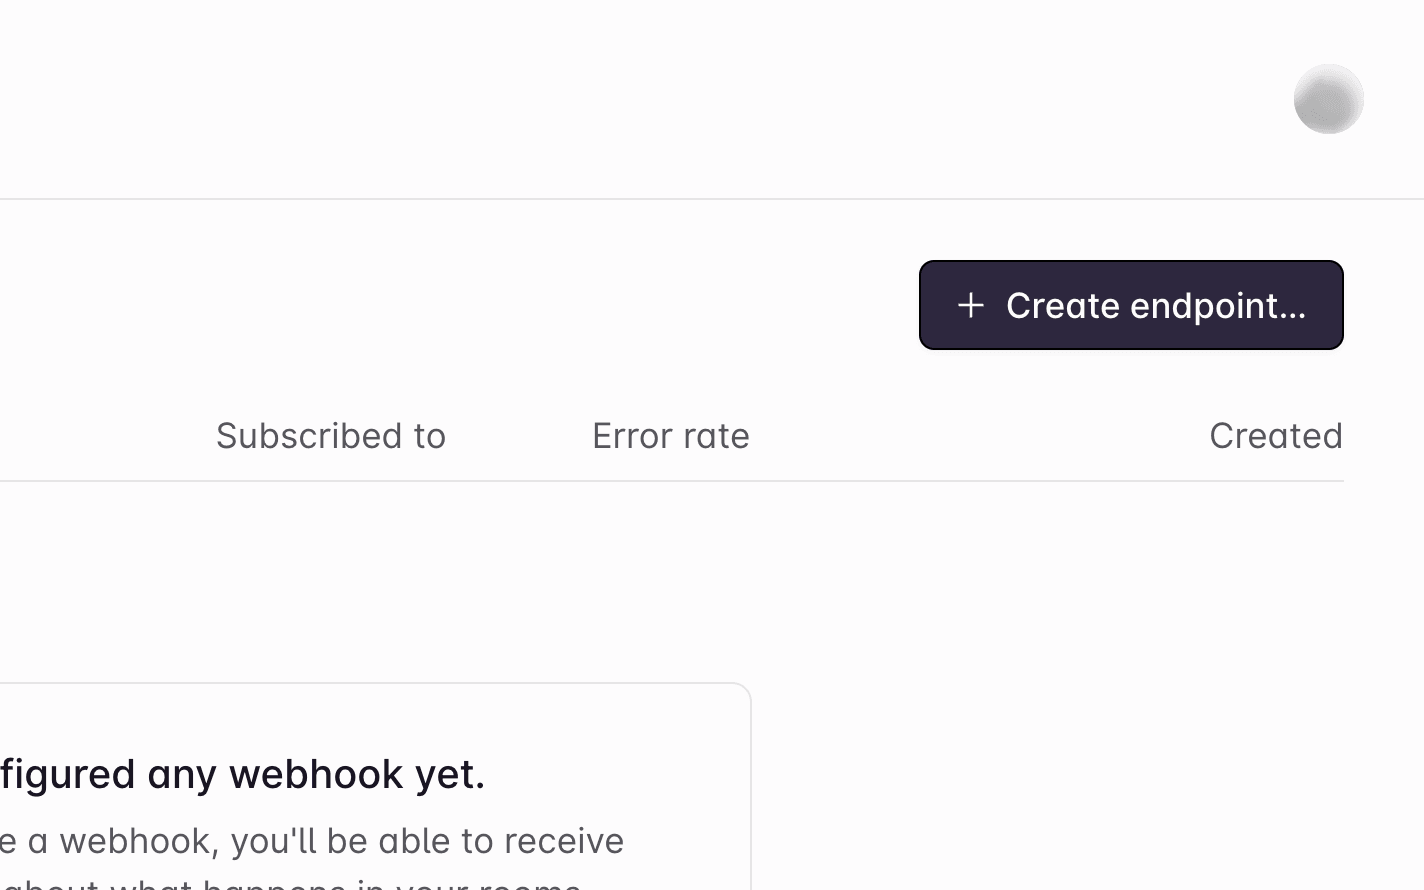
Create an endpoint
Click the “Create endpoint…” button on the webhooks dashboard to start setting up your webhook.
Add your endpoint URL
Enter the URL of the endpoint. In a production app this will be the real endpoint, but for now enter your
localtunnelURL from earlier.
Get your secret key
Click “Create endpoint” at the bottom, then find your “Secret key” on the next page, and copy it.
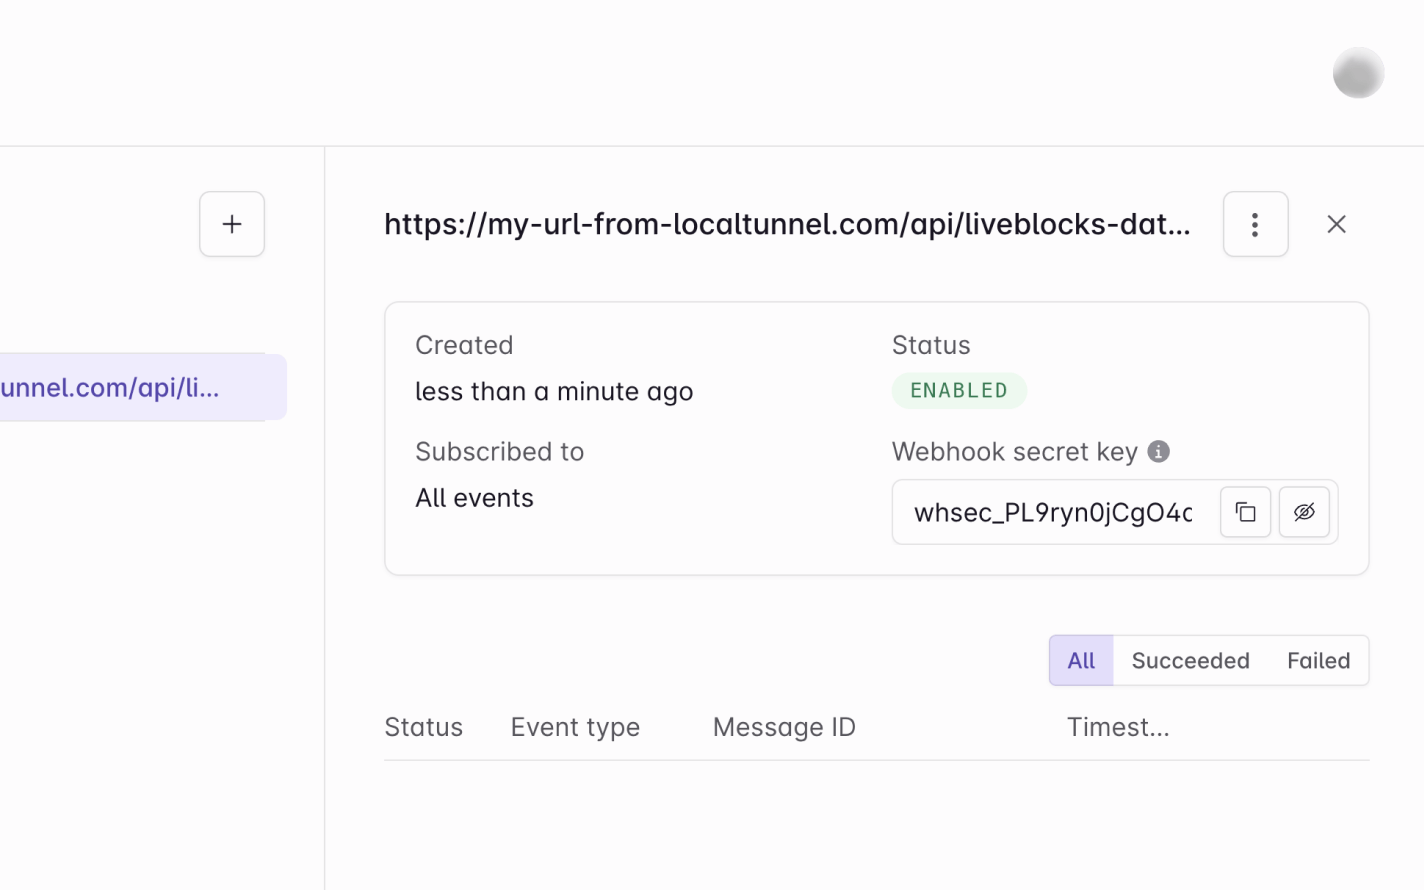
Webhooks dashboard is set up!
Note that you can filter specifically for
ydocUpdatedevents, but we’re ignoring this for now so we can test more easily. Let’s go back to the code.
Verify the webhook request
The @liveblocks/node package provides
you with a function that verifies whether the current request is a real webhook
request from Liveblocks. You can set this up by setting up a
WebhookHandler and
running verifyRequest.
Make sure to add your “Webhook secret” from the Liveblocks dashboard—in a real project we’d recommend using an environment variable for this.
We can then check we’re receiving the correct type of event, get the updated
roomId, and handle updating the database inside there.
Get the current room’s Yjs document data
Before updating our database, we need to get the current room’s data. We can do
this with
getYjsDocument
from @liveblocks/node. To use it, you
need to add your secret key from your project page.
Create a PlanetScale MySQL database
We’re ready to set up our PlanetScale database! We’ll be creating a simple
documents table that contains the following fields:
| Field | Description | Type | Key |
|---|---|---|---|
roomId | The roomId. | VARCHAR(255) | PRIMARY |
yDocData | The stringified JSON Yjs data. | TEXT |
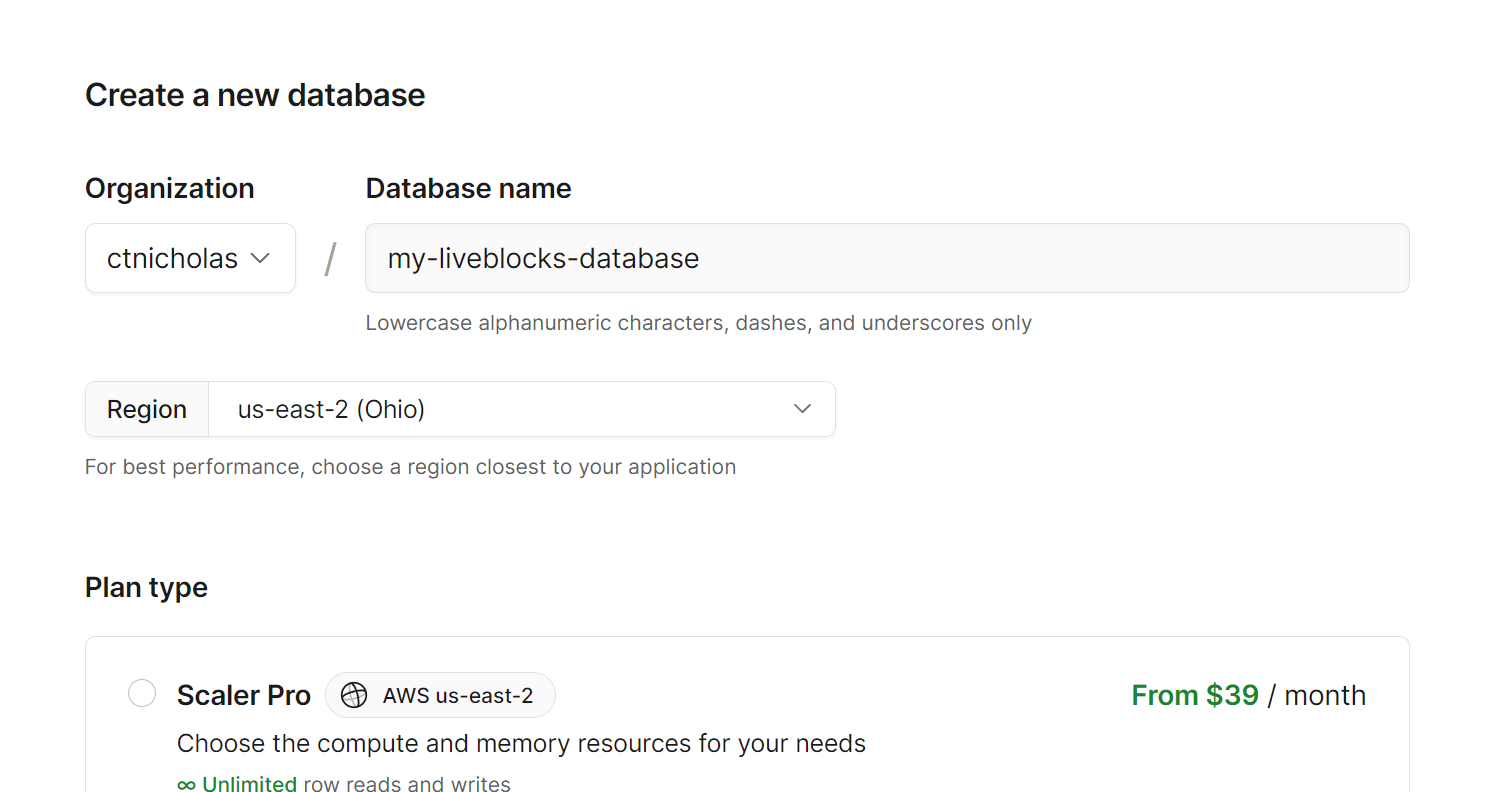
Create a database
Navigate to PlanetScale’s new database page, give your database a name, and click “Create” at the bottom.
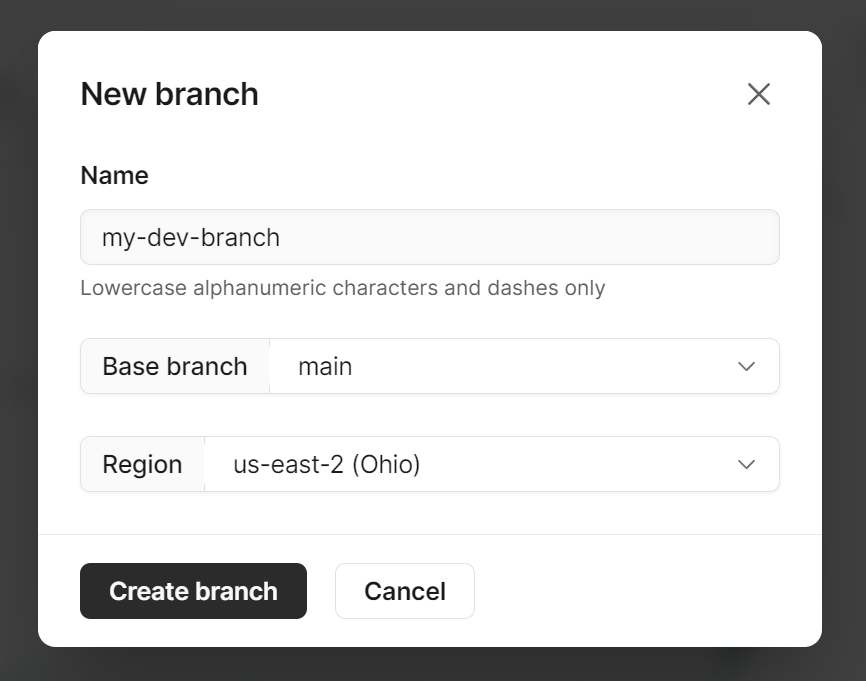
Create a new branch
After the database has been created, click “New branch” at the top right to create a branch—this works like Git.
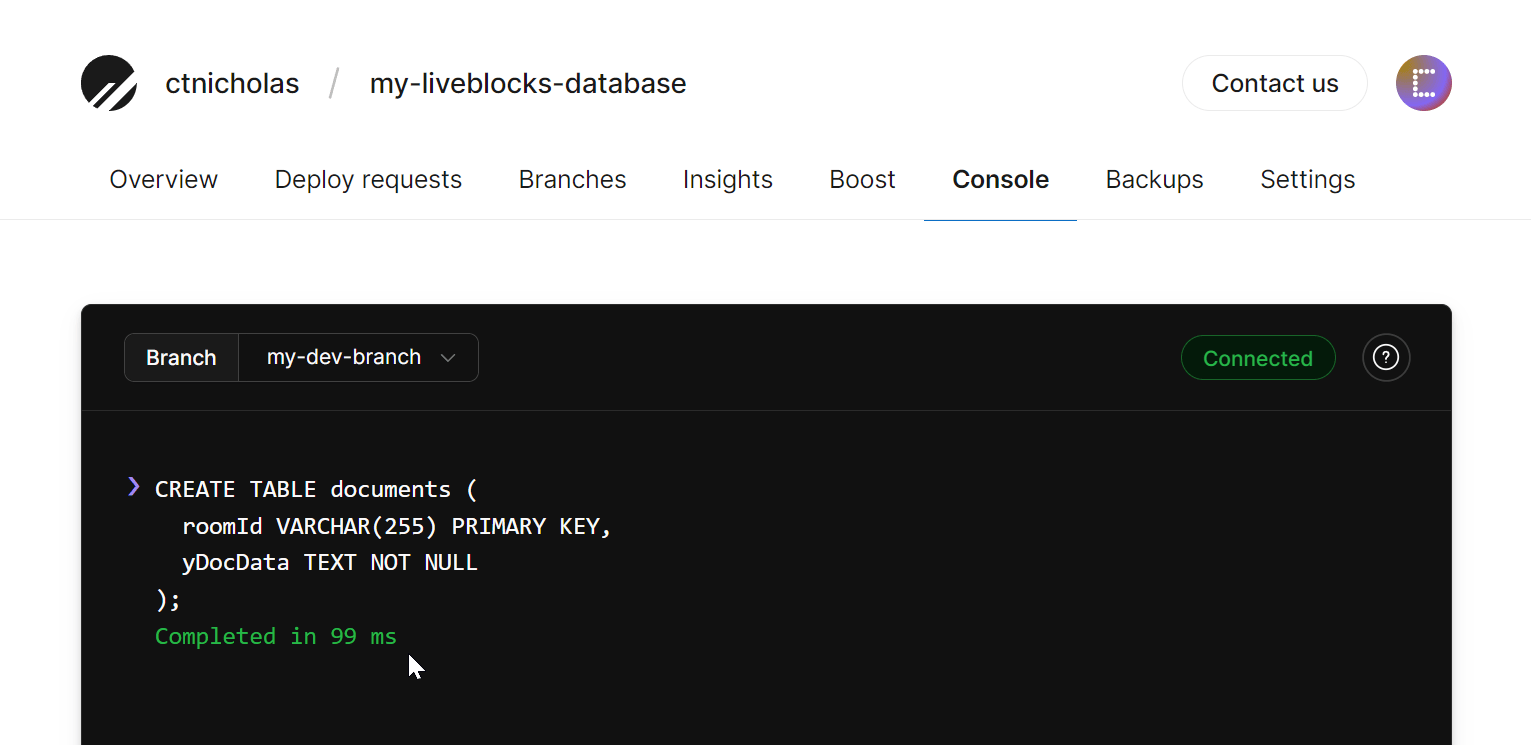
Set up your schema
Click “Console” at the top, select your branch, and enter the following to set up your table.
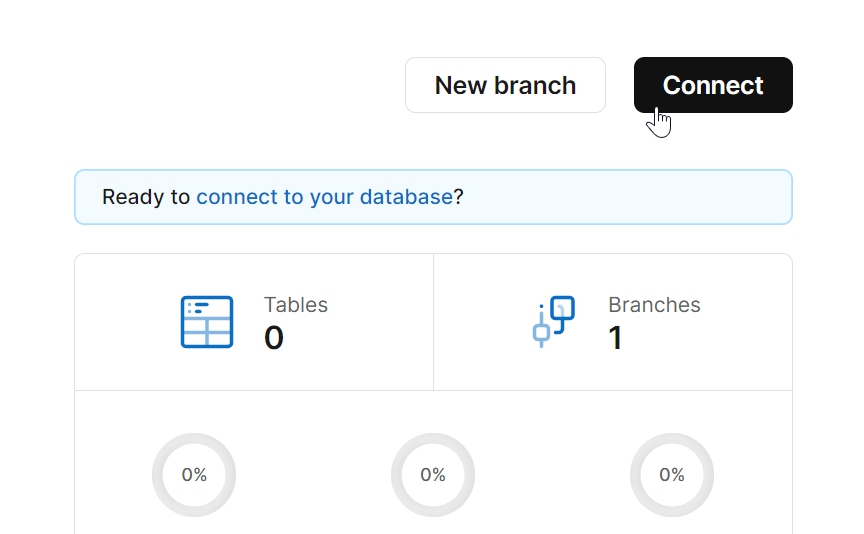
Click “Connect”
After the database has been created, click “Connect” at the top right to create new credentials.
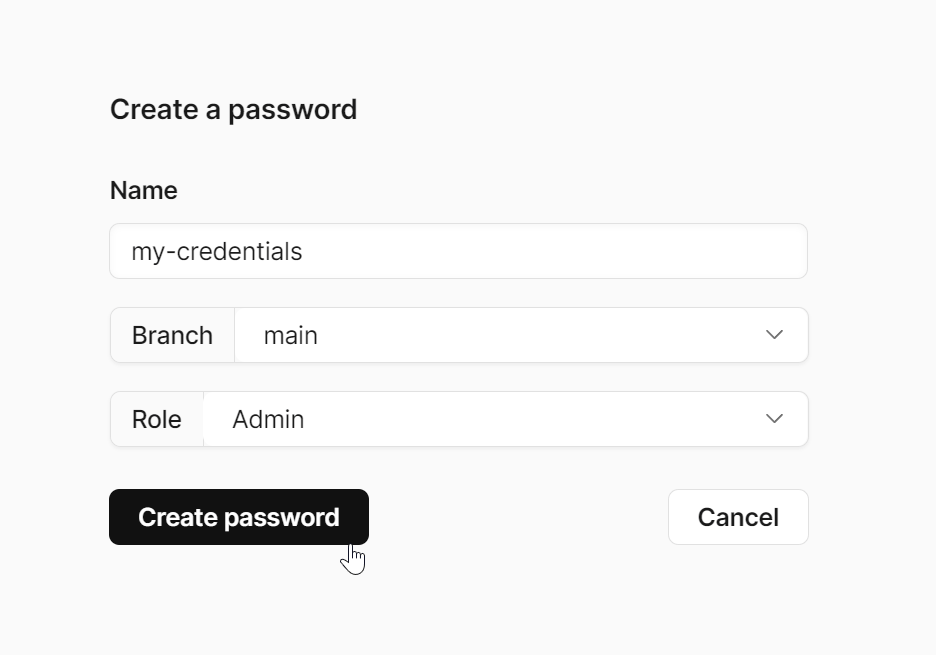
Create credentials
Give your new credentials a name, then click “Create Password”.
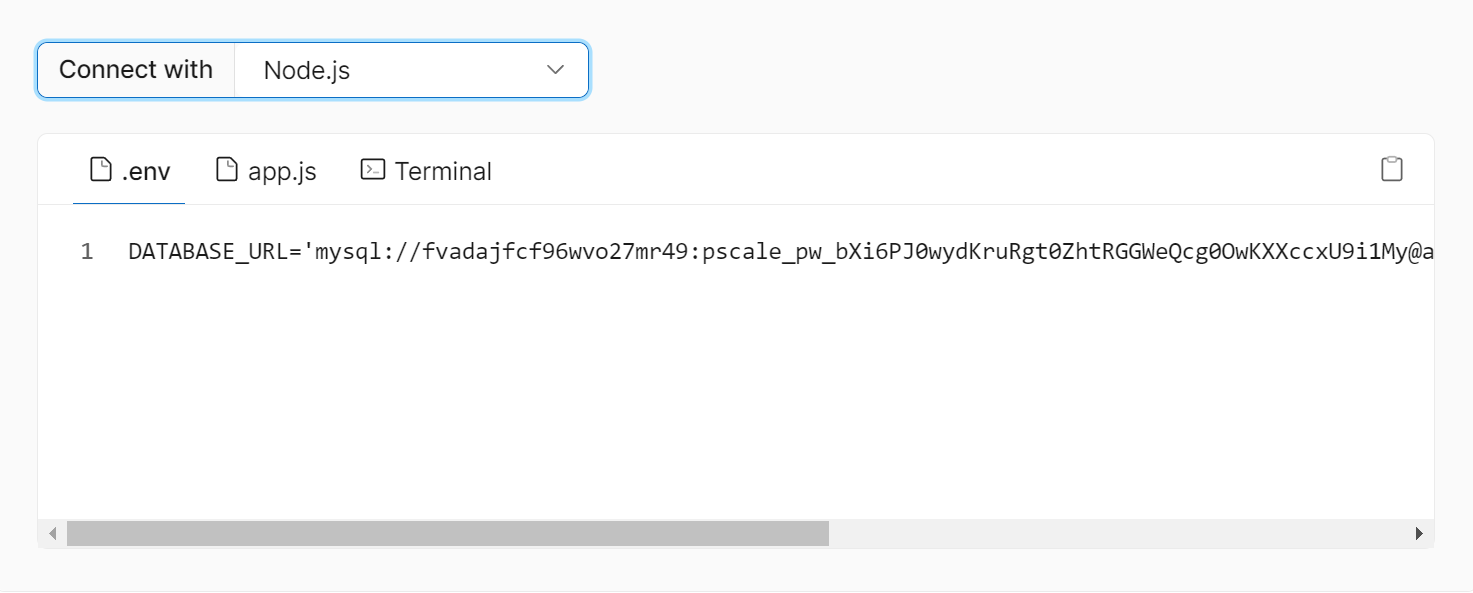
Add the credentials to your project
Select “Node.js” in the dropdown and copy the database URL (or add it as an environment variable).
Database ready!
Let’s take a look at the code.
Add the Yjs data to your database
And finally, we can add the Yjs JSON data to our database! First, we need to
install mysql2:
Then implement the following to synchronize your data to PlanetScale:
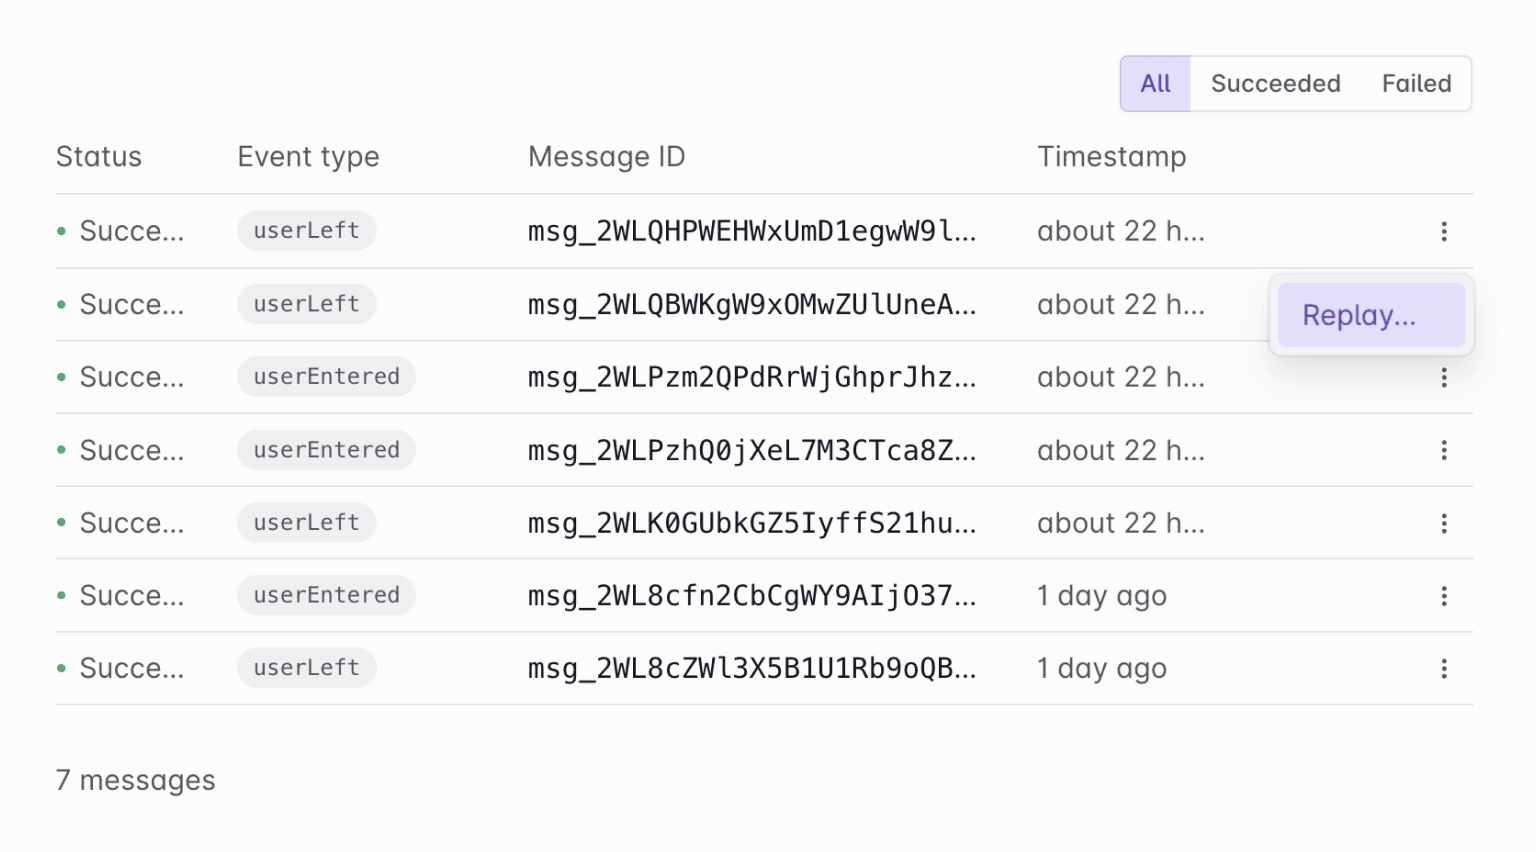
Check if it worked
To check if your database synchronization is working, you can replay a
yDocUpdated event from the Liveblocks dashboard.
Then go back to the Console page on PlanetScale and enter the following to see all entries:
You should now see your Yjs document—we’ve successfully set up data synchronization! When a user edits Yjs data in your app, this function will be called, and your database will be updated. You can rely on this to stay up to date, within the 60 second throttle limit.
Learn more
You can learn more about Liveblocks webhooks in our full
webhooks guide. We also have an API reference for
getYjsDocument.