Initialize your Liveblocks configuration file with a single command
You can now use a single command to initialize your Liveblocks configuration file, enabling you to start building collaborative experiences quicker than ever.
Liveblocks allows you to place all your TypeScript types in a single config
file, liveblocks.config.ts, and have them propagate throughout your
application. This is made possible by passing your types to the
createRoomContext function for React.
Previously, engineers had to write liveblocks.config.ts files manually before
integrating Liveblocks into the core of their applications. This made onboarding
slower than it needed to be, especially for people that wanted to try Liveblocks
for the first time.
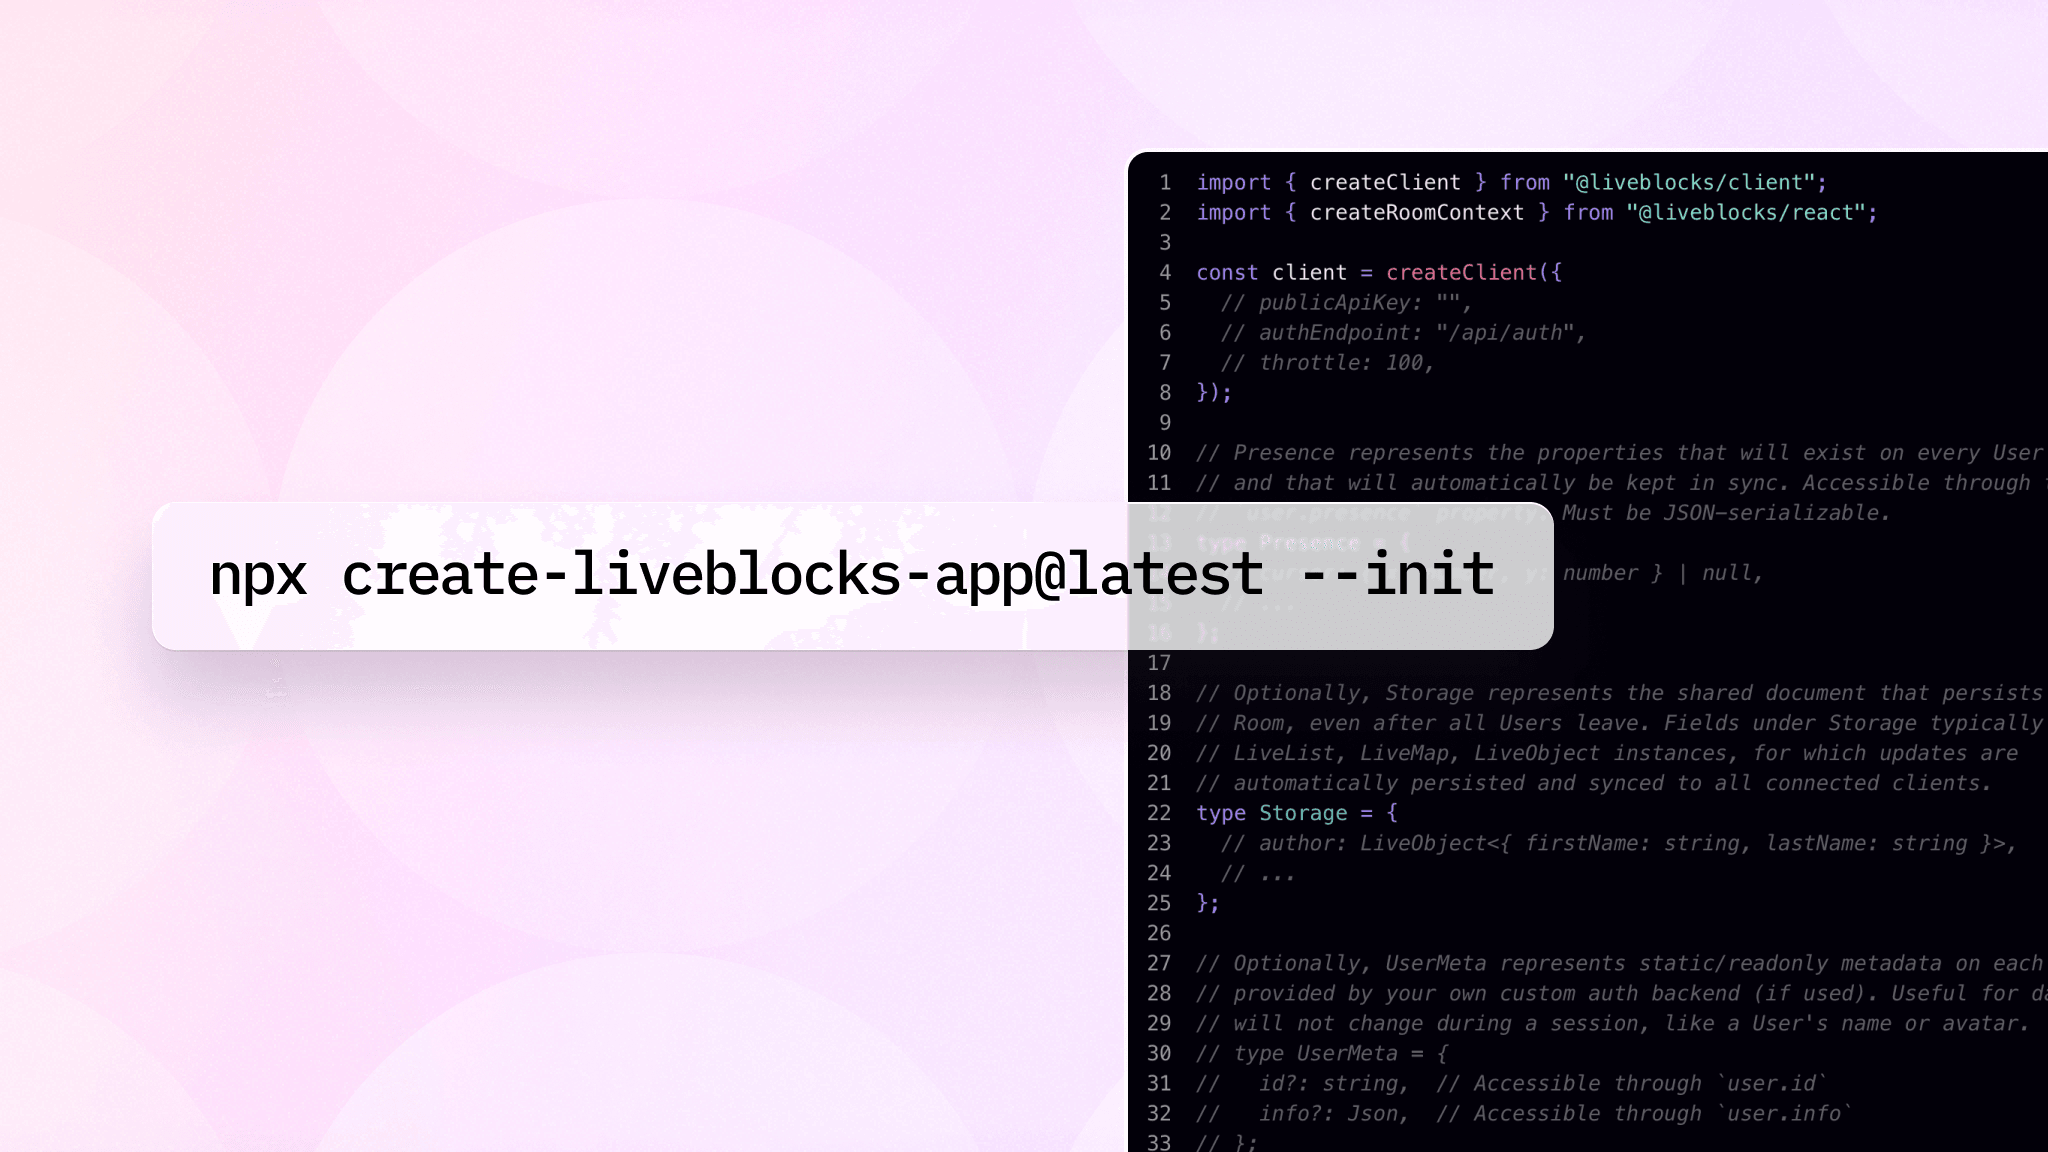
It now only takes a few seconds to generate a full liveblocks.config.ts file
by running the following command in your application folder.
npx create-liveblocks-app@latest --init
Here’s what running that command looks like for a React Suspense configuration.
This will generate the following liveblocks.config.ts file automatically for
you, enabling you to quickly start building multiplayer experiences for your
product.
import{ createClient }from"@liveblocks/client";import{ createRoomContext }from"@liveblocks/react"; const client =createClient({// publicApiKey: "",// authEndpoint: "/api/auth",// throttle: 100,}); // Presence represents the properties that will exist on every User in the Room// and that will automatically be kept in sync. Accessible through the// `user.presence` property. Must be JSON-serializable.typePresence={// cursor: { x: number, y: number } | null,// ...}; // Optionally, Storage represents the shared document that persists in the// Room, even after all Users leave. Fields under Storage typically are// LiveList, LiveMap, LiveObject instances, for which updates are// automatically persisted and synced to all connected clients.typeStorage={// author: LiveObject<{ firstName: string, lastName: string }>,// ...}; // Optionally, UserMeta represents static/readonly metadata on each User, as// provided by your own custom auth backend (if used). Useful for data that// will not change during a session, like a User's name or avatar.// type UserMeta = {// id?: string, // Accessible through `user.id`// info?: Json, // Accessible through `user.info`// }; // Optionally, the type of custom events broadcast and listened to in this// room. Must be JSON-serializable.// type RoomEvent = {}; exportconst{ suspense:{ RoomProvider, useRoom, useMyPresence, useUpdateMyPresence, useSelf, useOthers, useOthersMapped, useOthersConnectionIds, useOther, useBroadcastEvent, useEventListener, useErrorListener, useStorage, useObject, useMap, useList, useBatch, useHistory, useUndo, useRedo, useCanUndo, useCanRedo, useMutation,},}=createRoomContext<Presence, Storage /* UserMeta, RoomEvent */>(client);
You can then start using the Liveblocks RoomProvider and hooks to build your
realtime app, such as a collaborative editor. For instance, here’s the React
code for listing the connectionId of everyone currently connected to the same
room.
One of the simplest use cases for Liveblocks is live cursors, and how is how you
can integrate it into your React application. In most scenarios, you’d need to
adjust the Storage, Presence, RoomEvent, and UserMeta types to fit your
needs, but live cursors only needs Presence, which could look like this.
You can then update people’s cursor positions with updateMyPresence from the
useMyPresence hook. To display other people’s cursors, simply loop through the
response from useOthers and display a custom React component that renders SVG
cursors with the appropriate X and Y coordinates.
That’s all you need—you now have live cursors in your React application!
If you’d like to make your product multiplayer like Figma, Notion, and others,
feel free to create an account, read our docs or skim
through our GitHub repository. We
can’t wait to see what you make with Liveblocks!