How to create a collaborative to-do list with JavaScript and Liveblocks
The goal of this tutorial is to show you how to build a collaborative to-do list app in 15 minutes. The to-dos will be persisted on Liveblocks backend and synced in realtime across clients. Users will also be able to see who’s currently using the app and when someone is typing.
We’re going to use vanilla JavaScript and esbuild for the bundling.
If you’re using a front-end framework such as React, we recommend reading one of our dedicated to-do list tutorials:
The source code for this guide is available on GitHub.
Install Liveblocks into your project
Install Liveblocks packages
Create an empty node project with npm init and run the following command to
install Liveblocks package and esbuild:
@liveblocks/client lets you interact with Liveblocks servers.
esbuild lets your bundle your app with
@liveblocks/client.
Then add a build script to your package.json that will be responsible to
bundle our app.
Connect to Liveblocks servers
You’ll need an API key in order to use Liveblocks.
Create a Liveblocks account to get
your API key. It should start with pk_.
With a secret key, you can control who can access the room. it’s more secure but you need your own back-end endpoint. For this tutorial, we’ll go with a public key. For more info, see the authentication guide.
To connect to Liveblocks servers, create a client with createClient and
set your public API key like below.
Connect to a Liveblocks room
A room is the virtual space where people collaborate. To create a collaborative experience, you’ll need to connect your users to a Liveblocks room following the instructions below.
You can easily connect to a room by using client.enter by passing the room
id as a parameter. For this tutorial we’ll use javascript-todo-app.
We’ve also passed an initialPresence value here—we’ll be using this later.
Show who’s currently in the room
Try the Liveblocks DevTools extension to inspect and debug your collaborative experiences as you build them, in realtime.
Now that Liveblocks is set up, we’re going to use room.subscribe("others")
to show who’s currently inside the room.
Create a file static/index.html with the following content:
And replace app.js content with the code below, build your app with
npm run build and open static/index.html in multiple browser windows.
If you want to make your app feel less "brutalist" while following along,
create a file static/index.css with the following CSS.
Show if someone is typing
Any users in the room can be typing, so we need to have a state isTyping per
connected user. This state is only temporary, it is not persisted after users
leave the room. Liveblocks has a concept of "presence" to handle this kind of
temporary states. For example, a user "presence" can be used to share the cursor
position or the selected shape if your building a design tool.
We’re going to use room.updatePresence hook to set the presence of the
current user.
First, add an input to static/index.html
Then listen to keydown and blur to detect when the user is typing.
Now that we set the isTyping state when necessary, add a new div to display
a message when at least one other user has isTyping equals to true.
Sync and persist to-dos
Try the Liveblocks DevTools extension to inspect and debug your collaborative experiences as you build them, in realtime.
As opposed to the presence, some collaborative features require that every
user interacts with the same piece of state. For example, in Google Doc, it is
the paragraphs, headings, images in the document. In Figma, it’s all the shapes
that make your design. That’s what we call the room’s storage.
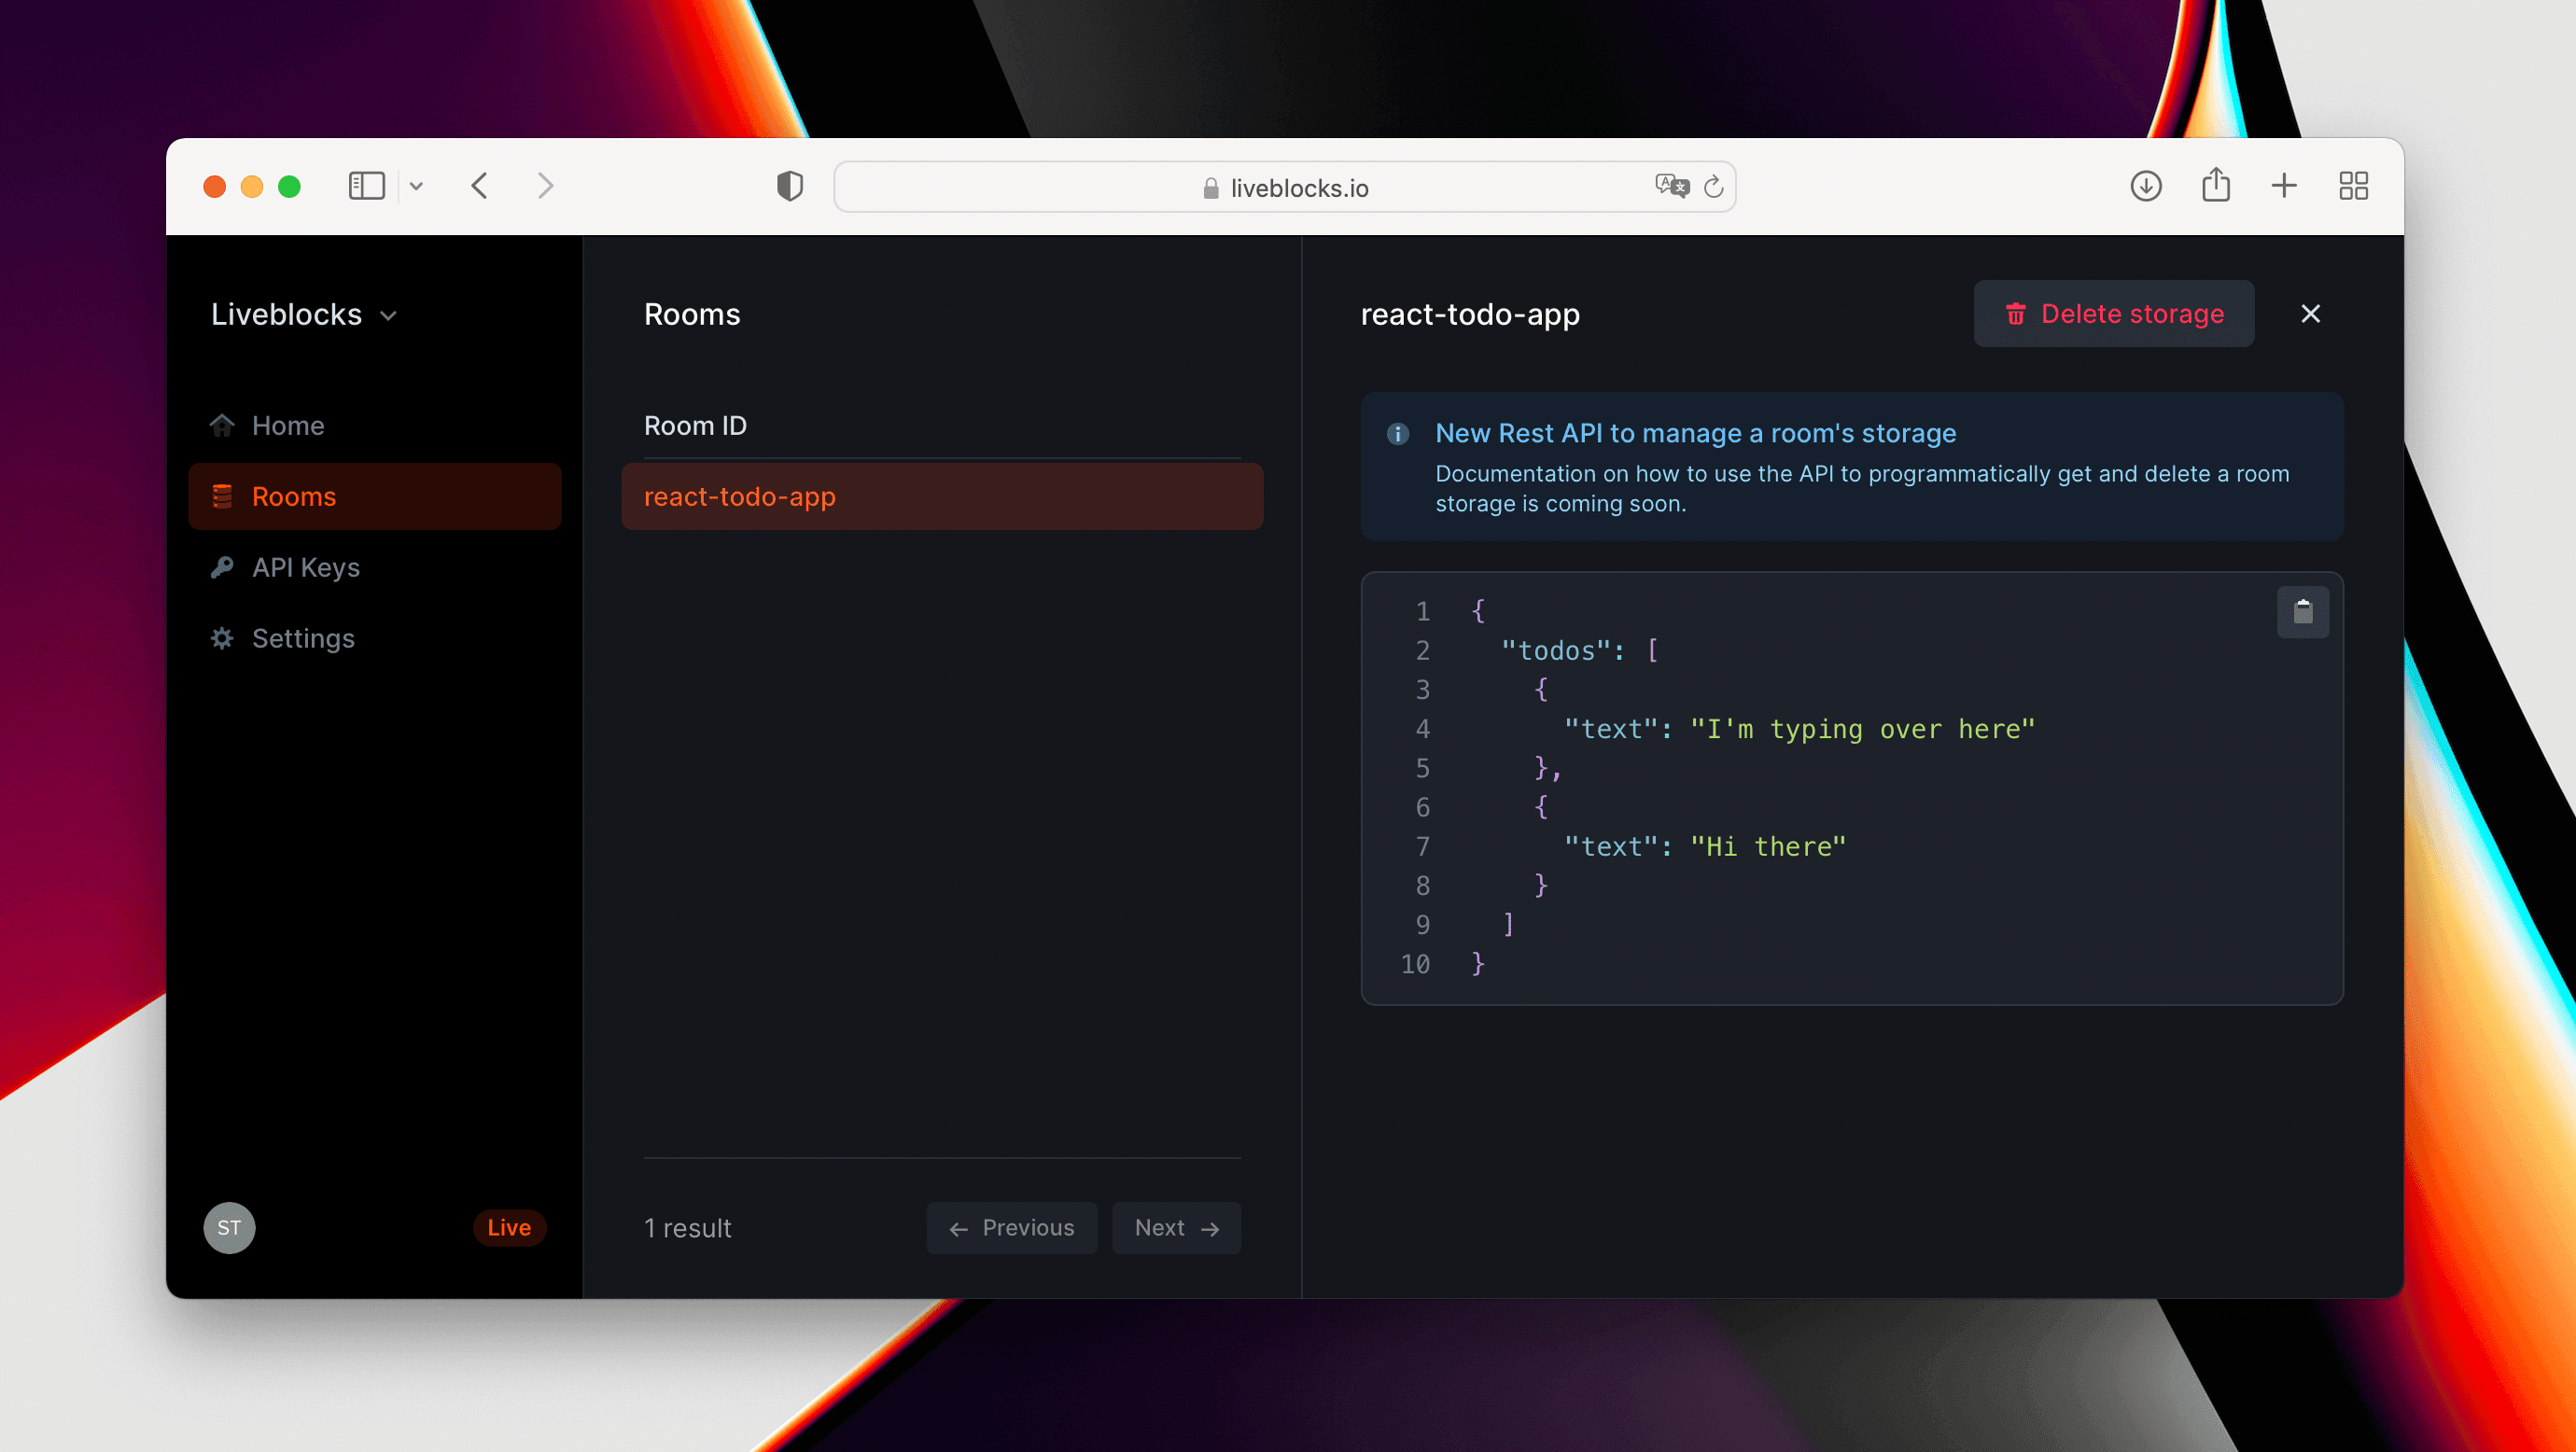
The room’s storage is a conflicts-free state that multiple users can edit at the same time. It is persisted to our backend even after everyone leaves the room. Liveblocks provides custom data structures inspired by CRDTs that can be nested to create the state that you want.
LiveObject- Similar to JavaScript object. If multiple users update the same property simultaneously, the last modification received by the Liveblocks servers is the winner.LiveList- An ordered collection of items synchronized across clients. Even if multiple users add/remove/move elements simultaneously, LiveList will solve the conflicts to ensure everyone sees the same collection of items.LiveMap- Similar to a JavaScript Map. If multiple users update the same property simultaneously, the last modification received by the Liveblocks servers is the winner.
We’re going to store the list of todos in a LiveList. Initialize the storage
with the initialStorage option when entering the room. Then we use
LiveList.push when the user press "Enter".
At this point, the todos are added to the storage but they are not rendered! Add
a container for our todos and use room.subscribe(todos) to get rerender
the app whenever the todos are updated.
Finally, add a delete button for each todo and call LiveList.delete to
remove a todo from the list by index.
In this tutorial, we discovered what’s a room, how to connect and enter a room. And how to use the room’s api to interact with its presence and storage.
You can see some stats about the room you created in your dashboard.
