How to test webhooks on localhost
Testing webhooks on your local system can be difficult, but there are ways to
make it possible using tools such as
localtunnel and
ngrok.
Create an endpoint in your project
The first step in testing webhooks is making sure you have an API endpoint set up in your project. This is the endpoint that’ll receive the webhook event from Liveblocks.
In order to use webhooks, we’ll need to retrieve the headers and body from
the request. Here’s the basic endpoint we’ll be starting from:
Create this endpoint in your project, and make it available on localhost at
the following URL:
Testing webhooks locally
There are several tools that allow you to temporarily place your localhost server online, by providing you with a temporary URL. Let’s take a look at these options.
svix-cli
The svix-cli
provides a listen command that creates a publicly accessible URL for testing
webhooks. This approach is particularly useful in enterprise environments where
other tunneling tools may be blocked by security policies.
The listen command acts as a proxy, forwarding any requests to your local URL
without requiring account setup or network configuration changes.
If your project is running on localhost:3000, you can run the following
command to generate your URL:
The svix-cli will provide you with a unique URL and forward any POST requests
it receives to your local endpoint. To use this, copy the generated URL directly
into the Liveblocks webhooks dashboard.
You now have a URL that can be used in the webhooks dashboard, along with a debug interface to view logs and request details.
localtunnel
localtunnel allows you to get
started without signing up. If your project is running on localhost:3000, you
can run the following localtunnel command to generate your URL, which will
stay online while your localhost server is running:
localtunnel generates a base URL that can be placed into the Liveblocks
webhooks dashboard for quick testing. To use this, take the full address of your
webhook endpoint, and replace the domain in your localhost address with the
generated URL.
You now have a URL that can be used in the webhooks dashboard.
ngrok
ngrok requires you to sign up and
install, but it has more features and is simpler to use after you’ve created an
account. If your project is running on localhost:3000, you can run the
following ngrok command to generate your URL, which will stay online while
your localhost server is running:
ngrok generates a base URL that can be placed into the Liveblocks webhooks
dashboard for quick testing. To use this, take the full address of your webhook
endpoint, and replace the domain in your localhost address with the generated
URL.
You now have a URL that can be used in the webhooks dashboard.
Set up webhooks on the Liveblocks dashboard
To use webhooks, you need to pass your endpoint URL to the webhooks dashboard inside your Liveblocks project, and tell the webhook to trigger on any specific webhook events.
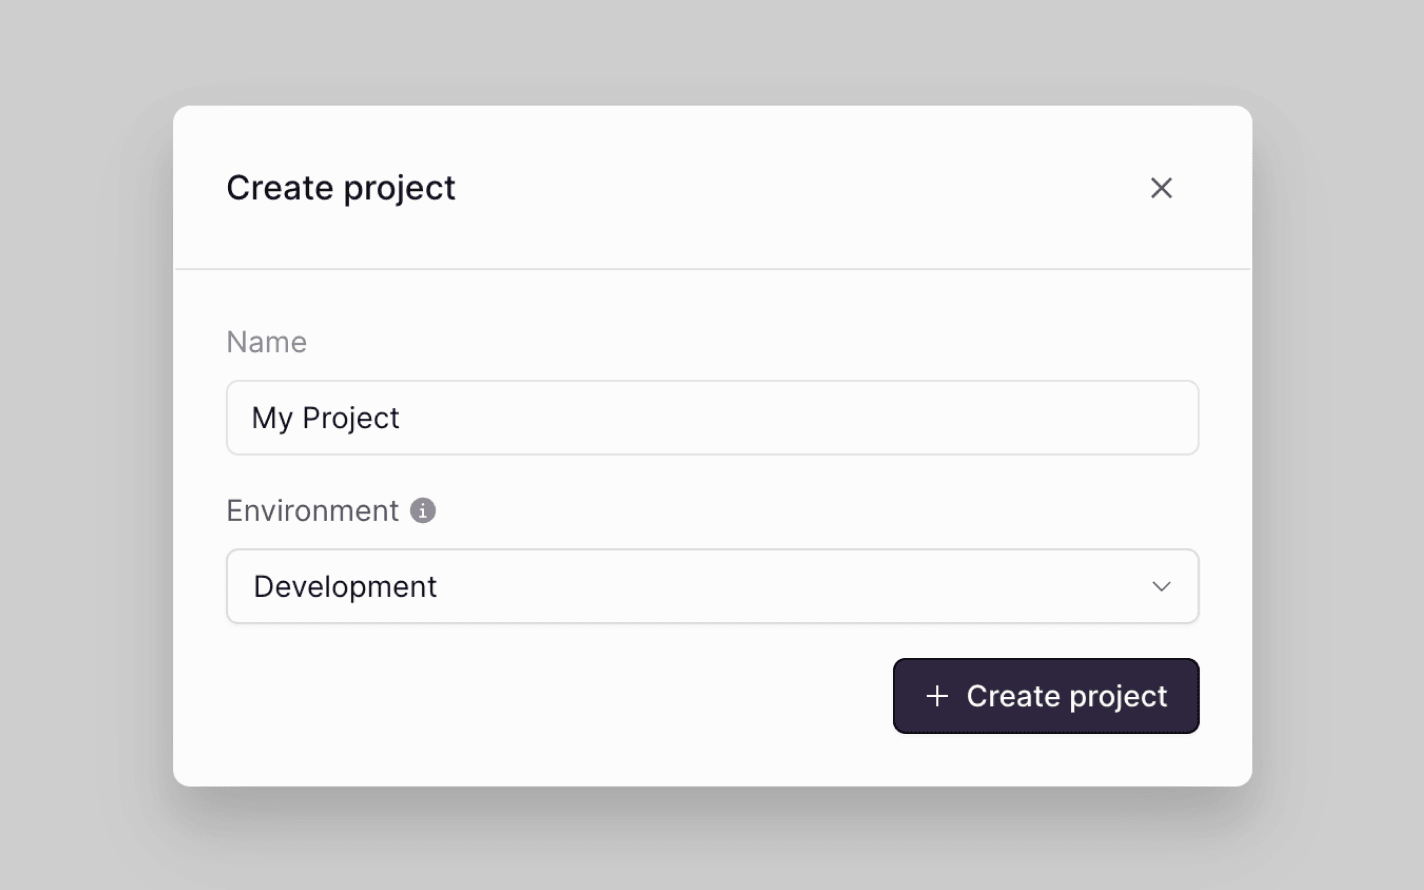
Select your project
From the Liveblocks dashboard, navigate to the project you’d like to use with webhooks, or create a new project.
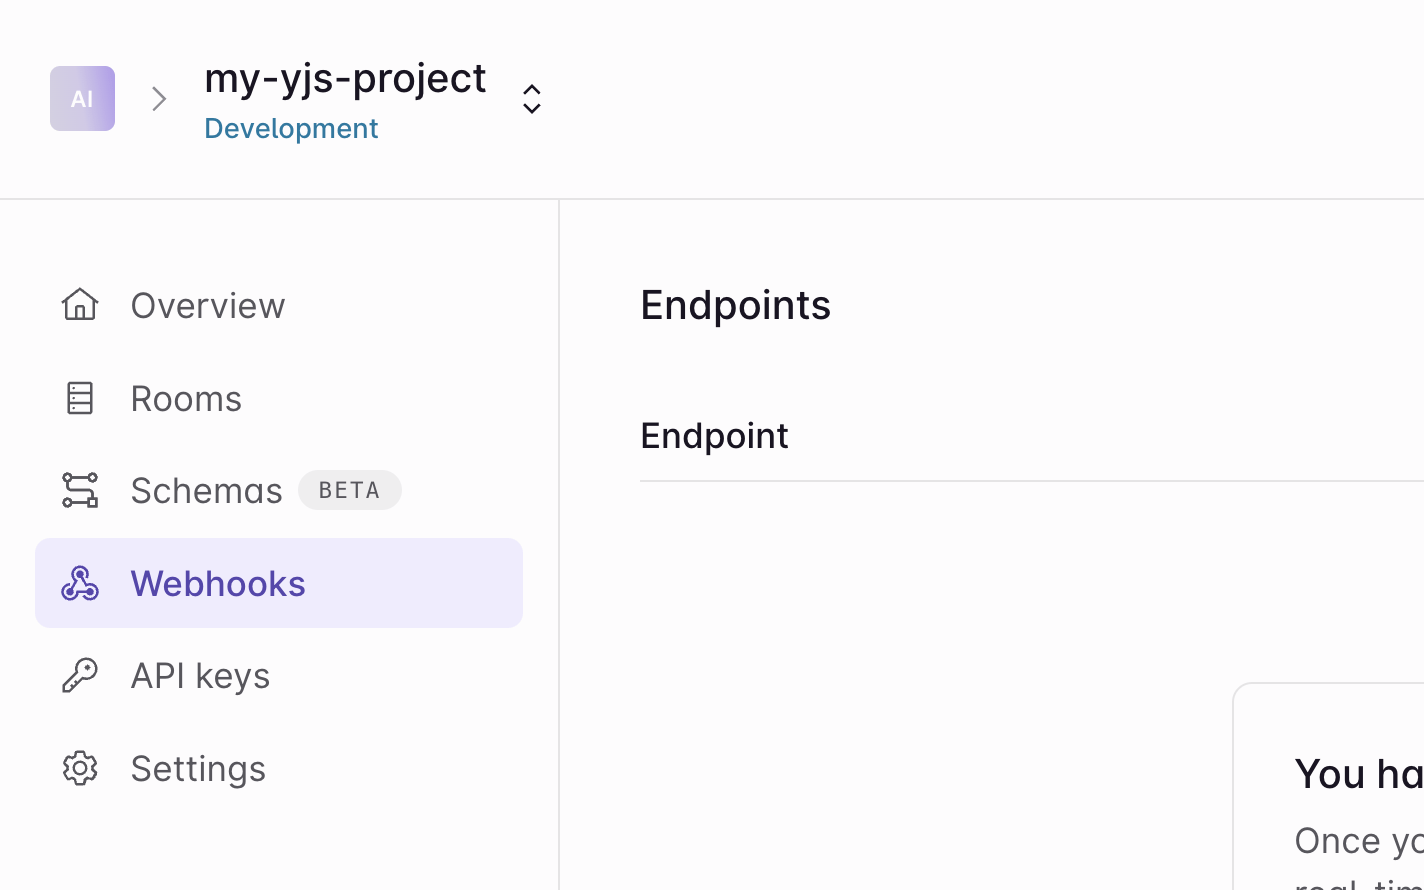
Go to the webhooks dashboard
Click on the “Webhooks” tab on the menu at the left.
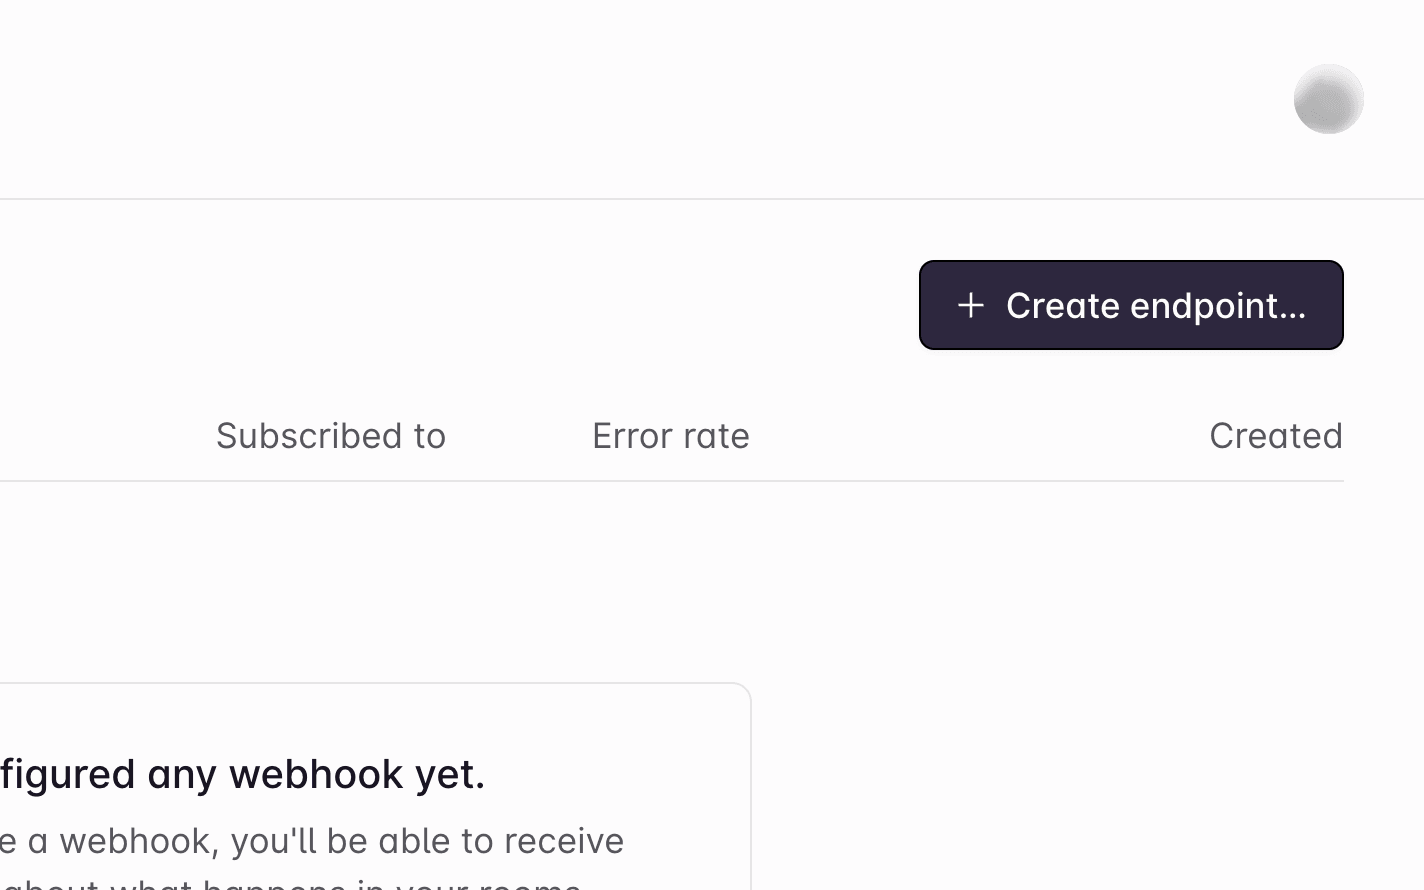
Create an endpoint
Click the “Create endpoint…” button on the webhooks dashboard to start setting up your webhook.
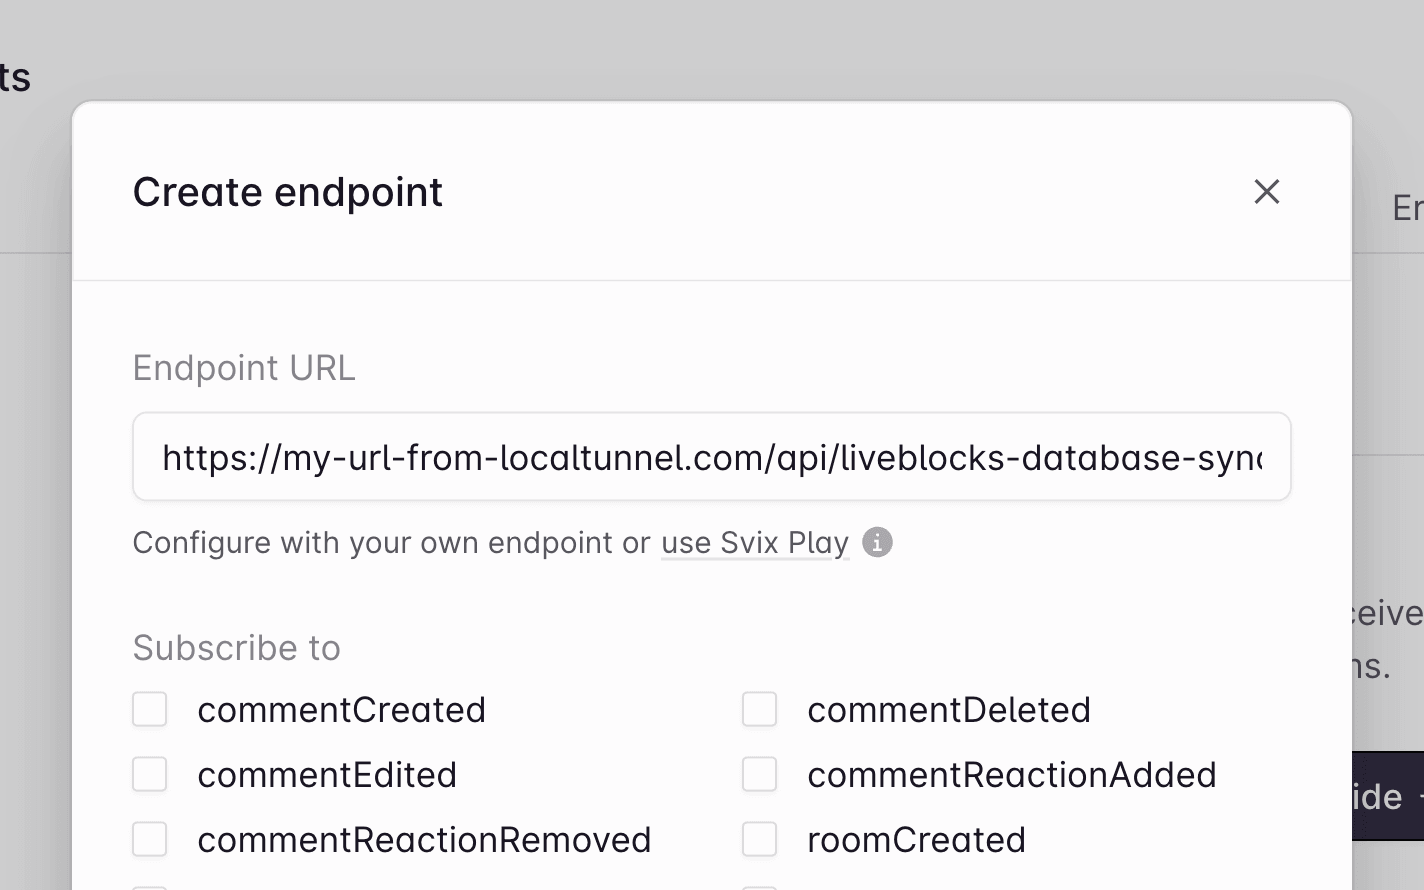
Add your endpoint URL
Enter the URL of the endpoint. In a production app this will be the real endpoint, but for now enter your
localtunnelorngrokURL from earlier.You can filter for any specific webhook events here, in case you’d only like to listen to certain types.
Get your secret key
Click “Create endpoint” at the bottom, then find your “Secret key” on the next page, and copy it.
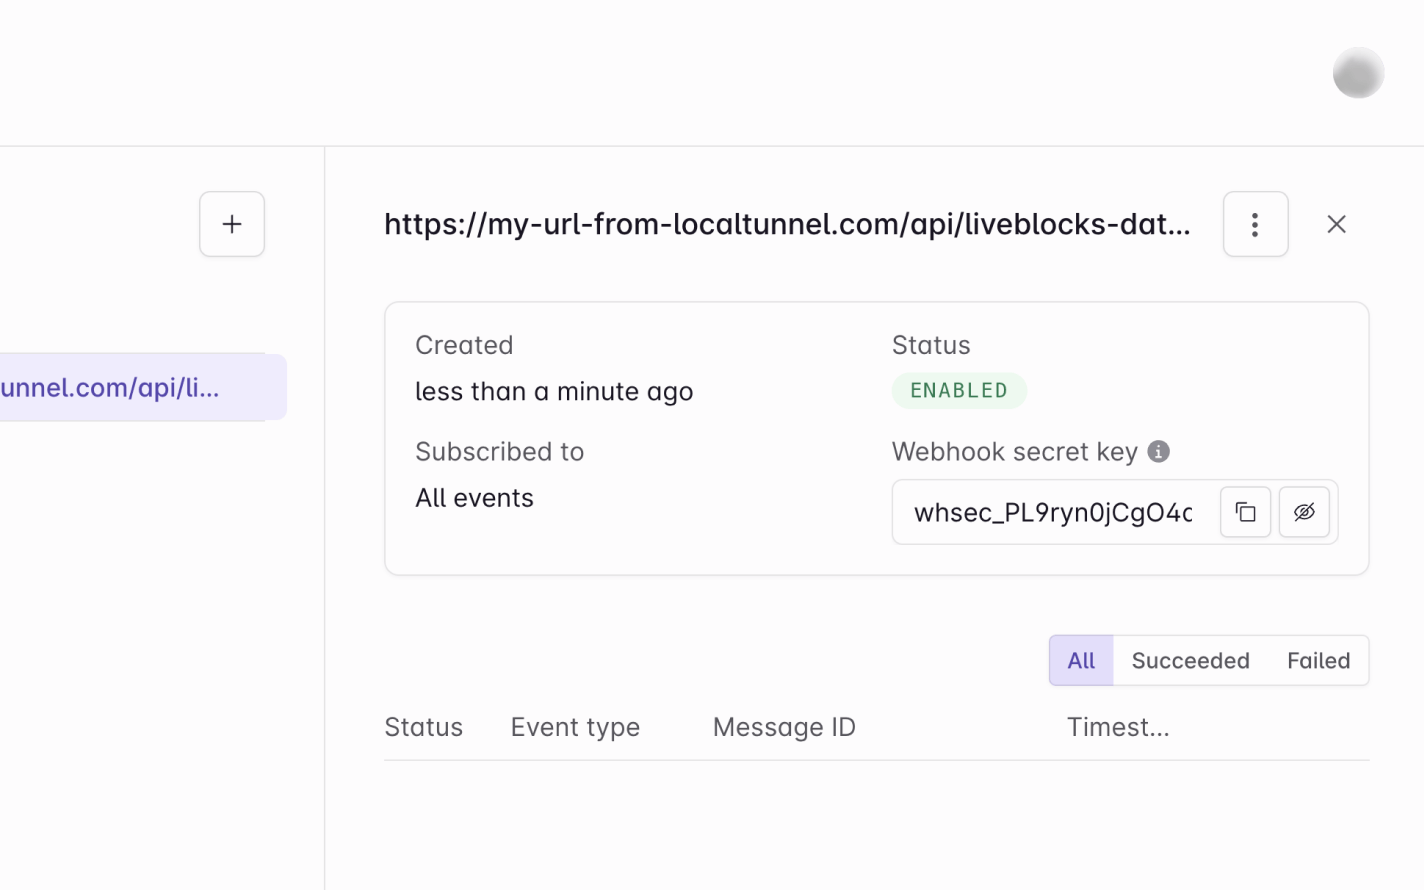
Webhooks dashboard is set up!
Done! Let’s go back to the code.
Verify the webhook request
It’s recommended to verify that your webhook requests have come from Liveblocks,
and the @liveblocks/node package
provides you with a function that will verify this for you. You can set this up
by creating a
WebhookHandler and
running verifyRequest.
Make sure to add your "Webhook secret key" from the Liveblocks dashboard—in a real project we’d recommend using an environment variable for this.
The webhook has now been verified!
Use your webhook event
From this point on, you can use the webhook event as you like. Here’s a Comments example, showing you how to fetch a new thread after it’s just been created.
Visit the webhook events section of our webhooks guide to learn more.