Presence
With Liveblocks you can make collaboration visible in your app. Show who’s in the room with avatar stacks, where people are pointing with live cursors, what they’ve selected, and when AI agents are active—all with temporary state that updates in realtime and disappears when a user disconnects.
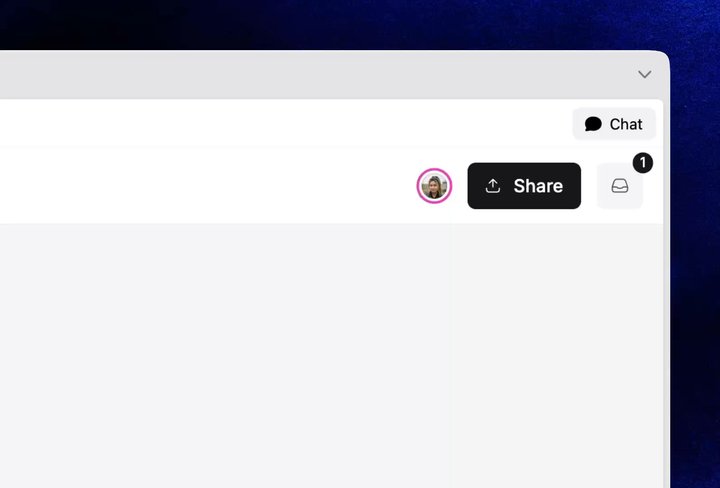
Presence inside the Next.js Starter Kit
Features
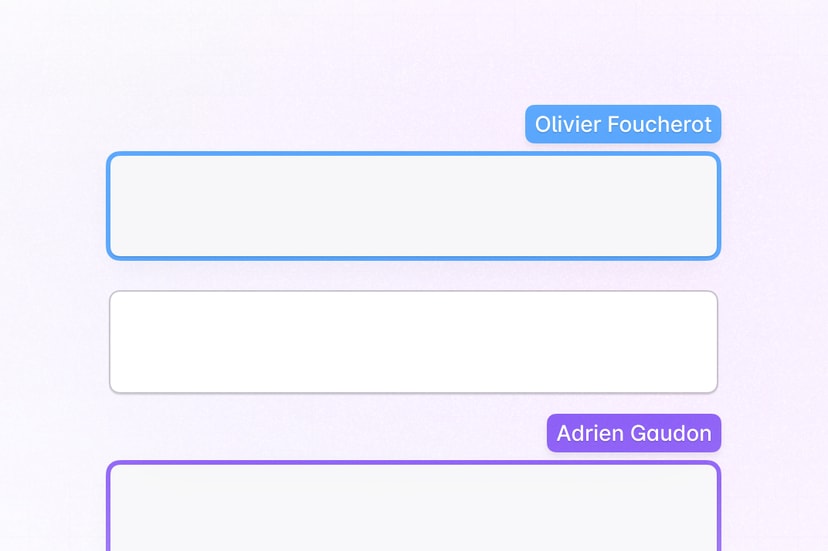
- Live cursors: Show each collaborator’s pointer with smooth, container-relative cursors.
- Avatar stacks: Display everyone currently connected to the room.
- Selections: Highlight the item each user is working on.
- Text editor carets: Show carets and text selections inside collaborative editors.
- Typing indicators: Show when someone is writing.
- User information: Attach names, colors, and avatars from your database.
- Agent presence: Make AI agents appear alongside humans.
- Permissions: Control who can join a room and share their presence.
Get started
Choose a starting point for your app.
Implementation
This is an overview of how each feature can be implemented.
Presence is part of
Sync—each connected user has a JSON object that
updates in realtime and disappears when their connection ends. Use it for
anything that can vanish when a user leaves, and keep permanent content in
Storage. Define the shape of your presence object
with the
Liveblocks interface
and set its initial value on
RoomProvider.
Live cursors
The ready-made Cursors
component publishes your pointer position and renders everyone else’s. Cursor
coordinates are percentage-based relative to the container, so they stay
accurate across screen sizes, and movement is interpolated with springs.
Customize how each cursor is rendered by passing a component through the
components prop, or render several independent cursor areas in one room with
presenceKey. For full control, position the single
Cursor component manually
with the hooks shown under Selections. Learn more under
Presence.
Avatar stacks
Show everyone currently connected with
AvatarStack. Users
present in multiple tabs are deduplicated, and avatars beyond max are grouped
into a +N indicator.
Pass userIds to include additional users, such as people invited to the
document but not currently online. To build a fully custom stack, read connected
users with useOthers and
render their avatars yourself.
Selections
Show which item each user is working on by storing a selection in presence.
Publish local changes with
useUpdateMyPresence
and read everyone else with
useOthers, then highlight
the selected item in each user’s color.
The same pattern works for any temporary state your interface needs, such as an active tool, current slide, or open panel.
Text editor carets
In collaborative text and code editors, each user’s caret and text selection appear in their color as they type. Unlike the patterns above, you don’t publish carets manually—they’re tied directly to the text editor integration, which synchronizes them with the collaborative text itself, so they stay accurate as the document changes around them. Learn more under the text editor and code editor use cases.
Typing indicators
Set a typing flag in presence on input, then clear it after a short timeout
and when the input loses focus. Because presence is connection-specific, stale
indicators disappear automatically if a user closes the tab.
User information
Keep names, colors, and avatars in user information rather than presence—it
comes from your database, stays consistent across a user’s connections, and
can’t be spoofed by the client. Pass it to userInfo in your
authentication endpoint, then read it from
the info property returned by useOthers, as shown under
Selections.
Configure
resolveUsers
so the ready-made components can display the same profiles. Learn more under
Authentication.
Agent presence
Servers and AI agents can publish presence with
Liveblocks.setPresence.
The agent then appears in useOthers like any human, so the cursors, avatar
stacks, selections, and typing indicators you already built show AI activity
with no extra UI.
Presence expires after the time-to-live in seconds, so stale agents disappear
automatically if a workflow crashes—refresh it while the agent works, and set
ttl: 2, the minimum, to remove the agent when it finishes. When the agent also
edits the document, learn more under
Agentic editing.
Permissions
Each collaborative space is contained inside a room in your Liveblocks app, and
permission groups can set access to it. For example, your app may have an editor
group and a viewer group. This can be set when modifying or creating a room, for
example with
Liveblocks.createRoom.
More complex controls can be set too, learn more under Permissions.
Examples
Explore complete examples that combine the features described above.