Collaborative Flowchart AI (Advanced)
Collaborative React Flow flowchart with Liveblocks, Vercel AI SDK, and OpenAI.

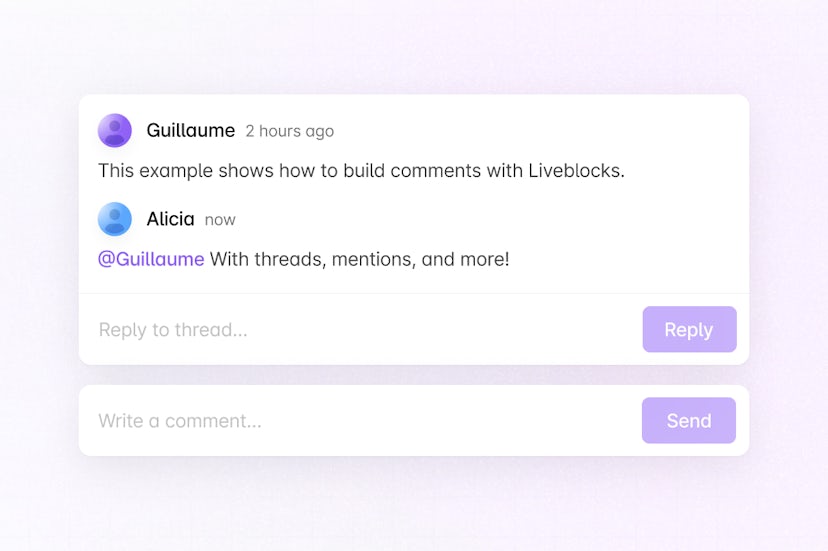
You can place blocks, connect them, edit labels, undo and redo, add pinned comments on the canvas, and ask the AI to edit the diagram in real-time for everyone in the room. You can also talk to the AI Assistant in comment threads.
Getting started
Run the following command to try this example locally:
This will download the example and ask permission to open your browser, enabling you to automatically get your API key from your liveblocks.io account.
Setting up webhooks
To enable AI replies when you @mention AI Assistant in a comment:
- Follow our guide on testing webhooks locally, making sure to check the commentCreated event when creating the webhook
- Point the webhook to
/api/liveblocks-webhook - Copy your webhook secret key and add it to
.env.localasLIVEBLOCKS_WEBHOOK_SECRET_KEY
Setting up OpenAI
You need your own OpenAI API key to run the AI agent.
- Create an account on OpenAI
- Create a new API key from the OpenAI Dashboard
- Add your OpenAI API key to
.env.localas theOPENAI_API_KEYenvironment variable
Manual setup
Alternatively, you can set up your project manually:
- Install all dependencies with
npm install - Create an account on liveblocks.io
- Copy your secret key from the dashboard
- Copy
.env.exampleto.env.localand setLIVEBLOCKS_SECRET_KEY - Run
npm run devand go to http://localhost:3000 - Follow the “Setting up OpenAI” section above.
Dev server setup
You can optionally run this example locally using the Liveblocks dev server.
- Install the example as detailed above
- Run
npx liveblocks devto start the server - Replace the secret in
new Liveblockswith"sk_localdev" - Run
npm run devand go to http://localhost:3000
Deploy on Vercel
To both deploy on Vercel, and run the example locally, use the following command:
This will download the example and ask permission to open your browser, enabling you to deploy to Vercel.
Next, follow the “Setting up OpenAI” section above.
Develop on CodeSandbox
After forking
this example
on CodeSandbox, create the LIVEBLOCKS_SECRET_KEY and OPENAI_API_KEY
environment variables as secrets.
Next, follow the “Setting up OpenAI” section above.