Liveblocks 1.11: Authentication updates and Comments improvements
Today, we're updating our authentication recommendations and making various Comments improvements. We're also making improvements to Yjs subdocuments and introducing a way to rename your room IDs.
With Liveblocks 1.11, we’re updating our authentication recommendations, in aid
of helping you build scalable applications as easily as possible. This update
also includes a number of small improvements and additions to Comments,
refinements for Yjs subdocuments, and a way to rename your existing room IDs.
Authentication is imperative for securing your application, and Liveblocks
provides this through two different methods, allowing you to authorize and grant
permissions to your users. We’ve taken some time to update our documentation, as
we’d like to be crystal clear about choosing the correct authentication method
for your application.
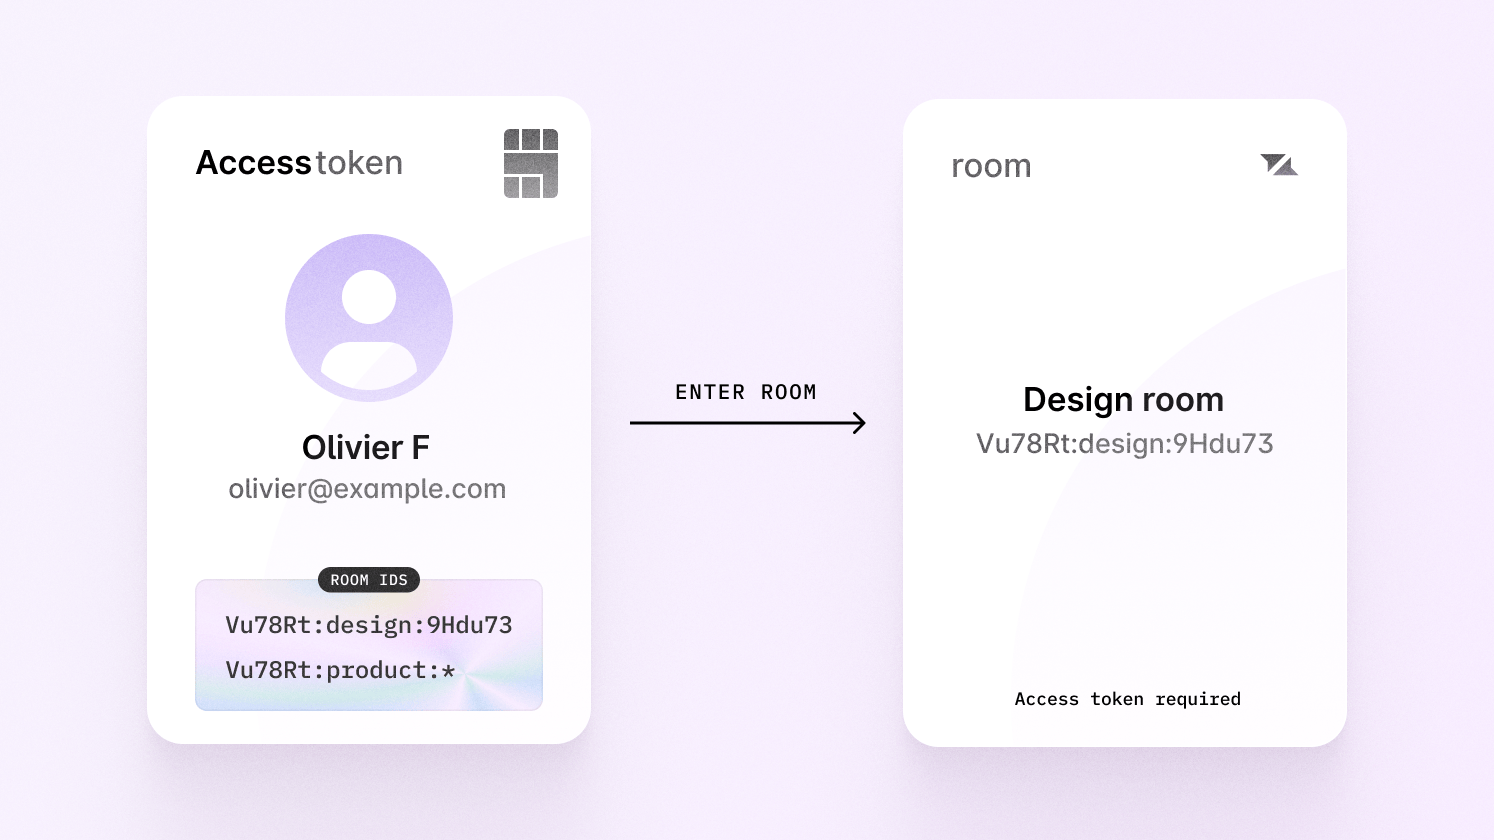
Access token authentication allows you to handle permissions yourself. It’s best
for prototyping, and is great if you need only simple permissions. We always
recommend using a naming pattern
when granting access.
If you’re using
liveblocks.prepareSession
in your application, that means you’re using access tokens.
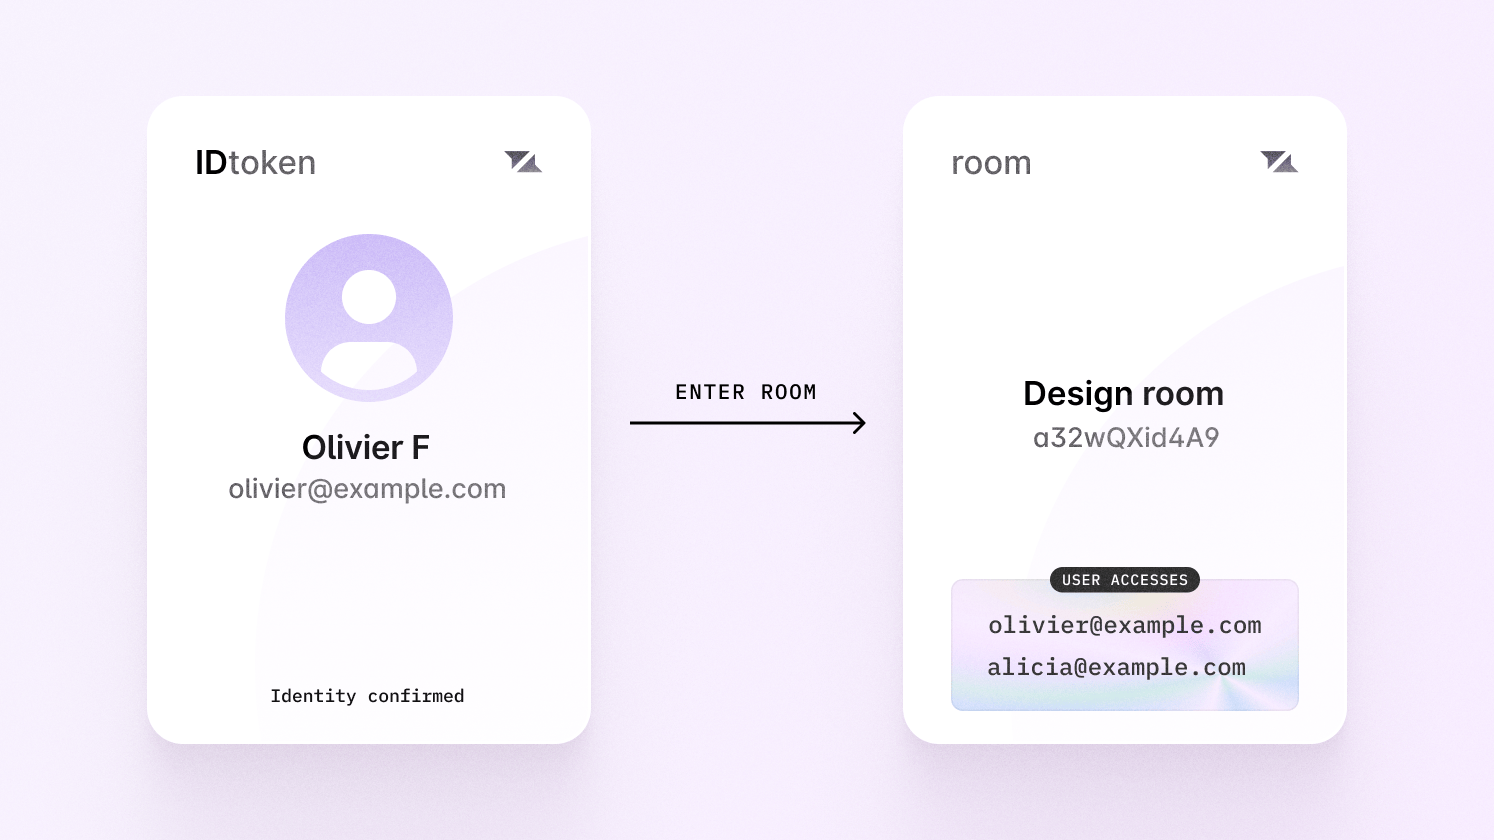
ID token authentication allows you to set complex room permissions for different
groups and users, and Liveblocks will check the permissions for you. This is
best for apps that use share menus, such as those in Google Docs or Figma.
If you’re using
liveblocks.identifyUser in
your application, that means you’re using ID tokens.
If you’re using your public API key in production, we also recommend switching
over to your secret API key instead. Your public key makes it possible for end
users to access any room’s data, and if your application has permissions, this
should be avoided.
// Using public API keyconst client =createClient({ publicApiKey:"pk_prod_xxxxxxxxxxxxxxxxxxxxxxxx",});
You can tell if you’re using your public key by checking
createClient in
your config file. It’s still okay to use your public key on public pages that
require no permissions.
The default Comments components will now scroll into view, and be highlighted,
when a Notification is clicked.
A comment scrolling into view when a notification is clicked.
This works by checking if the current page’s URL contains a comment’s ID hash
which Notifications automatically adds for you. However, you can also use this
feature yourself by manually adding the hash, for example with #cm_b26Gr7...:
https://example.com/document#cm_b26Gr7...
Scroll into view is enabled by default, but you can disable it by passing a
scrollOnLoad option to
useThreads.
We’ve built a minimal Notifications example for Comments which is a great
starting place to learn how to add a notifications inbox to your application.
Highlights of the new notifications example’s interface.
You can find the code, and a live demo, in our
examples gallery.
Liveblocks Yjs allows you to create subdocuments, which are
essentially Yjs documents that are nested inside each other. We’ve refined the
way subdocuments can be accessed in our
@liveblocks/node package, and written a
new guide that takes you through how to use them.
// The unique identifier (`guid`) of your subdocumentconst guid ="c4a755..."; // Get your subdocumentconst subdoc =newY.Doc();const update = liveblocks.getYjsDocumentAsBinaryUpdate("my-room-id",{ guid });Y.applyUpdate(subdoc,newUint8Array(update)); // Make changes to your subdocument, for example:subdoc.getText("my-text").insert(0,"Hello world"); // Send the changes to Liveblocks, and other clientsconst subdocChanges =Y.encodeStateAsUpdate(subdoc);liveblocks.sendYjsBinaryUpdate("my-room-id", subdocChanges,{ guid });
To implement this, make sure to read our guide on
migrating your room IDs,
as we explain how to smoothly transition users that are currently connected.
There are no breaking changes in this update, and you can start using the new
features now. Update every Liveblocks package in your project to the @latest
version to get started.